Posted on

Sewing for BABY with Anna Maria Horner fabrics

As I said in my post a few weeks ago…we have a little girl on the way (I’m typing this in October, so I’m half way hoping she’s already been born by the time this goes live!).  My husband and I come from a long line of handmade people…my father in law made Gemma’s crib and dresser, my mother in law hand painted baby blocks for her and even wove some handles on a wooden basket to keep the blocks in.  So I wanted some other handmade items in the nursery too!

When I first found out I was pregnant, I had all these grand illusions of what I wanted the nursery to look like.  I was dreaming of a little girl.  We found out that was the case, and I knew immediately I didn’t want a sickening pepto pink bedroom for her.  

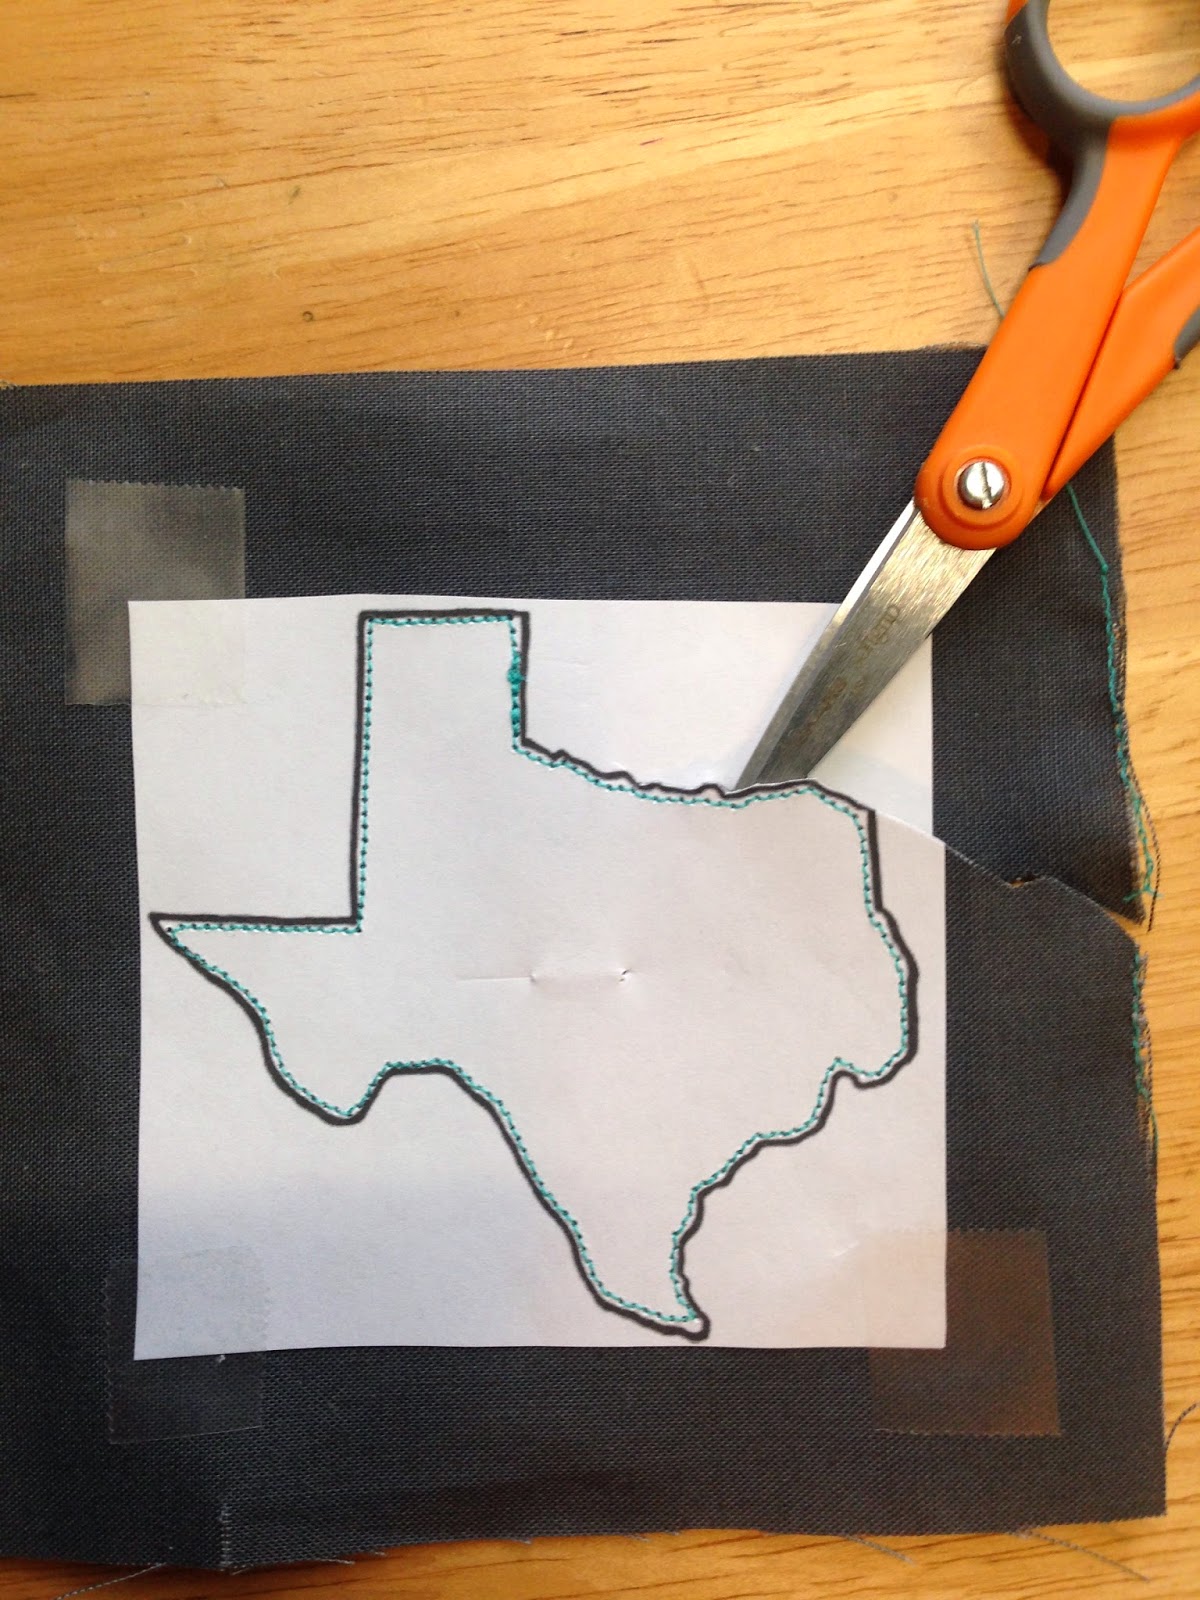
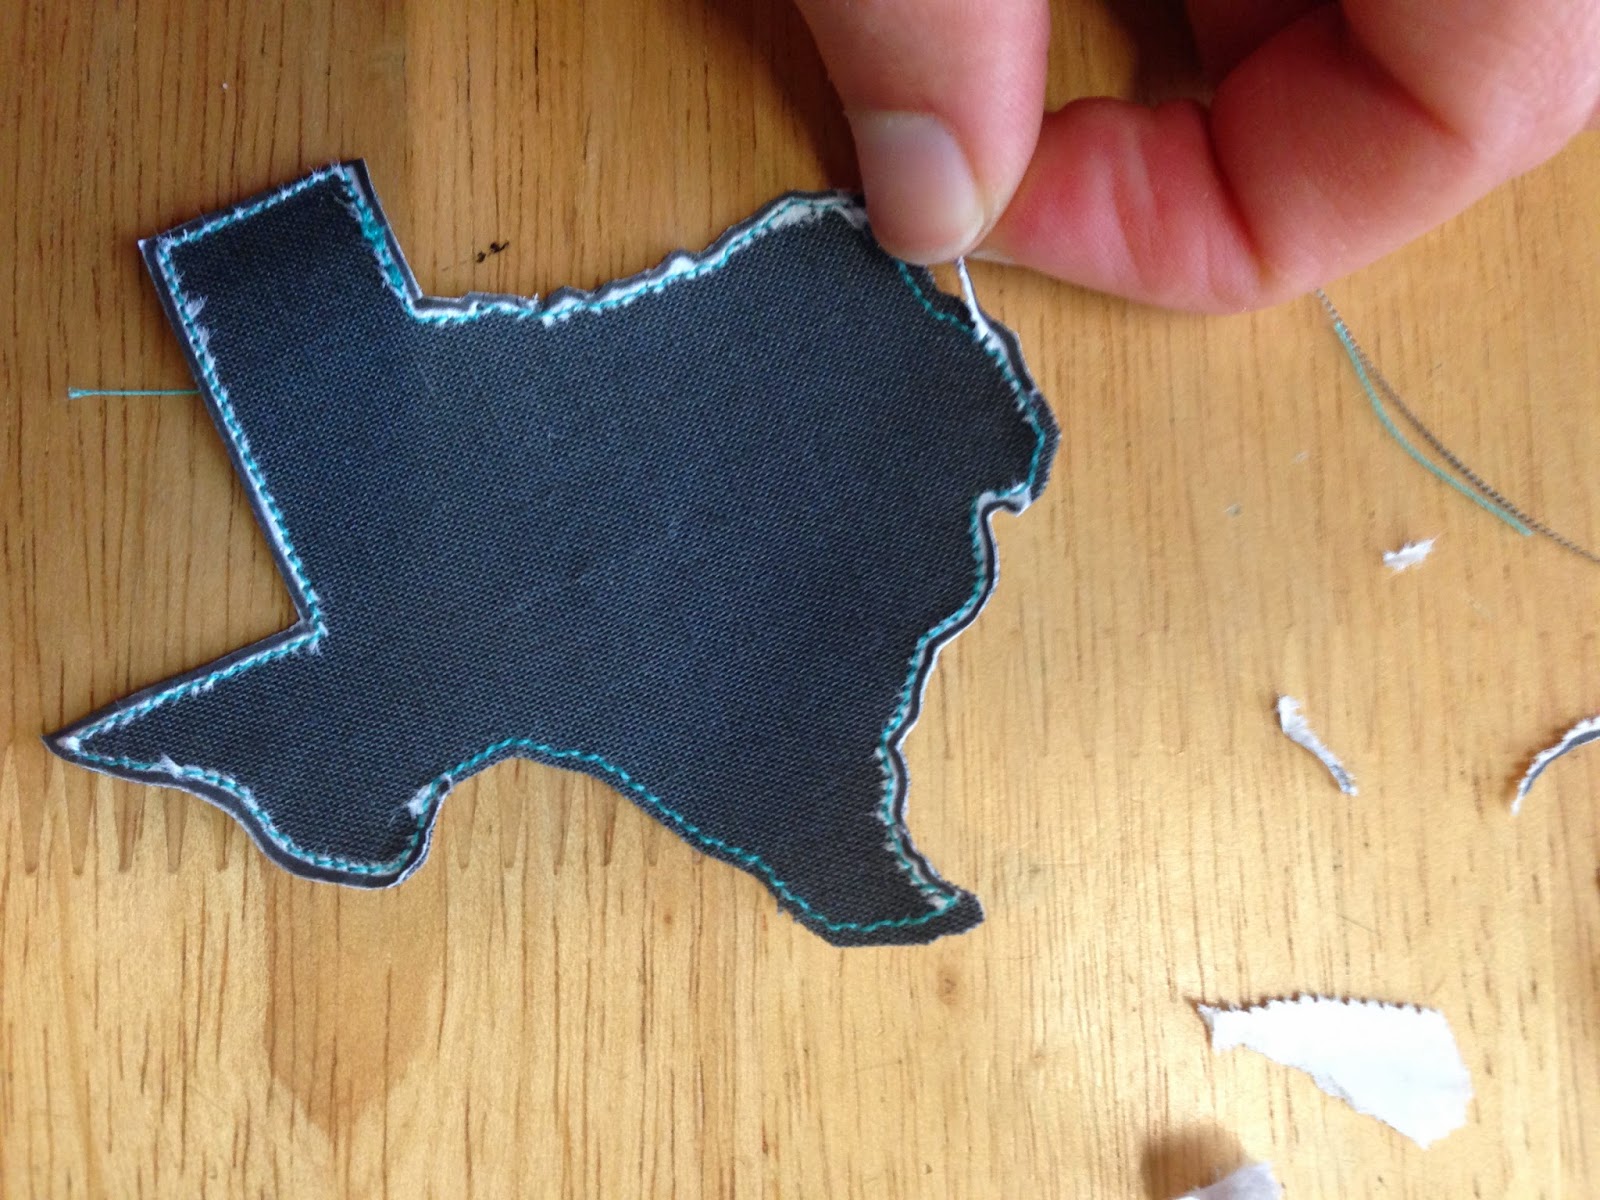
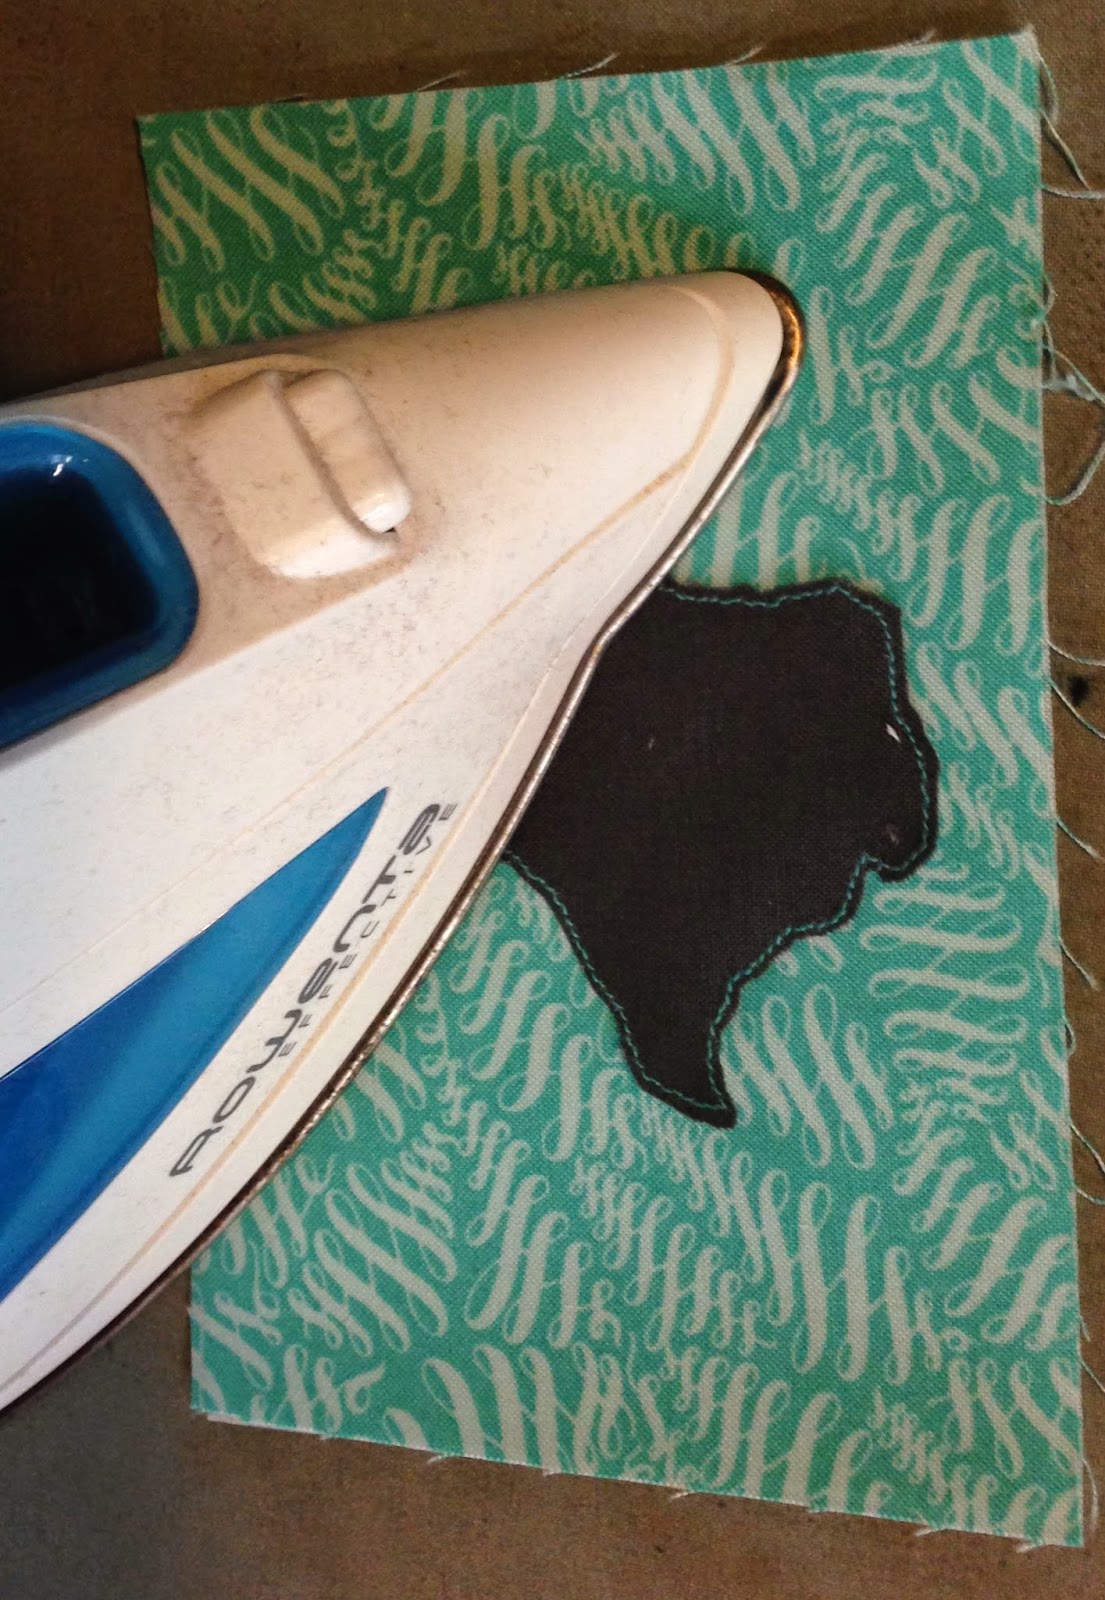
Pinterest was my BFF and I was pinning tons of color schemes and baby patterns.  I decided to make a short list of things I knew I would have time to make prior to her arrival and planned them out.  I started out with Alison Glass fabrics because I LOVE the saturated colors.  But I couldn’t pick a color scheme.  So I moved on to AMH and fell in love with the Mod Corsage line and Fibs and Fables.   I love how complex the colors are in Anna Maria’s lines.  The color schemes are very sophisticated, but they all manage to work with her other lines.  So I’m just going to do a quick run through of the items I’ve made so far for sweet baby girl’s room.  

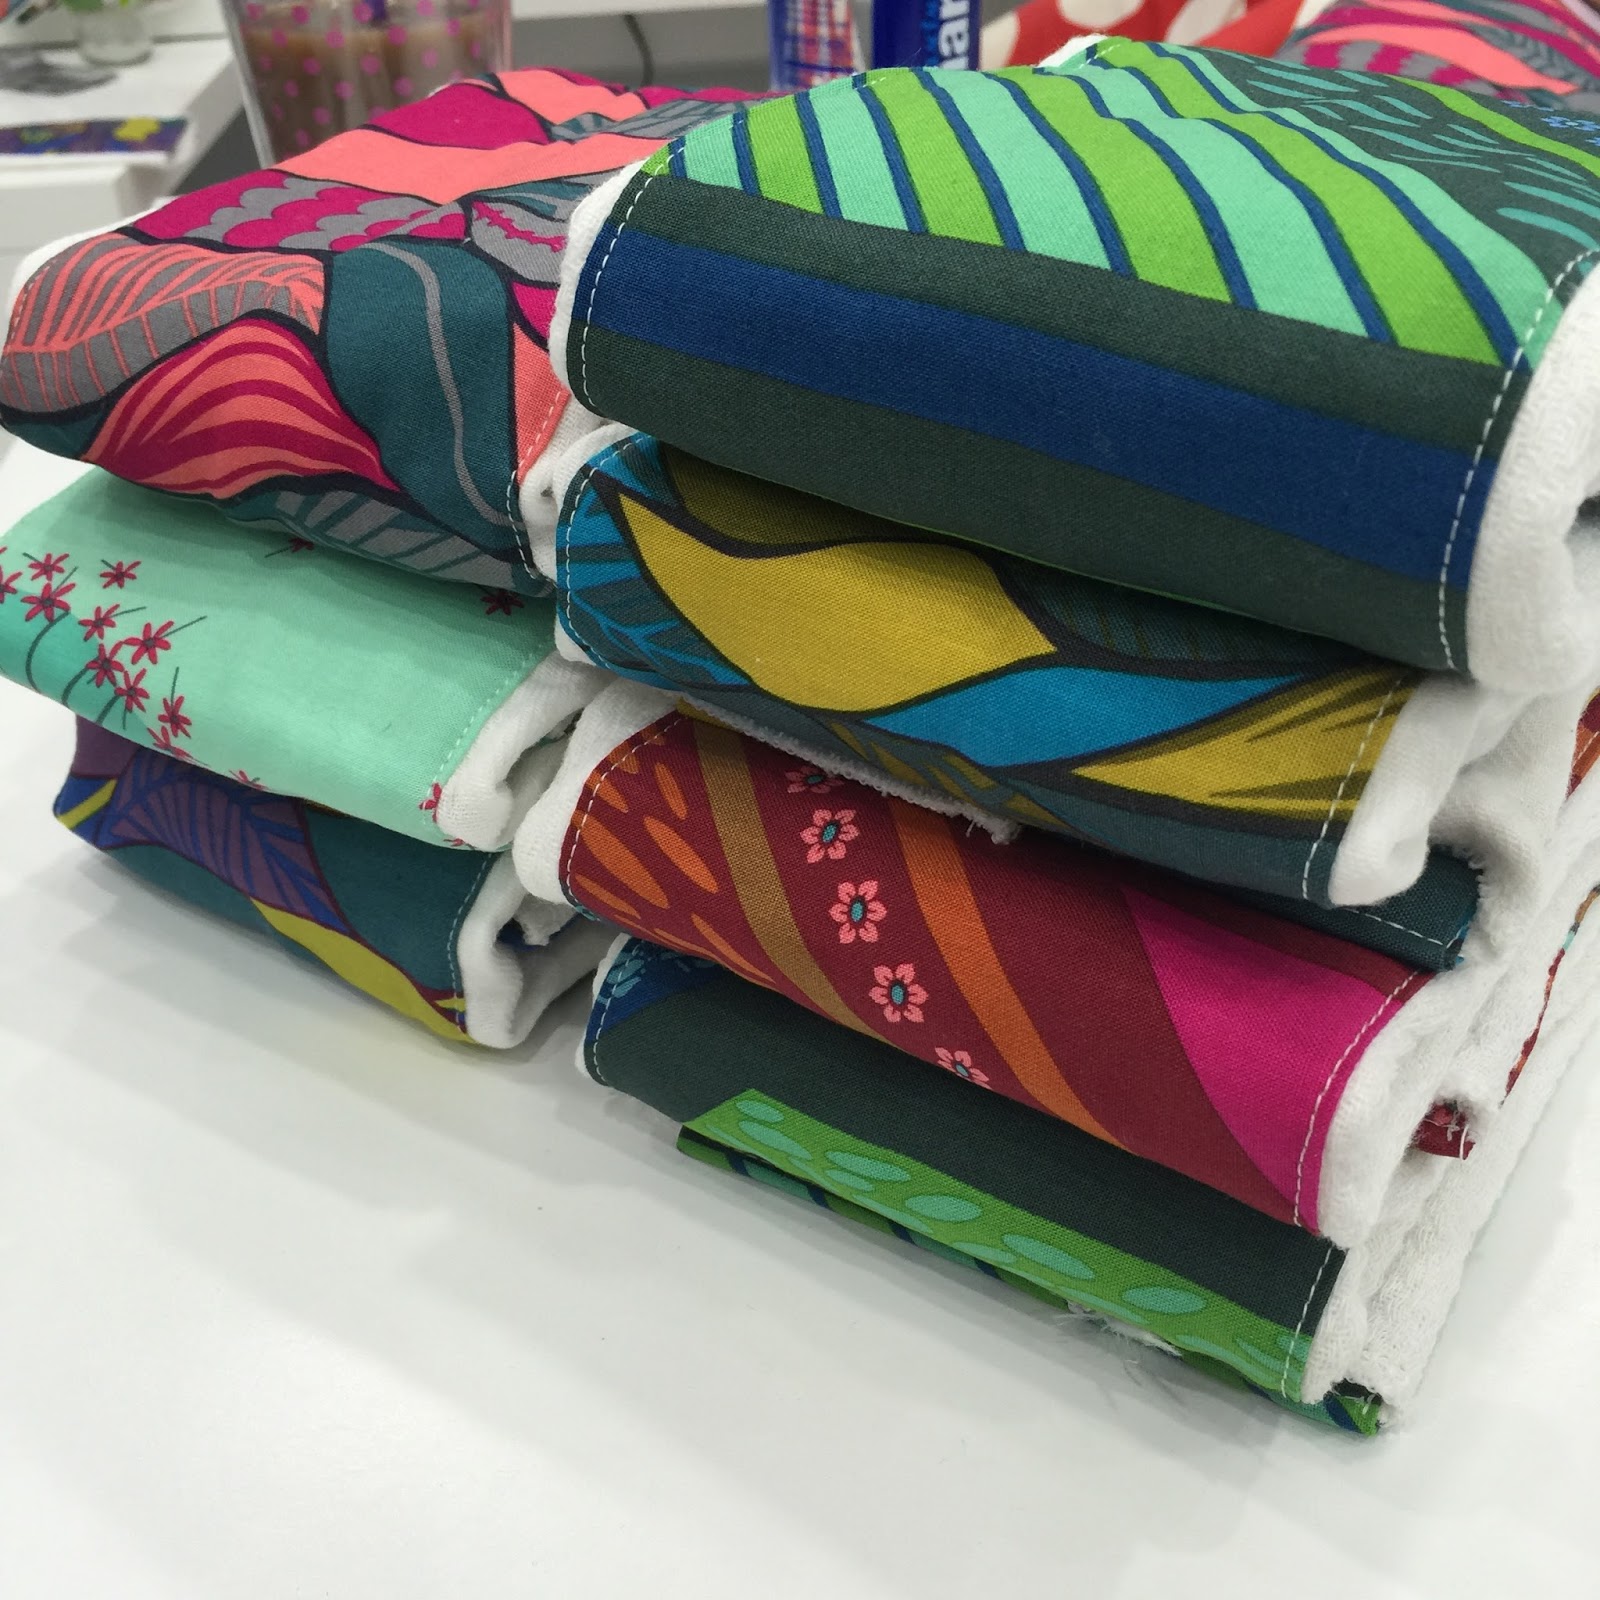
Handmade burp cloths from cloth diapers and AMH Mod Corsage

 So this style isn’t typical of the burp cloths I used to make and sell in my Etsy shop, but I think these will be much more absorbent.  We shall see!!!  At the very least, they’ll be beautiful until they are snotted on and spit up on 🙂  Get the tutorial HERE (and better yet, this tutorial is labeled for beginner sewing!

Hour Baskets in Mod Corsage for baby organization

And have you seen how expensive simple little organizing baskets are???  Enter the hour baskets by kelbysews.  These literally took me 30 minutes from start to finish, and they hold the burp cloths like a champ.  I think I made 6 of these, and I love them all!  Get the pattern HERE

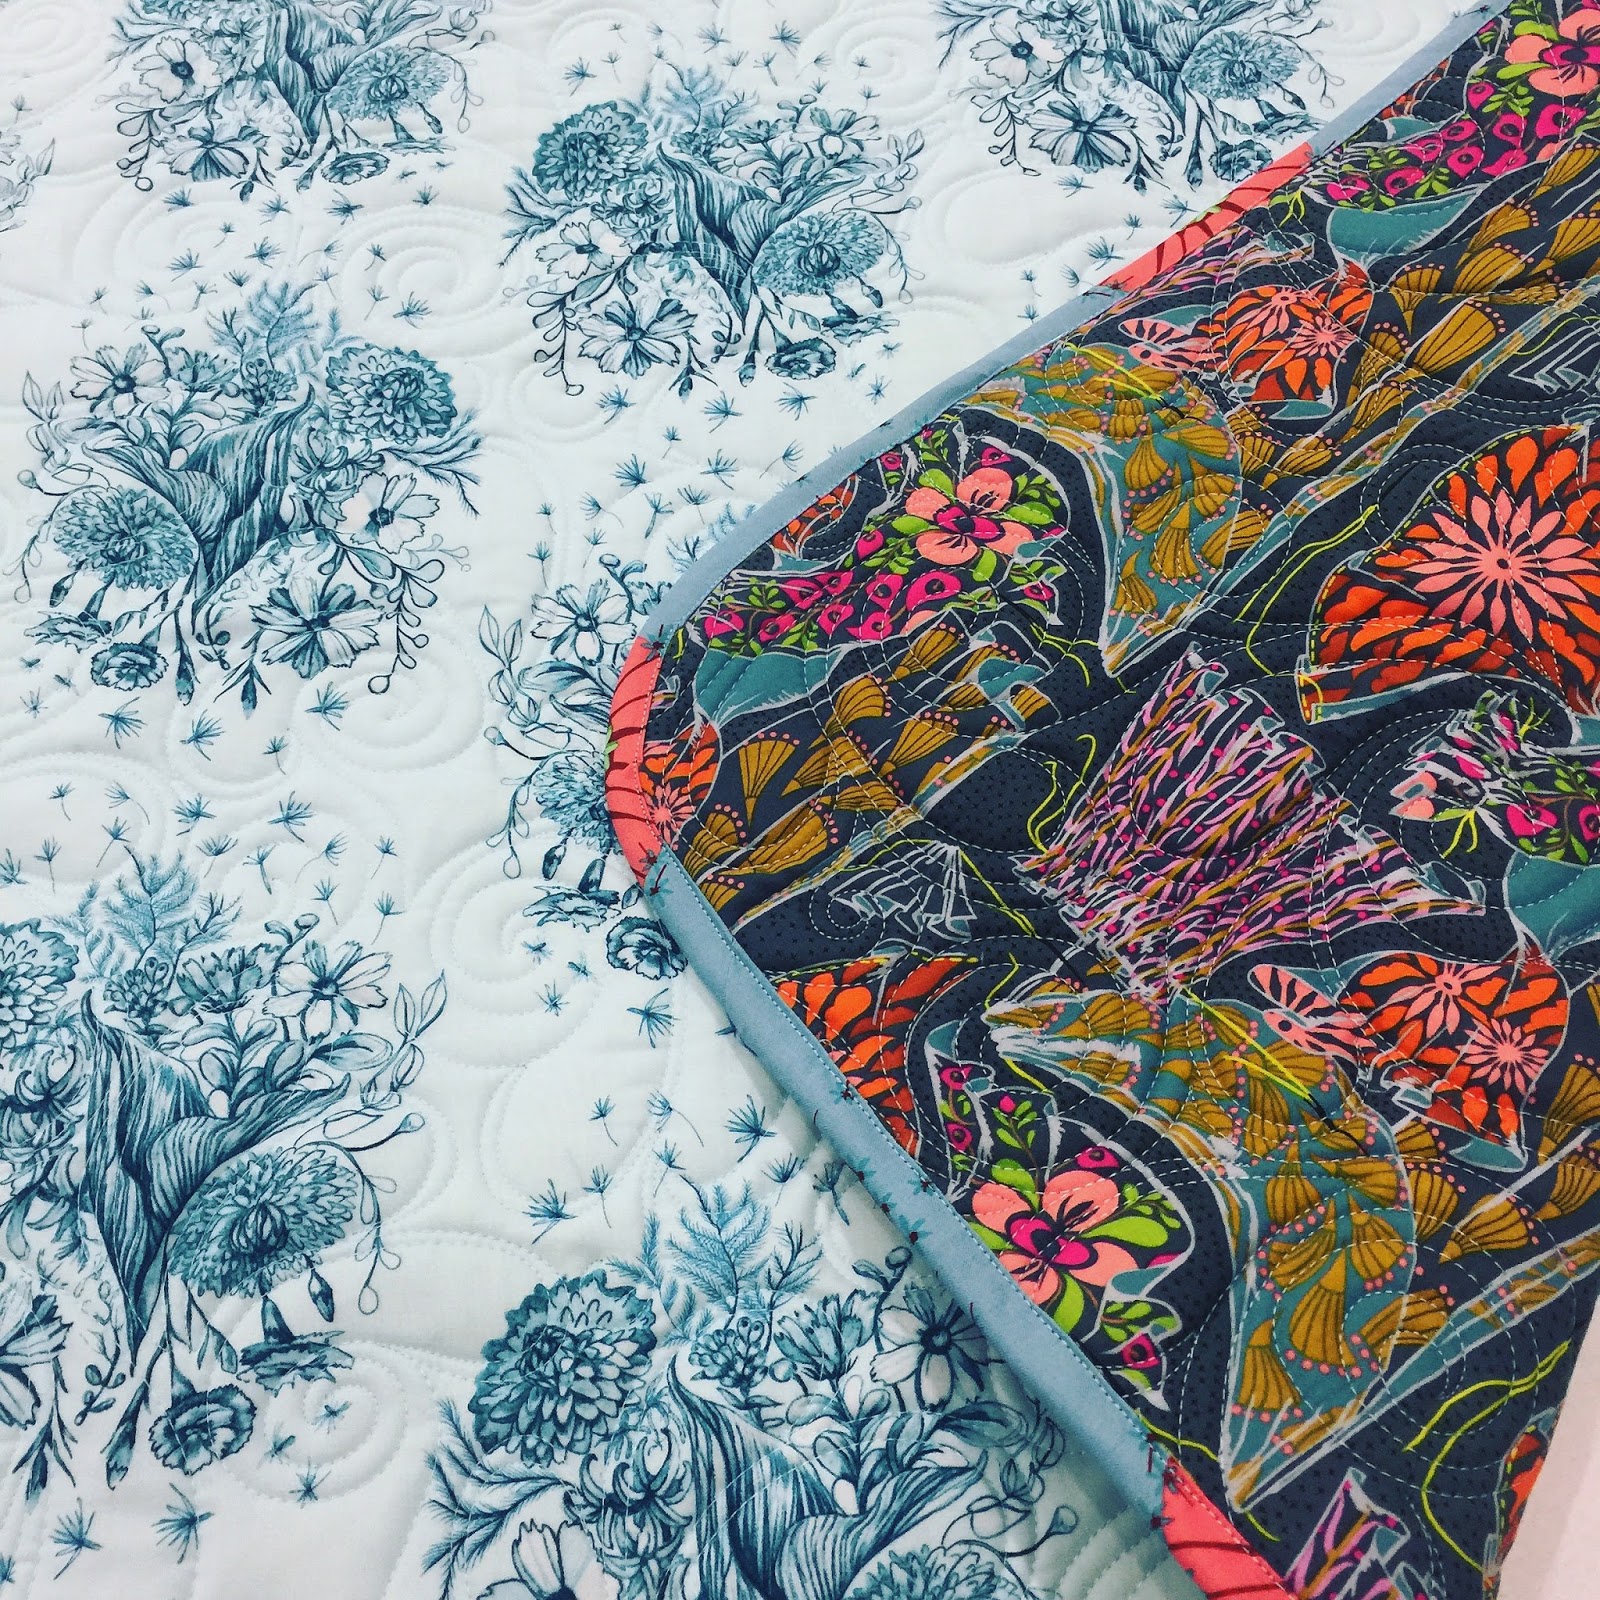
Tummy time mat made with Mod Corsage and Fibs and Fables AND batting scraps

And this ethereal print from Mod corsage with the bouquets…to die for.  I wasn’t sure what I was going to use this fabric for, but I knew I wanted it showcased.  And I loved this dressmaker print from the AMH Fibs and Fables line.  So I made a simple tummy time mat.  Another great thing about making this was that I used up a TON of batting scraps that I didn’t have any plan for.  I quilted this mat pretty heavily, so I stacked the batting scraps 3 layers deep.  This is the cushiest thing you could ever lay a baby on.  And I love that I put those smaller batting scraps to good use.  I squared it up after quilting, rounded the corners to give it a little more style, and bound it.  It’s small enough that I can roll it up and take to grandma’s house or wherever but big enough that I don’t have to worry about other people’s dirty floors 🙂  
There’s no pattern for this to link to, but it’s basically just a whole cloth quilt with tons of batting scraps layered in between the two pieces of fabric–enough to make 3 layers thick with batting.  Quilt as desired.  Trim/square up into whatever shape you desire.  I rounded the corners because I didn’t want them square, and then I slapped some binding on that sucker.  I did machine bind–in the event that this got pooped on or spit up on a ton and needed to be laundered a lot–so if you love hand binding as much as I do, you may want to rethink that!

I’m going to make this a two part post to talk a little more in depth about the other items (so I can credit other people’s designs).  Continued to next week–when I will hopefully have this baby out of my body if I don’t already!!!


Posted on

Love is in the Air! Free Heart wall hanging tutorial

Don’t you love seeing all the cutesy Valentine’s Day sewing projects?  I love the typical heart patterns, but wanted to see a different spin on it, so I teamed up with Janome and created this free pattern & tutorial for you–available at the American Quilter’s Society Bog HERE

Love is in the air!  Wall Hanging

This is an intermediate tutorial with a few half-square triangles and some fun quilting techniques.  

Some tips: 
-Pair your bright colors of the hearts with a mellow, low-volume background fabric for more POP!
-Matchstick quilting around the hearts can really set it off, but feel free to try some swirls or crazy feathers for a different effect.
-Try a scrappy binding using all the colors of the hearts.

I hope you enjoy some quilting time today!


Posted on

Make your own Home Decor for cheap, with DIY tutorial included

Finally, I did a shortened version of my original tutorial  (since Blogspot doesn’t support PDF uploading–or I couldn’t figure it out!).

Above is the wall art that I made when I re-did our guest bathroom.  This is a very inexpensive way to make something to suit your taste and easily coordinate with your home decorations.  Just a heads up-this does take a good amount of time, and requires a little concentration-depending on how detailed your silhouette is.

First, you need to find a shape or silhouette that you like.  Keep in mind that you will be cutting this out AND sewing around the perimeter.  I suggest doing a practice one first with a circle or square–something simple and straightforward.  You might get really put out if you start with the deer!  

Print them out to the size you want them to be in your decor.


Now for your supply list-
Some kind of fusible stabilizer or interfacing that is thin to put behind your background fabric
Background Fabric (pictured in the next photo)
Fabric for your silhouette
Rotary ruler
Iron
Precise scissors
Sewing machine/needle and thred
HeatnBond Lite
Sewing pins or scotch tape
Photo frame with enough spaces to put what you want in it

So this photo shows the thin interfacing that you will be fusing to your background fabric.  If you don’t have any handy, this step is not mandatory, so don’t fret!  

You’re going to cut your background fabric to the size the picture frame you bought is.  Make sure you cut the pieces a little larger than the viewing window so you can easily secure them.

Cut your pieces of stabilizer to the same size as your background fabric pieces.  I have three in this picture because I had a 3-photo frame.  

Follow the manufacturer’s instructions for fusing the stabilizer to the fabric.  Now you can set these beauties aside, because you won’t need them for a while!

Now cut your silhouette down to the smallest you can get it without cutting on the lines.  You’re going to prep your silhouette fabric now…

Before you cut your fabric, lay your shape on top of it and make sure you have a good inch extra on all 4 sides.  It’s better to have a little extra to play with if you need it than having to go back and cut more if you make a mistake.  Once you measure, go ahead and cut the fabric to size.


Cut a piece of HeatnBond to just a LITTLE larger than your silhouette.  Place it shiny side down on the wrong side of your silhouette fabric.  Follow the manufacturer’s instructions for bonding.  Mine said not to use steam, so make sure you don’t!  


Once you’ve got your HeatnBond on the back of your silhouette fabric, flip your fabric over so it is right-side up.  You may want to choose a fabric that isn’t solid colored-sometimes it’s hard to determine which is the front or back.  I use scotch tape and pins to secure my silhouette shape to the fabric–make sure your shape is directly over the HeatNBond.  If you can’t tell, hold your fabric with the silhouette up to a light source and you should be able to see the HeatnBond with no problems.

Now you’re ready to get stitching!  You’re going to sew ON THE LINES of your silhouette.  
You don’t need a machine to do this, but it sure goes a Heck of a lot faster if you do.


After you have your outline sewn, you’re going to cut through all layers around the silhouette.  It’s a good idea to leave a 1/8″ space between the stitching line and your cuts.  If you cut too close, you risk cutting the thread, or having the fabric fray–which you definitely do not want!

Now you’re going to peel off the printer paper from the front of you shape, and the paper backing from the HeatNBond from the back of the shape.  You even have to peel off the measly little paper between the cuts you just made and your line of stitching.  Be careful to not fray the fabric.  This is why I told you to leave a 1/8″ space.  You can see that I did not.  I’ve done this a few times before and so I knew I could get away with that.  You might find that too.  But for now, leave 1/8″. 


After you remove the paper backing, you can go grab your background fabric and center your silhouette on it.  I think the easiest way to do this is with a rotary ruler or some kind of clear acrylic ruler.  Makes things move a little faster–but you can also use just a regular ruler.


Now, look at the manufacturer’s instructions on how to apply the HeatNBond, and follow the directions.  You will now fuse the silhouette to the background fabric.


Once you’ve done that, you’re ready to frame it!  Just remember to minimize the handling of the silhouette so the edges don’t fray.  If you have more than one, you’ll just repeat these steps with each other piece you have.

Please let me know if you have any questions, and good luck on your new wall decor!

Joanna