Posted on

Hexie EPP Stocking Pattern

The Hexie EPP Stocking Pattern is finally here! This is a perfect pattern for a quick finish, and it saves time and fabric by not having to fussy cut. I designed these stockings to have a similar look to the cute Buffalo Plaid that has a more clean and modern Christmas-y look, but with hexagons. The pattern details how to make the stocking using the 3-color solids, or for a more fun look, a 6-color solid multicolor stocking. Using solids eliminates the need to spend tons of extra time fussy cutting, and you can use the stack and cut method to cut multiple hexies out at once. I think the most I was able to cut at one time was 8 pieces.

This pattern includes:

  • Detailed instructions for solids: 3-colors or 6-colors or fussy cut your own pieces
  • Pattern includes Youtube tutorial sew along to assemble the stocking
  • finished stocking measures 6” wide at top x 14” tall X 11″ wide heel to toe, complete with hanging loop
  • Blank coloring sheet to design your own colorway or plan for fussy cutting
  • Fabric requirements for the 3 and 6 color stockings
  • Detailed cutting diagrams
  • Full color diagrams and step outs
  • Stocking template
  • Printed pattern version includes a full sheet of hexie papers for you to copy and cut out yourself, should you choose
  • PDF version includes a printable sheet of hexie papers

So many options!

Kits for the Hexie EPP Stockings:

Find the perfect kit for you! These solid stockings are curated in the perfect shades of Tula Pink solids by FreeSpirit. Grab the color that fits you, or make an entire fabulous rainbow gradient to fill your mantle!

If you aren’t a fan of fabric kits, you can also grab your own acrylic fussy cutting template and precut EPP papers to save you a little time. Or cut your own hexies with the papers that are included in the PDF or the printed pattern. Both options have a printed OR printable paper Hexie fussy cutting template.

hexie EPP stocking pattern

Customizing your stocking

You can choose to quilt your stocking with fun hand quilting, easy domestic machine quilting with simple straight lines, or pick a fun pantograph and throw it on the longarm for a bit of punch! Alternatively, you don’t have to quilt the stocking at all and the inside is fully lined to protect all the seams. Pattern instructions include a hanging loop.

I’m so excited to finally share this pattern with you. I feel like I have been working on it for years and perfecting each version so it will bring you SO much joy when you make it. I hope you’ll share your makes with me using #HexieEPPStocking . Thanks for reading, friend, and happy sewing!!

Posted on

Spellbound EPP – a magical quilt pattern

PDF ONLY

My labor of love (aside from longarming) this year has been the Spellbound EPP pattern! When Tula Pink released her black and white line called Linework, I knew I wanted to make something really special with it. I love black and white fabrics and adding a pop of color to them really sets them apart. I’ve had a blast on this journey picking the fabrics and fussy cutting different elements of each fabric to make it shine. The Spellbound quilt pattern will be available this Friday, October 29!

I am a little bit of a mover and a shaker. You know what I mean–I’m one of those people that can’t stand to just sit idle and not do anything. If you’re here, and reading this, you might have this problem too 😉 . If I have some free time and a free set of hands, you better believe I’ve got some EPP prepped and ready to go. Aside from longarm quilting (which I do almost all day), EPP is my favorite way to pass the time.

I always have a little EPP kit in my purse so that if I’m caught waiting at the doctor’s office, or getting my car inspected, or whatever, I always have a little something to keep me busy AND productive (I posted a list of my favorites at the end of this post). I hate wasting so much time on my phone when I could be sewing something, right!?

It’s such a convenient way to pack a little sewing kit and get things done when you otherwise couldn’t. I love the portability and convenience of EPP, and my daughter Gemma has even helped me finish a few stitches. You can see a ton of my Spellbound EPP shares by heading over to Instagram.

Continue reading Spellbound EPP – a magical quilt pattern
Posted on

It’s finally here! The Mamacita Tote Pattern Release!!!

Mamacita Tote

Today is the official release day for the Mamacita Tote Pattern!  Hip hip hooray!!!  I’d love to tell you the story behind this pattern and why it’s so dear to me.

Mamacita Tote with Serape

When I first started sewing, I loved to make things that were useful (that still applies today).  I love the feeling I get when I plan a project and sewing that last stitch, and the overwhelming feeling of pride I get when I know I made something that I love (or someone else will love).  I loved quilting, but I loved making bags even more.  I used to be an agriculture science teacher, so my purses were always getting filthy from being at stock shows and around livestock all the time.  I did some research on fabrics that were easy to clean, and I came across oilcloth.  Long story short, oilcloth is a wonderful fabric that doesn’t fray, wipes clean, and, in my experience, has a ridiculously long life.  So I’m going to show you my very first go at what evolved into today’s Mamacita Tote:

My very first oilcloth bag

It isn’t exactly swoon worthy, but I loved it.  I used this bag for about a week before I realized the importance of interfacing and stabilizer in a bag this size, and made from all oilcloth.  It didn’t stand up on its own and was pretty floppy.  Also, when you sew with oilcloth, the holes made by the needle are permanent.  That means if you don’t lengthen your stitches, you’ll get lots of perforations that will weaken the fabric.  Hence, sewing the straps directly to the oilcloth where all the weight will be stressing the fabric = terrible idea.  I still have this bag in my sewing room and love to bring it out and see how far my design has come since January 2013.  That’s right.  This pattern has been FIVE YEARS in the making.

I needed a better way to attach the straps and I wanted a more stable, sturdy bag.  So another year of trying out different things and I came up with using large drapery grommets as the strap attachments.  I really loved this, but after I got a package of grommets from the manufacturer and they were all cracked from shipping, it was time to rethink using them.  I couldn’t risk having one break and then go through the hassle of replacing them all the time.  Quality supplies are my top priority.

The second generation Mamacita Loca bag

I really like embroidering the vinyl or quilting it (or both!) and adding unique embellishments to make each bag unique.  Late in 2017, I have the absolute best version of this bag that I could dream of.  I’ve made over 200 of these bags, and even sell custom Mamacitas on Etsy.  They have an updated strap attachment that is stylish and functional, and I love the look of them.  I recently made my favorite Mamacita Tote EVER from Tula Pink’s latest line- De La Luna in quilting cotton.  Although I really like using oilcloth for the lining since it’s so easy to clean, I love the bright and vibrant colors in Tula’s line, so I’ll sacrifice the wipability for that, and just try really hard to keep my 1.5 year old from spilling her milk in it 😉

Mamacita Tote in De La Luna

The Mamacita Tote has been my ultimate labor of love, and I know this pattern by heart.  I love that the lining keeps me organized with all the pockets, and that I can still be stylish or trendy with my fabrics.  Every time I make one, I remember how much I’ve grown as a sewist and how much I’ve learned from all my trial and error and fearlessness as a novel sewer.  I’d love to see your take on the Mamacita Tote and I hope you’ll share your creations with me (use the hashtag #mamacitatote or tag me @kustomkwilts) so I can see the amazing work you’ve done!

Embroidered Mamacita Totes

Posted on

English Paper Piecing – Double wedding ring style!

Good morning!  So many milestones going on in our household this week–our little girl turned 6 months last week (How has it already been half a year???) I celebrated my first mother’s day, started the baby on her first solid foods, and it’s my husband’s birthday this week.  Needless to say, it’s been super busy, and I feel like I’ve been to the grocery store almost every day this week.  Do they give frequent flier miles for multiple grocery store trips in one day?  I should also mention we live 12 miles from the nearest grocery store…  I’m sure you can relate to the feeling that you’re flying by the seat of your pants on household chores and checklists.  Laundry, dishes, etc., etc., but I wouldn’t trade it for the world!

One of the many reasons I love English Paper Piecing is the opportunity to slow down and enjoy the process of hand sewing.  I also love combining multiple parts of the sewing and design process and planning out a project from start to finish.  There is something so satisfying in making something completely from start to finish…even if it sometimes feels like you’re recreating the wheel.  


I started by sitting down with my EQ7 software and designing a mini quilt for our local Modern Quilt Guild.  We recently had our first silent auction event and mini quilt show (SO FUN!).  Then I printed templates onto cardstock for the EPP pieces and started thinking about my fabrics.  I had a great charm pack of Kaufman Kona Cotton Solids that I had been holding onto for over a year, and thought this would be a great opportunity to use it.  I traced and cut out my fabrics, and then had to pause when I selected my background fabric. 


I knew I didn’t want white, and I really like the effect black and white patterned fabrics have with solids.  So I auditioned a few different fabric choices–I really thought I wanted to go with a black and white stripe, but I opted for a more solid-reading print instead.  I pieced together a few of the DWR pieces and then placed them on top of my background fabric choices.  Pictured below is what I thought I was going to go with, but I instead selected a Tula Pink True Colors black and white print.  Because…Tula!!!


From the basic design in EQ7 (They already have the blocks drawn up…I just sized them to fit my needs), printing the cardstock, then cutting the fabrics, I got to take a breath and piece in my leisure time.  HA.  Leisure time…You know what I mean.  The semi-quiet moments in the house when my hair wasn’t on fire 😉


Then I loaded the mini on my longarm and did some simple stitch in the ditch around the wedding rings and some loopy swirl combos on the black and white background that blend nicely.  It may seem kind of dumb to longarm a mini quilt, since you need a little bit more backing fabric than you would if you were to quilt it on a domestic, but I figured I paid for that huge machine and I’m going to get my money’s worth!  Plus, I had just taken a fresh quilt off of the frame, and I had to take advantage of it before I loaded my next quilt.  It made for a slightly quicker finish than if I’d done it on the domestic sewing machine.

I was thrilled with the results, and playing with the color gradation and high-contrast background was really a lot of fun.  But mostly, I was able to really enjoy the process and each step along the way.  I don’t know about you, but from the day I started sewing, I’ve always eyed the double wedding ring quilts.  I’m not sure I have the patience at this point in my life to see a full-sized quilt through, so this mini quilt was the perfect opportunity for me to cross a DWR quilt off my quilting bucket list.  I had also never taken the time to hand piece curves before, but it wasn’t as bad as I thought it might be.  Really, I had built it up to be this super scary moment, when all you really need to do is take a little extra time and carefully mark the centers of each EPP piece prior to piecing it, and make sure you line the centers up while adjusting the curves.  

I hope your sewing adventures take you somewhere awesome this week, and try to slow down and enjoy the process behind what you’re doing.  I know I really enjoy the projects where I can slow down a bit and take a break from the hustle and bustle of life.  Happy sewing friends!

Posted on

My first quilt market

International Quilt Market Website
Visit the link above for credential requirements, hotels. dates, etc.  

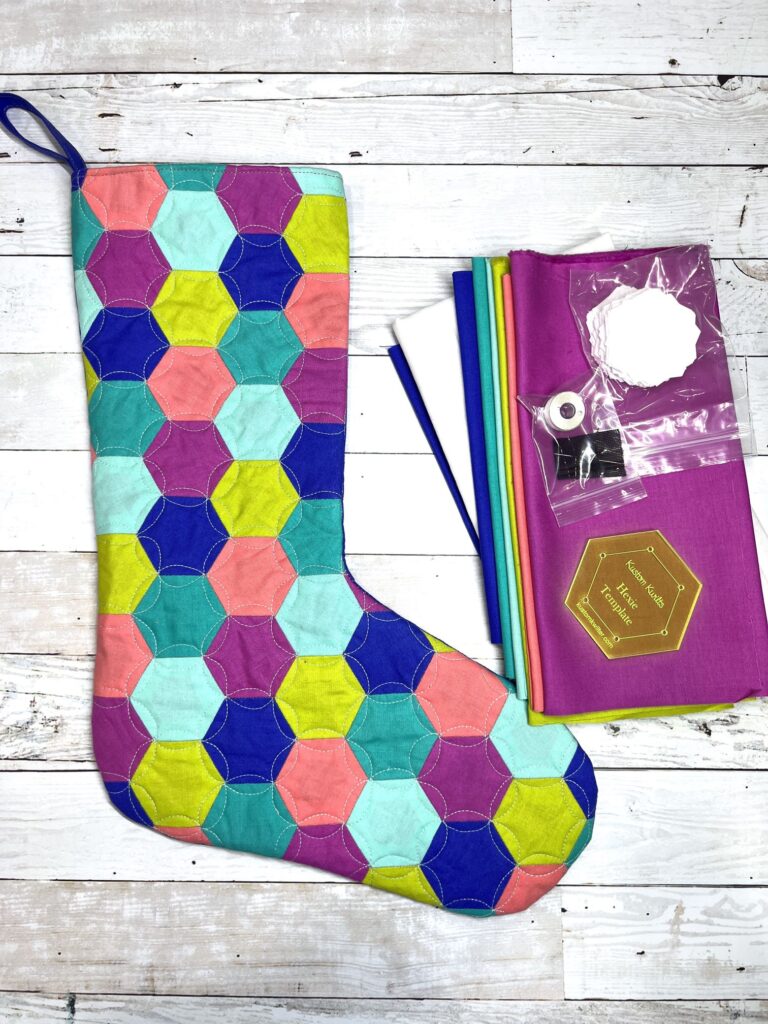
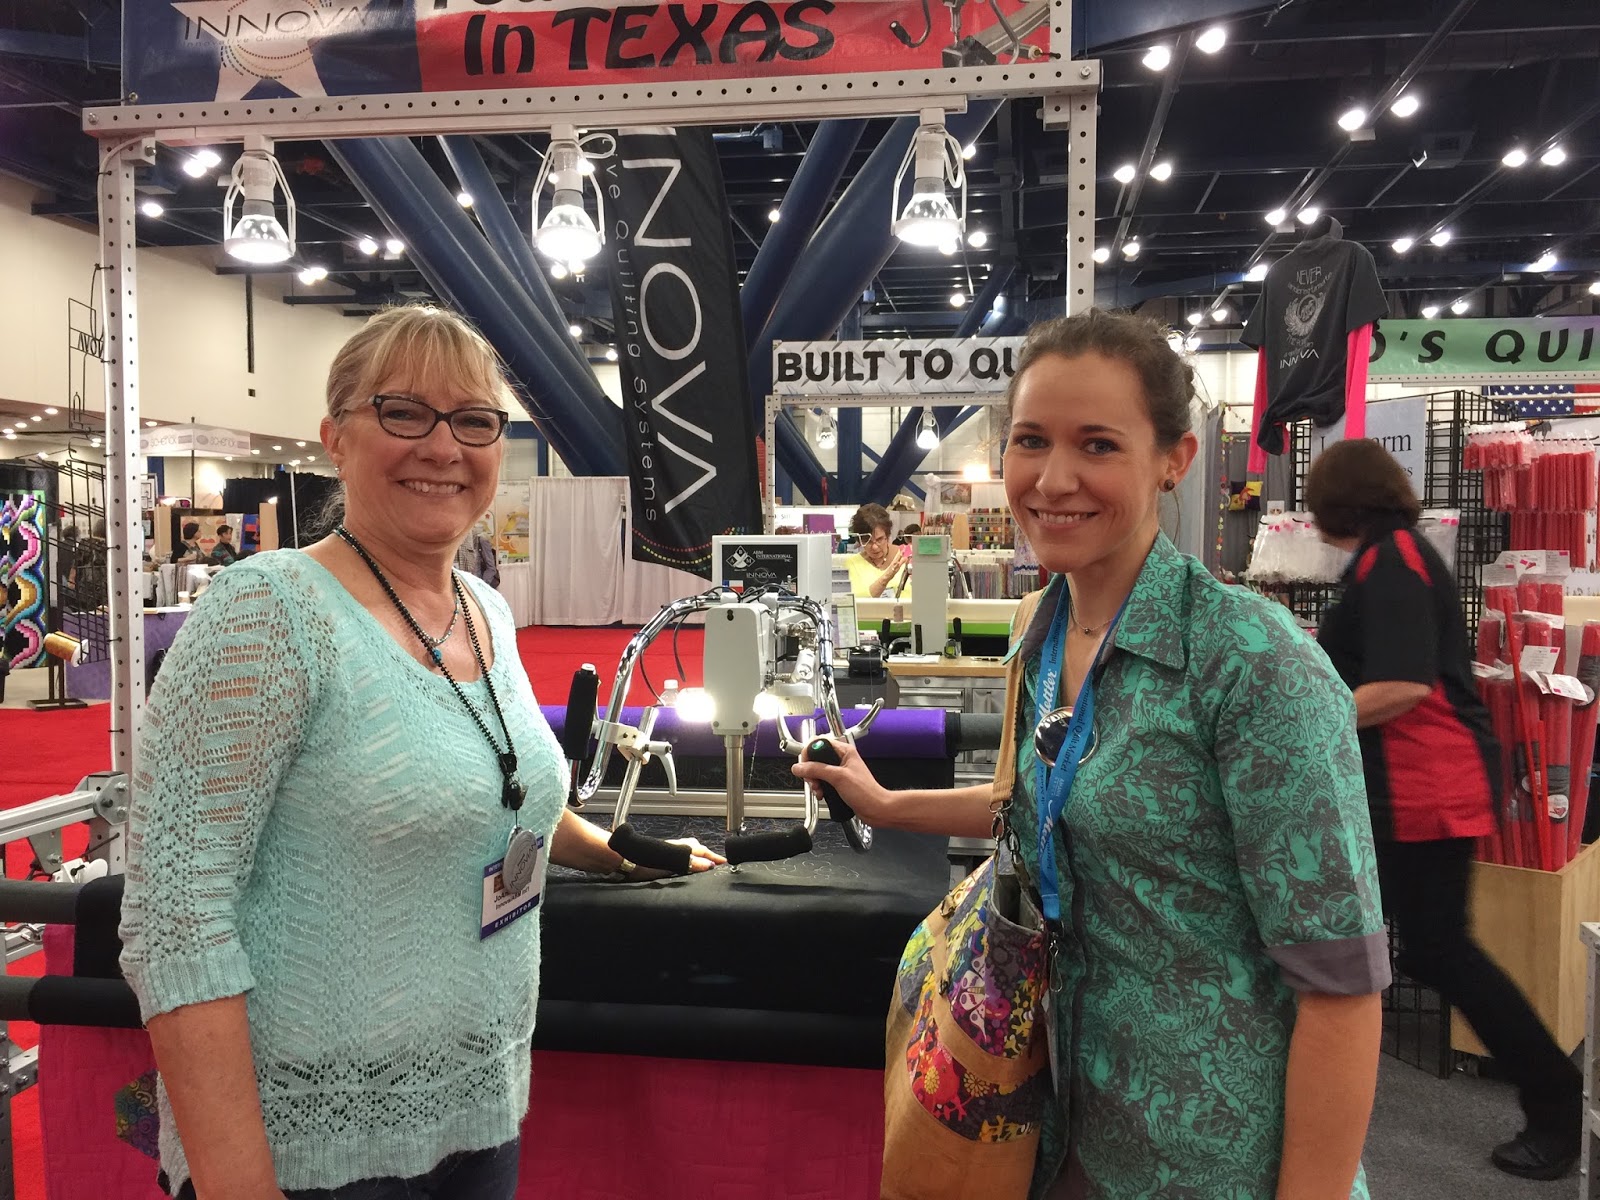
My first longarm purchase at Quilt Market


I would consider myself fairly new to the sewing/quilting industry, especially compared to others who were brought up around sewing and related activities.  I’m in my 4th year of sewing/quilting/etc., and hadn’t really considered attending quilt market or quilt festival until this year.  

I still have never gone to festival-the portion that is open to the general public-but I did get to go to market this year.  It just made sense that I needed to go and try to network or build some mutually beneficial relationships with other people in the industry.

Here are some tips for those of you who are first time visitors to Quilt Market:

1.  Have a plan-for maps, routes, restaurants, lodging, parking.

     I used to live in Houston, so I didn’t worry too much about maps, restaurants, lodging.  But all of those things are extremely important.  On my first trip to QuiltCon, my hotel room was miles from the convention center, and I learned not to make that mistake again.  Most of the fun, after-hours things take place at the center of it all, and if you aren’t staying close to the convention center, you probably will miss out–or at least spend more time driving back and forth than you’d like.  If it isn’t an area you’re familiar with, take advantage of the local restaurants and partake of the awesome food.  Parking is extremely important!!!  This year, the George R. Brown had lots of construction.  And it’s downtown.  I made sure my hotel had guaranteed parking reserved at no additional cost, and I was able to walk to the convention center.  Otherwise, you will be looking at mandatory valet fees, or at the very least–valet/parking fees just to park at your hotel.  I find it somewhat ironic that when I lived in Houston, I had no interest in attending Quilt market or festival.  

2.  Have a plan-contacts & exhibits:

      I printed out the map of the convention floor and the list of exhibitors.  I went through and hi-lighted every booth/exhibitor I thought I may want to visit with so I didn’t waste time walking aimlessly through the whole thing.  It also made it really simple for me to remember what my goals were.  I really, really wanted to meet Tula Pink…that was my first destination 🙂
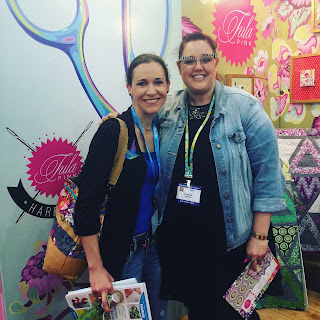
Tula meet up 🙂


3.  Register in advance.  Make sure you have all the required documentation–and if you don’t, leave yourself plenty of time to get those things in order.

4.  Reserve your hotel WAY in advance.

      Especially if you want to get a special rate for market.  Most of those rooms that are blocked out book up quickly, and the hotels with rooms adjacent to convention usually fill up also.  Just plan ahead.  

5.  Business cards.  

      Memorable, simple, all your contact info.  I printed up fresh ones from Vista Print that really were just my name in huge letters with small contact info.  No flowery add ons.  Just simple and bold.  You may want something different, but I wanted mine to be versatile since I planned on talking to several different people.  

I also got to meet Lindsey Marsh from Sew To Grow.  We have the same last name, so we’re holding up business cards/badges.


6.  Know what your goals are.

      In my case, my two main goals were networking and purchasing a longarm (which I will discuss in a separate post).  I wanted to try every longarm that was represented at market, and I did that.  I took notes on every machine and what I liked and didn’t like, price points, etc.  I was able to make a decision in 24 hours and make the purchase.  I will say I was a little nervous at the networking…I didn’t do as much as I should have, and I will know what to do more next year when I attend.  I wasn’t prepared.  When I went to people who’s work I admire so much, I couldn’t manage to find my speech and ended up sounding like a doofus.  I didn’t have clearly defined in my head specific things I could do to benefit some of the people I wanted to network with, and so was at a loss when I went to talk to them.    

7.  Make sure you have enough time to meet your goals.
   
      I only had about a day and a half to get everything done that I needed to.  Don’t over do it, and make sure you make the most of your time.  

8.  If you go for networking purposes:
    
      DON’T interrupt an exhibitor who is trying to sell their goods.  If you are solely going for an introduction, wait until that exhibitor is not busy–I would recommend at the opening or closing times of market, or on Sunday evening–to introduce yourself.  You won’t make any friends cutting off a potential sale for that person.  The exhibitors are there to make sales to retailers.  If you are trying to get work from designers, make something from their fabric, or products that you can wear to show you use it already.

9.  Take a notebook and something to put business cards in

      You will want to have something handy to write down notes or contact info from other people, and somewhere handy to keep business cards you’ve exchanged.

10.  Networking follow-up:

        If you go to make business relationships, you should send a follow-up email after market and festival are over.  This shows that you are serious about what was discussed, and that you really want to work with said person.  Do it in a timely manner so the person still remembers you.  It doesn’t have to be anything fancy, but you should at the very least remind them what was discussed, how you can help them business-wise, and your contact info again.  If you have a photo gallery on your website, also include a link to that so they can see your work.  

11.  Have fun and appreciate the hard work that goes into it!

Until Next time,
Joanna

Posted on

Creating bags with no pattern (or making it up as you go)

For roughly the last week, I have been working on this duffle bag after I received my first shipment of Tula Pink fabrics.  I am absolutely NUTS about this fabric designer.  Her use of color is insane, and her patterns are awesomely fun.  I’ve had a duffle bag on my to do list for over a year now, and it was high time I kicked into high gear.
I browsed tons of websites looking for patterns for duffle bags, watching tutorials, and looking up travel bags on Pinterest.  I didn’t like any of the patterns, they all seemed either really juvenile, dorky looking, too small, or just not finished enough.  
So I made a list of all my “must haves” and decided to write my own pattern.  I had all my fabric out and ready to go, and got to work in my sketchbook drawing out measurements and the order of construction steps.  Turns out I didn’t even so much as cut a piece of fabric until 2 days later.  If you haven’t ever written a pattern before, you might take for granted how much time, trial and error, and re-writing goes into it.  
The project took me about 5 days start to finish (my husband’s family was in town for the weekend–I may have been able to shave one day off if I worked all the way through).  
The one thing I just really was not satisfied with was that I did not put any interfacing in the zipper panel that goes in the top.  In the picture, I have two huge sacks of fabric shoved inside to keep the middle from drooping.  I’m pretty confident that adding the interfacing would fix that.  Maybe there will be a duffle bag 2, but I’m thinking about naming this bag “The Body Bag”.  I could literally fit all three of our dogs inside and still zip it up (Border collie and 2 heelers).
This bag has all over free-motion quilting in four different thread colors, a three-section elasticized pocket on the interior, a 3-section pocket for shampoo, conditioner, body wash, another smaller elasticized pocket, and another 3-section pocket.  The exterior has two zipper pockets (one on each end), and 4 exterior pockets.  And enough room to pack for a week and a half without needing anything.  Those were my requirements, so I guess if the middle is a little saggy, I’ll get over it!