Posted on

San Antonio Modern Quilt Guild Mini Quilt Show

The guild I belong to recently held a mini quilt show/silent auction, where the members were challenged to make modern mini quilts measuring 16″ square to show and raise awareness for modern quilting and invite people to ask questions about what our guild does.  The event was graciously hosted by Sew Special Quilts in San Antonio, where they provided space for us to show the quilts and have our meeting after hours.  They were so awesome and have a great selection of quilting and sewing supplies, so if you’re in need and in the area, please show them some love!  

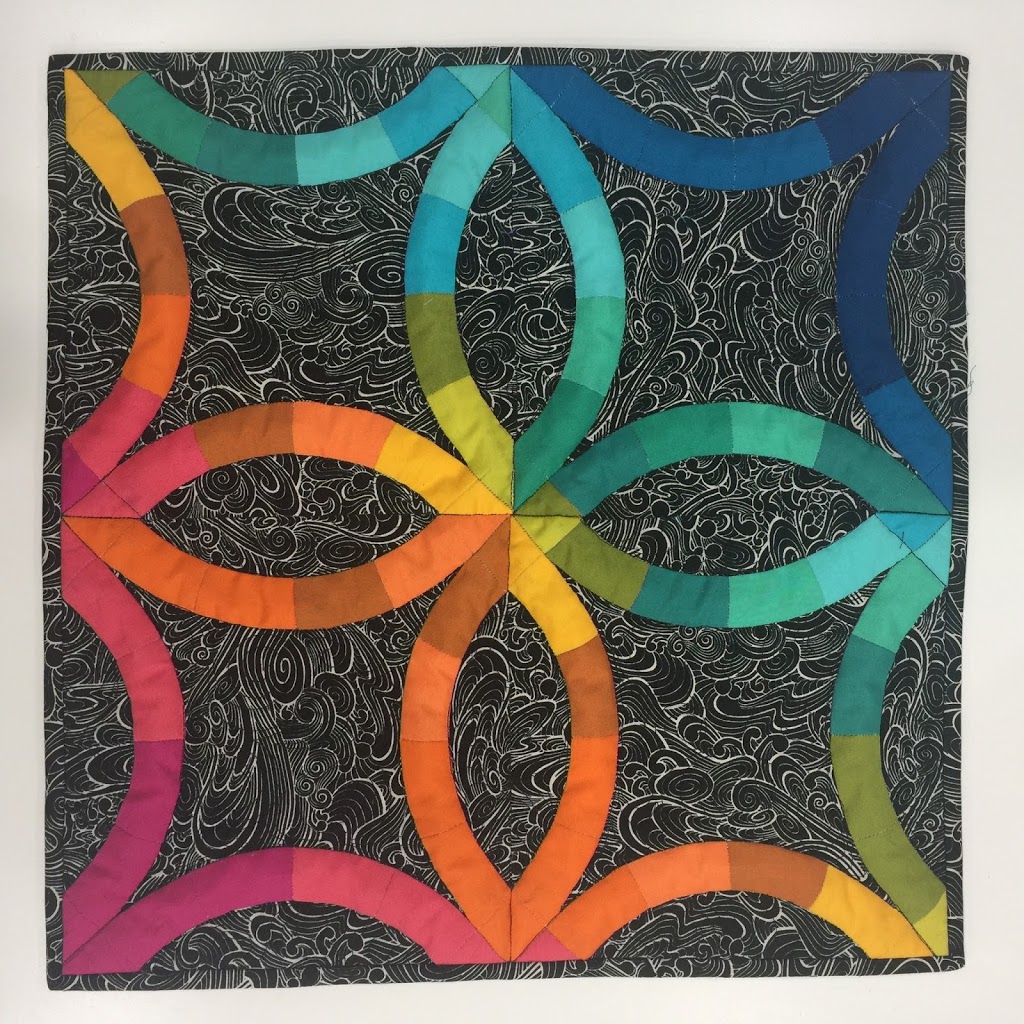
I already posted about the mini quilt I made two weeks ago (the double wedding ring mini quilt), but I wanted to share the other two quilts I worked on, in collaboration with Debra–a fellow member of the guild.  
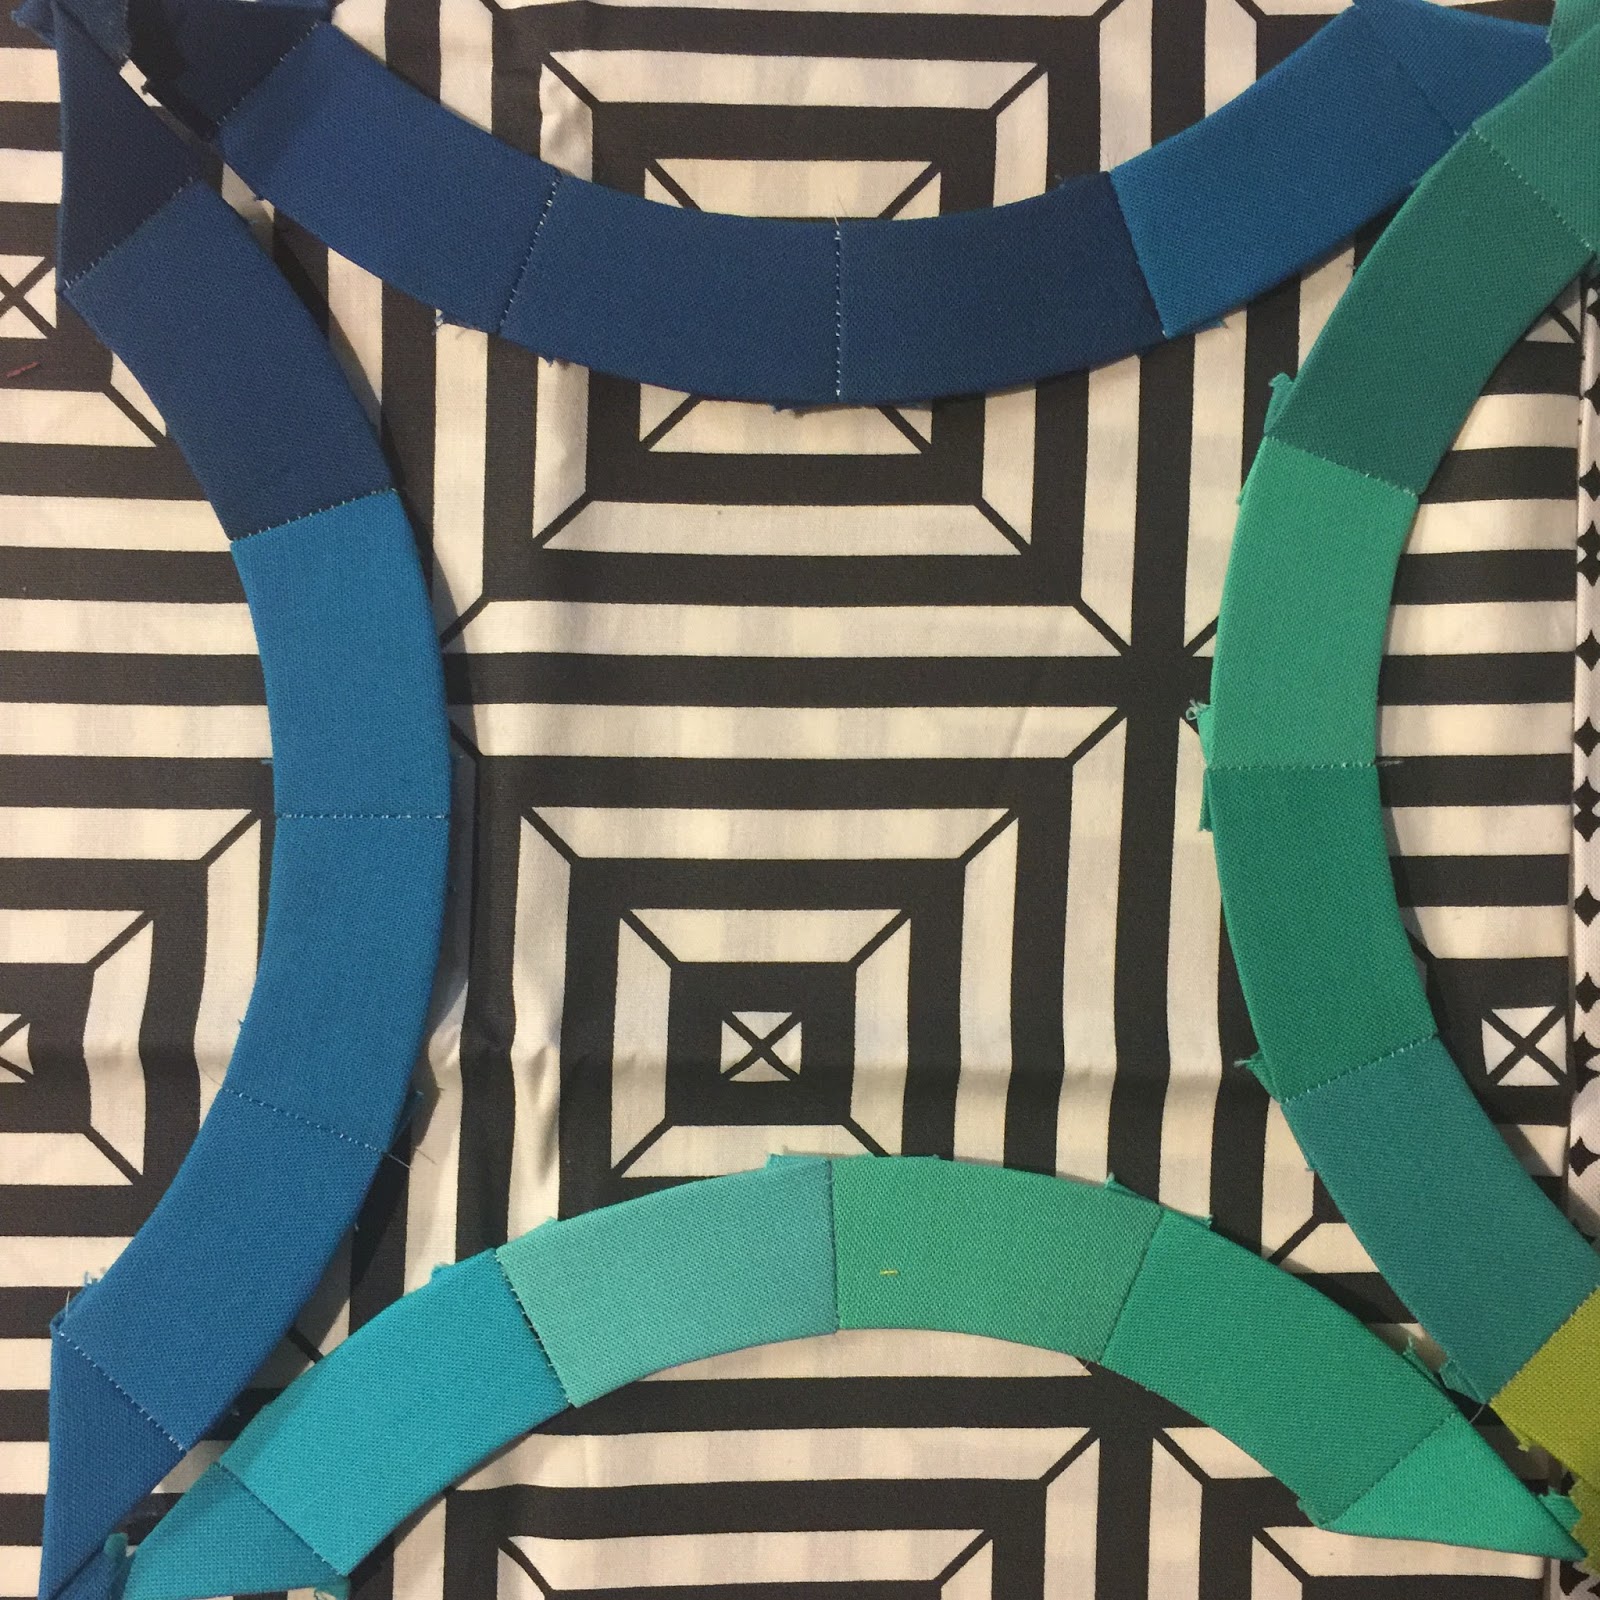
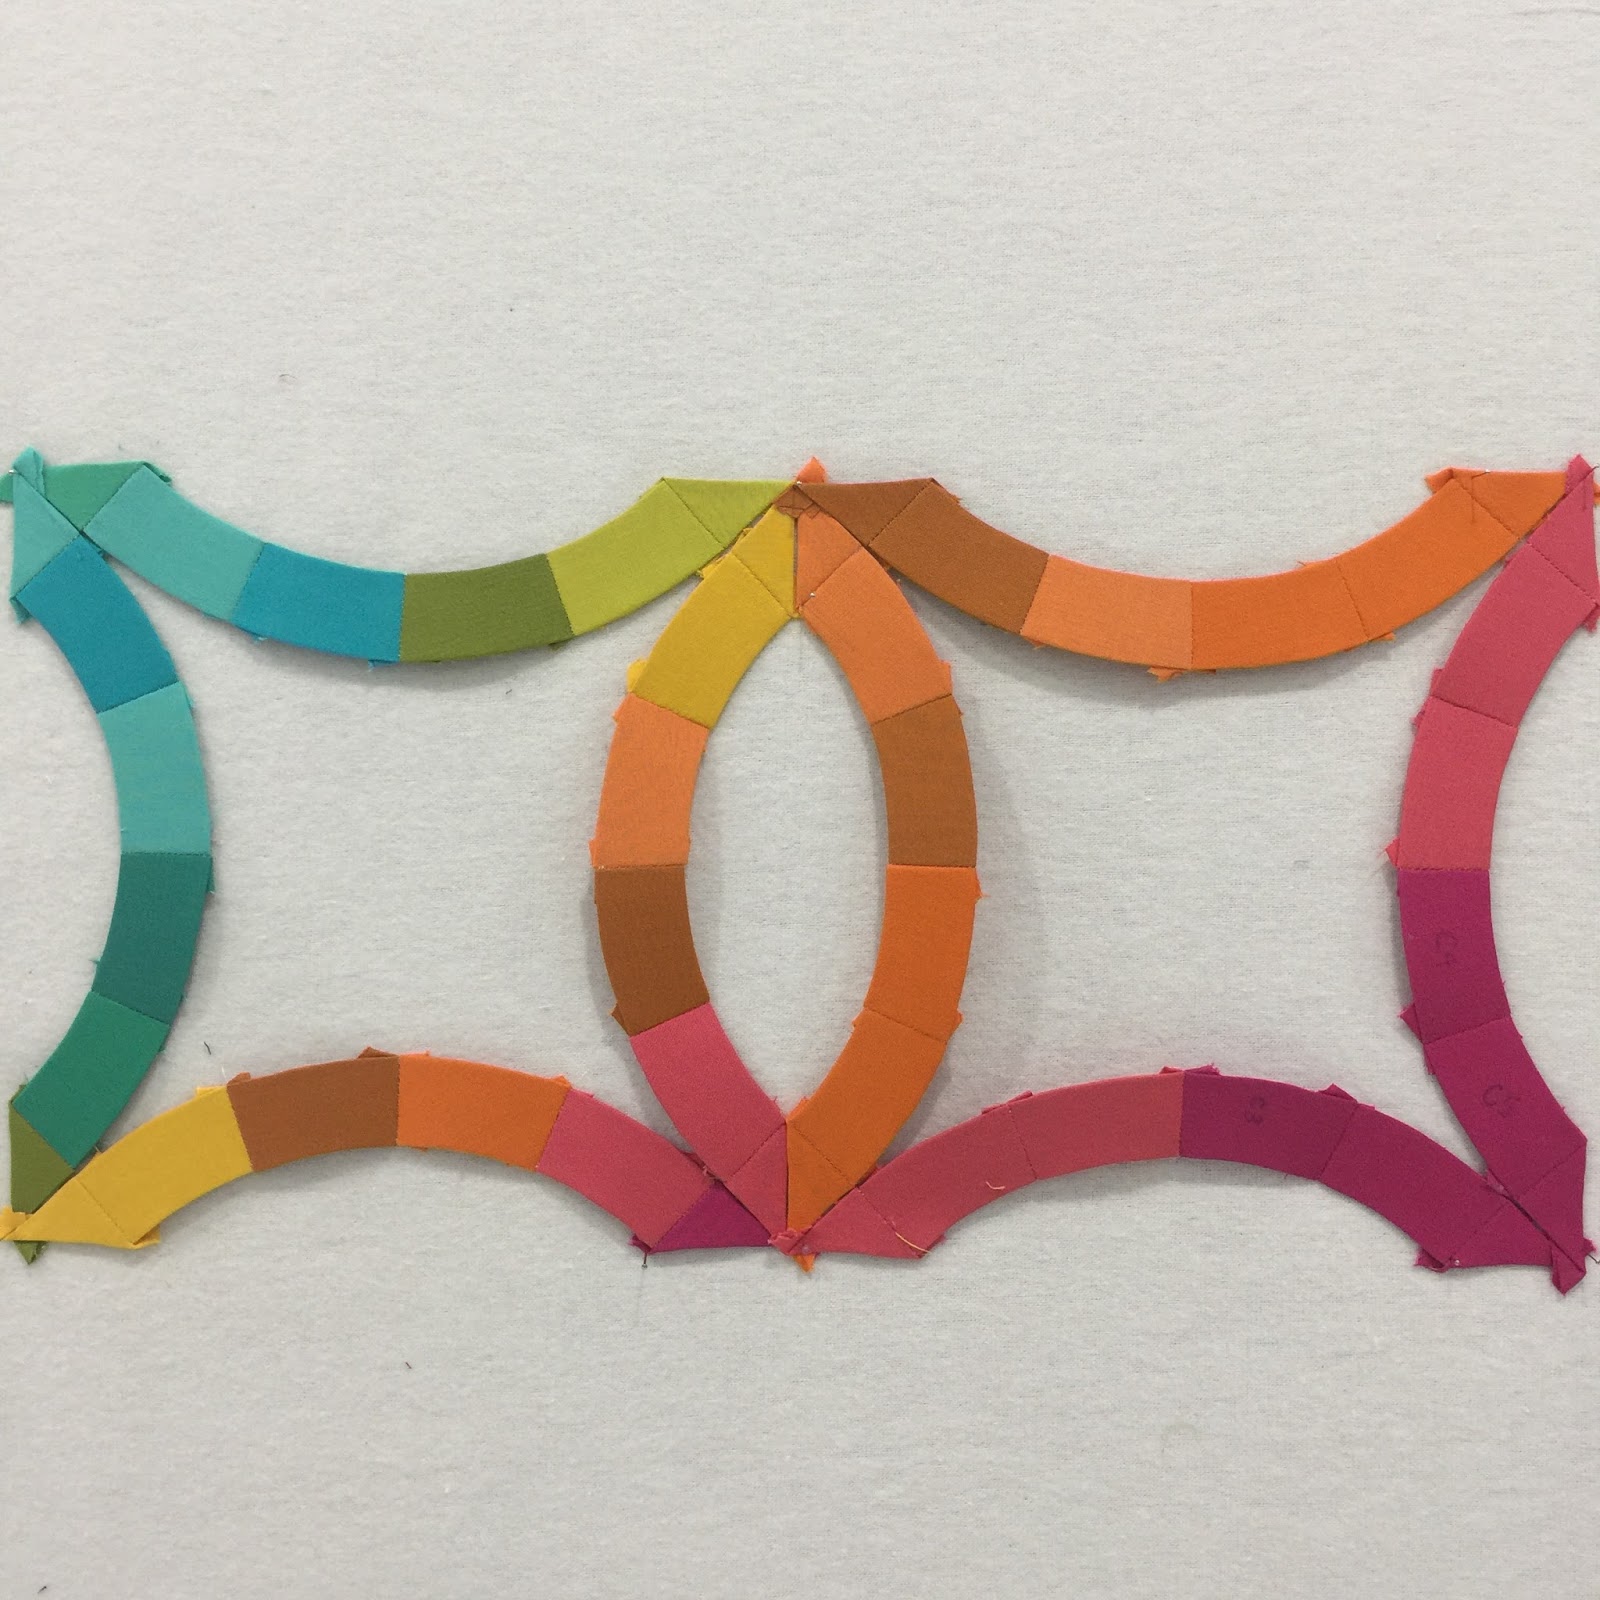
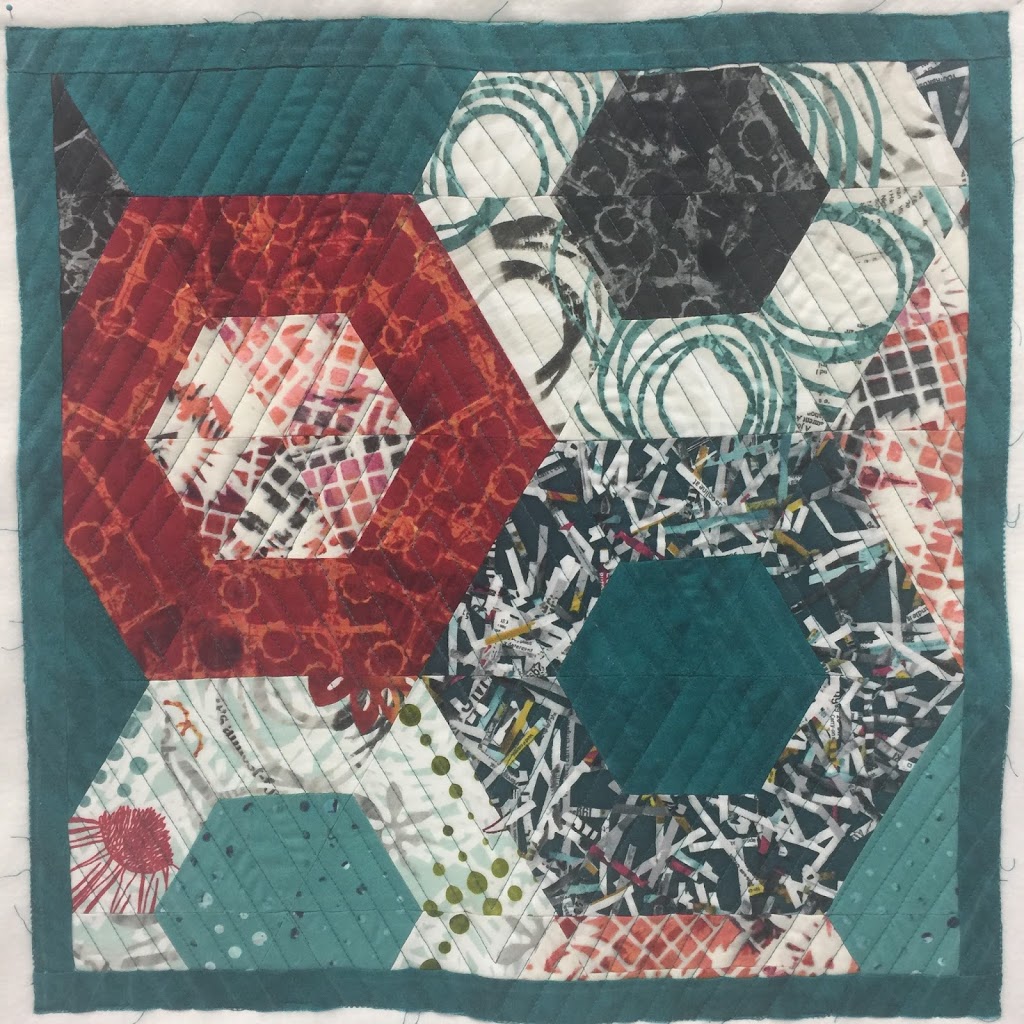
The first quilt I quilted was pieced by Debra from yet another guild member’s inaugural fabric line (Leslie Tucker Jenison-Urban Artifacts by RJR Fabrics).  It’s a great design and awesome way to showcase a variety of great fabrics.  For this quilt, I just quilted some simple contrasting straight lines.  I think the fabrics and design of the mini are more prone to show better when the quilting design is simple.
Pieced by Debra B, fabric-Urban Artifacts by Leslie Tucker Jenison
pardon the not-square appearing mini.  It really was square, but I forgot to smooth that wrinkle before I snapped this picture.  This was right after quilting and mini was not yet bound. 
The second quilt I quilted was also in collaboration with Debra.  Debra hand cut each charm square from a Grunge charm pack and fused the fabrics to the background.  I thought this was a super cool quilt pattern to use and has the illusion that all the circles are connected.  For this one I wanted to do something to make the circles stand out from the background, so I quilted a smaller grid on the fused circles and then did some straight line quilting on the background fabric.  
Mini Quilt “pieced” by Debra B. using Grunge fabrics
We had a really great night and the event was so much fun.  It isn’t often that everyone in our guild participates in “Sew and Tell”, and we had a lot of members participate in this.  Seeing the range of everyone’s quilting interests and what their personal specialty is was a treat.  
Posted on

English Paper Piecing – Double wedding ring style!

Good morning!  So many milestones going on in our household this week–our little girl turned 6 months last week (How has it already been half a year???) I celebrated my first mother’s day, started the baby on her first solid foods, and it’s my husband’s birthday this week.  Needless to say, it’s been super busy, and I feel like I’ve been to the grocery store almost every day this week.  Do they give frequent flier miles for multiple grocery store trips in one day?  I should also mention we live 12 miles from the nearest grocery store…  I’m sure you can relate to the feeling that you’re flying by the seat of your pants on household chores and checklists.  Laundry, dishes, etc., etc., but I wouldn’t trade it for the world!

One of the many reasons I love English Paper Piecing is the opportunity to slow down and enjoy the process of hand sewing.  I also love combining multiple parts of the sewing and design process and planning out a project from start to finish.  There is something so satisfying in making something completely from start to finish…even if it sometimes feels like you’re recreating the wheel.  


I started by sitting down with my EQ7 software and designing a mini quilt for our local Modern Quilt Guild.  We recently had our first silent auction event and mini quilt show (SO FUN!).  Then I printed templates onto cardstock for the EPP pieces and started thinking about my fabrics.  I had a great charm pack of Kaufman Kona Cotton Solids that I had been holding onto for over a year, and thought this would be a great opportunity to use it.  I traced and cut out my fabrics, and then had to pause when I selected my background fabric. 


I knew I didn’t want white, and I really like the effect black and white patterned fabrics have with solids.  So I auditioned a few different fabric choices–I really thought I wanted to go with a black and white stripe, but I opted for a more solid-reading print instead.  I pieced together a few of the DWR pieces and then placed them on top of my background fabric choices.  Pictured below is what I thought I was going to go with, but I instead selected a Tula Pink True Colors black and white print.  Because…Tula!!!


From the basic design in EQ7 (They already have the blocks drawn up…I just sized them to fit my needs), printing the cardstock, then cutting the fabrics, I got to take a breath and piece in my leisure time.  HA.  Leisure time…You know what I mean.  The semi-quiet moments in the house when my hair wasn’t on fire 😉


Then I loaded the mini on my longarm and did some simple stitch in the ditch around the wedding rings and some loopy swirl combos on the black and white background that blend nicely.  It may seem kind of dumb to longarm a mini quilt, since you need a little bit more backing fabric than you would if you were to quilt it on a domestic, but I figured I paid for that huge machine and I’m going to get my money’s worth!  Plus, I had just taken a fresh quilt off of the frame, and I had to take advantage of it before I loaded my next quilt.  It made for a slightly quicker finish than if I’d done it on the domestic sewing machine.

I was thrilled with the results, and playing with the color gradation and high-contrast background was really a lot of fun.  But mostly, I was able to really enjoy the process and each step along the way.  I don’t know about you, but from the day I started sewing, I’ve always eyed the double wedding ring quilts.  I’m not sure I have the patience at this point in my life to see a full-sized quilt through, so this mini quilt was the perfect opportunity for me to cross a DWR quilt off my quilting bucket list.  I had also never taken the time to hand piece curves before, but it wasn’t as bad as I thought it might be.  Really, I had built it up to be this super scary moment, when all you really need to do is take a little extra time and carefully mark the centers of each EPP piece prior to piecing it, and make sure you line the centers up while adjusting the curves.  

I hope your sewing adventures take you somewhere awesome this week, and try to slow down and enjoy the process behind what you’re doing.  I know I really enjoy the projects where I can slow down a bit and take a break from the hustle and bustle of life.  Happy sewing friends!

Posted on

Mock Stained Glass Mini Quilt Tutorial

Happy New Year!  Well, this post is a day late and a dollar short, but it’s here 🙂
I usually post on Tuesdays, but this one got away from me!  

Sometimes winter blues can get you down (although here, in Texas, it was nearly 80 degrees yesterday and looked WAY more like spring than winter!) and it helps to have some fun and easy projects to get you through the weather.  I hope you’ll take a look at the free tutorial I teamed up with Janome to create.  It’s listed on the APQS blog and is a great free pattern for a mini quilt–or– if you prefer not to quilt it, hang it in a window that gets lots of light for a stained glass effect.  Either way, it’s a great way to add another technique to your arsenal of skills.  


Find the free tut HERE

Have a great week!