Posted on

Summer fun and a DIY first aid kit

DIY first aid kit
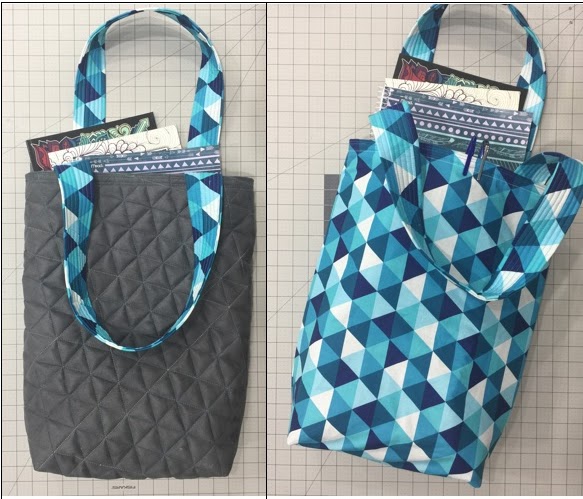
Now that summer is here, many people are planning day outings or vacations with the kiddos.  It’s a good idea to have a first aid kit with you in case something happens, and I know I haven’t even kept one in my car (I’m learning, though!).  So this pattern has a free zipper pouch tutorial and a free foundation paper piecing tutorial in it.  Two for the price of one! But not really, because they’re both free 😉  Head over to the AQS Blog and get your free tutorial HERE!

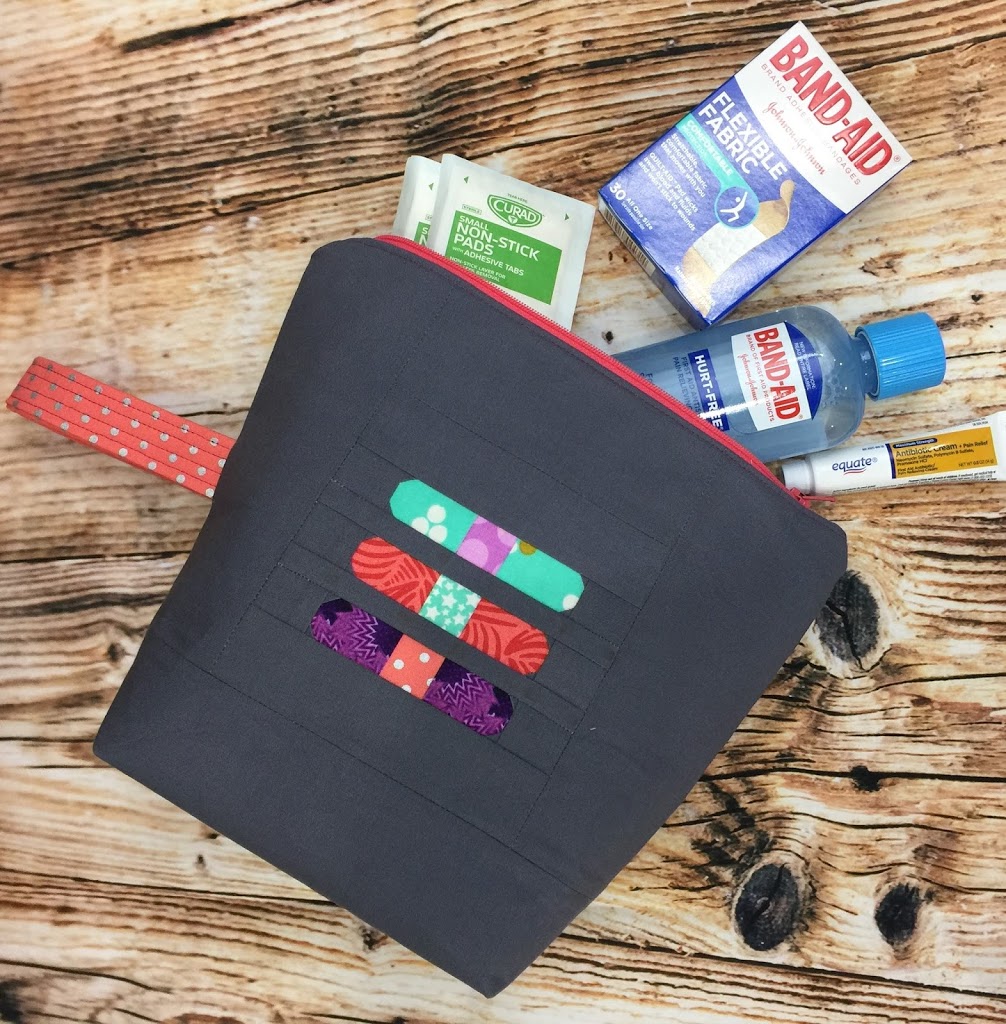
finished foundation block

If you don’t feel like messing around with the band aid block and the paper piecing, you can totally skip that part and just cut two slid pieces of fabric for the front and back.  But those little band aids are so cute!  

I filled my little kit up with band aids, some antiseptic spray and wipes, bandage tape, gauze, and antibiotic ointment.  You can personalize yours however you’d like and maybe sew up an extra one for a friend (or for dad’s car).  The little band aids are a great way to use up small scraps of fabric.  I know I have a hard time throwing any fabric away, so I’ll keep this block pattern close at hand for teacher gifts or whatever!  Happy sewing until next time!

Posted on

Quilting on unconventional fabrics – Quilted Notebook bag tutorial

Happy, happy 4th of July!  I hope you’re able to enjoy the holiday with your loved ones and make some great memories.  

Today, I’m excited to share a free tutorial that I created with the Janome Horizon Memory Craft 9400 for an awesome project bag.  I’m always scouring the house for bags to load up with notebooks, sketch pads, folders, or whatever I’m currently working on to squeeze in a few extra minutes of work on the go, and this bag has a little extra depth to really protect all those items.  It’s also reversible, so you can make one side to go with the fall season and the other a little brighter to work with spring and summer!

Reversible Notebook Bag

Plus…we’ll take a look at quilting on a thicker fabric than your usual quilting cotton.  I do a lot of quilting and embroidery on leather and faux leather fabrics, and there is a lot of hesitation when it comes to that from some.  When I started sewing, I didn’t take a bunch of classes…rather, I just dove in and experimented to find what worked for me.  I didn’t have anyone there to tell me I shouldn’t try something, or that it wouldn’t work, so I think that was a huge benefit.  For this tutorial, break out that walking foot (or your free motion foot) and try your hand at some geometric quilting.  

Janome Dual Feed Foot quilting geometric lines on faux leather

If you haven’t tried quilting on leather or faux leather before, I’d recommend getting a few scraps of some cheap faux leather–my local Joann’s has lots of remnants on clearance that I grab whenever I can–and do some quick samples.  I usually do my best work on “trash” fabric when there’s no pressure to mess up expensive fabrics.  I’ll make sure my pieces are big enough to make a little cosmetic bag or something with later on, because 9 times out of 10, I end up wishing I could save my sample!  

This really is a quick sew–and you can easily alter the bag measurements to make the bag any size you like, upgrade it to add some pockets on the interior and exterior, or whatever your needs are.  Check out the full tutorial on the American Quilter’s Society Blog and have fun with it!  Go and conquer your fears of quilting on some different fabrics, and happy sewing!