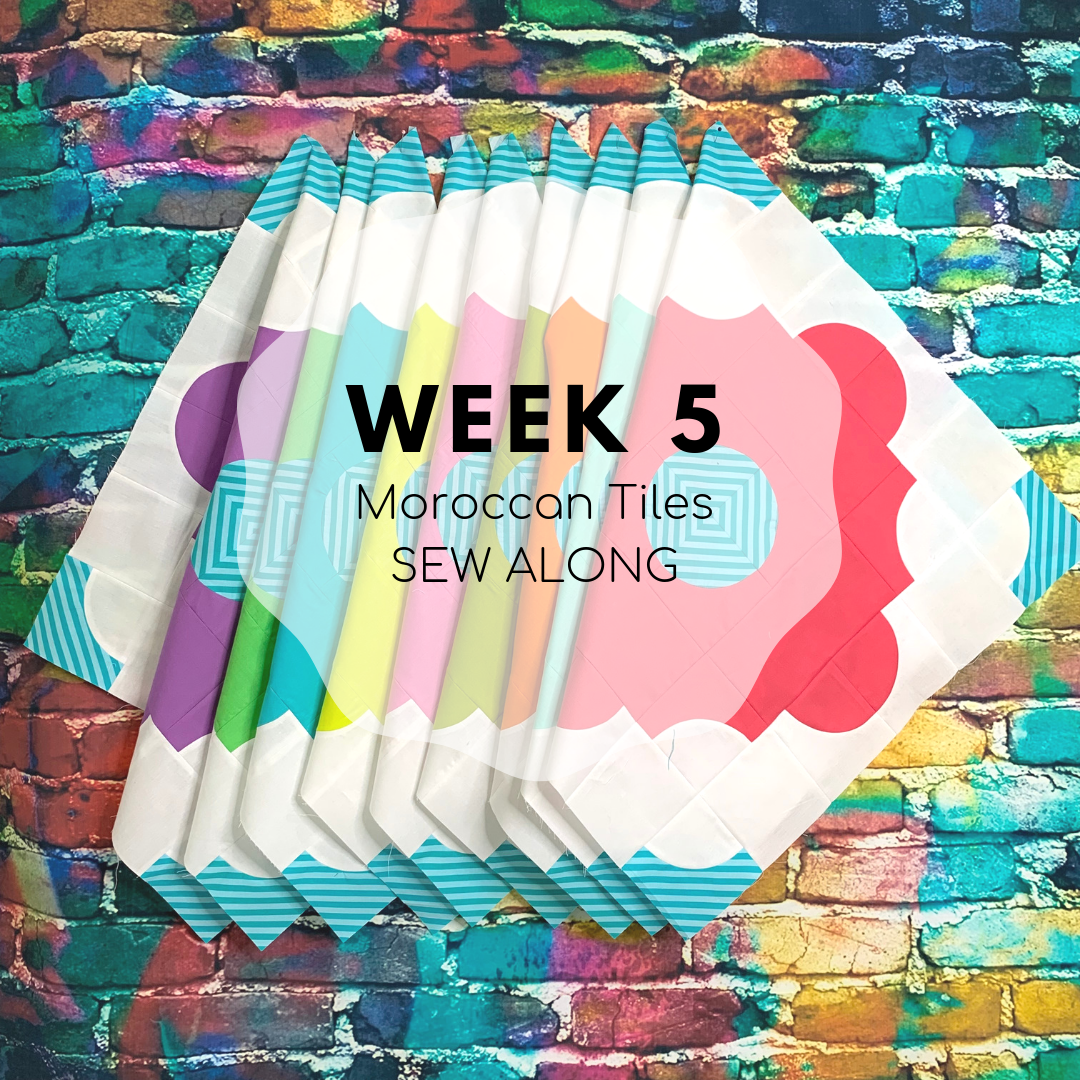
Guys!! We’re starting Week 5 of the Moroccan Tiles sew along! I’m putting up the week 5 post as scheduled, but week 5 is going to be 2 weeks long. So you’ve got until 11:59PM CST July 12 to post your remaining 3 blocks for the throw size. If you decided to go the route of baby quilt and you’ve already completed all your blocks, just post something Moroccan Tiles related. It can be your binding/backing fabric, another shot of your blocks, you sewing, anything having to do with the sew along! You’ll have an extra week this week because the end of week 5 initially fell on 4th of July weekend. We don’t have plans to travel, but a lot of people do. I don’t want to hassle you with a deadline when you’re trying to spend some quality time with the family!
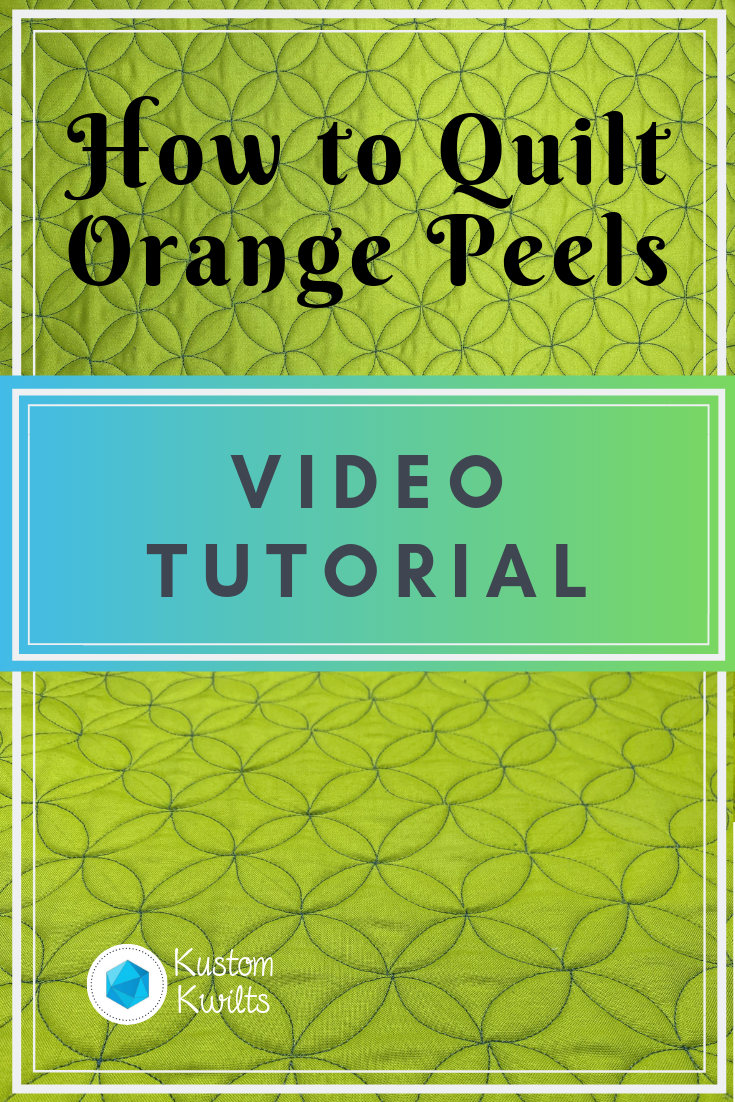
Have you ever seen a really cool geometric quilting design? Then you look at it and immediately think it’s too complicated to quilt yourself? With orange peels, that’s just not true! If you’d like to learn how to quilt orange peels, I’ve got a tutorial that breaks the design down into smaller pieces. All you need to start is a ruler (not a longarm quilting ruler–any ruler will do), marking tool, and your sewing machine and fabric.
Begin by marking out a grid of your choice. For this video tutorial, I marked out a 1.5″ square grid. You should also decide if you want a vertical x horizontal grid, or if you’d like to mark it on point (as I did in the video). After you mark your grid, mark a few of the curved pieces that are going to go in and around the grid you drew as a visual guide before you start quilting.
Now that you’ve marked a few visual guides, you’re ready to get started. Quilt a few half circles as the video shows on the outer edge of the quilt. It’s easier for me to quilt half of the circle, and then go back down the line to quilt the remainder. But do what works for you, and find what you like best! Learning how to quilt orange peels is really just quilting several circles that interlock. Don’t make it more complicated than it is. And know this: The more you quilt that circular motion, the easier it will get. The orange peel shape might not come naturally at first, but the more you do it, the better it will look.
Video tutorial
How can I use orange peels?
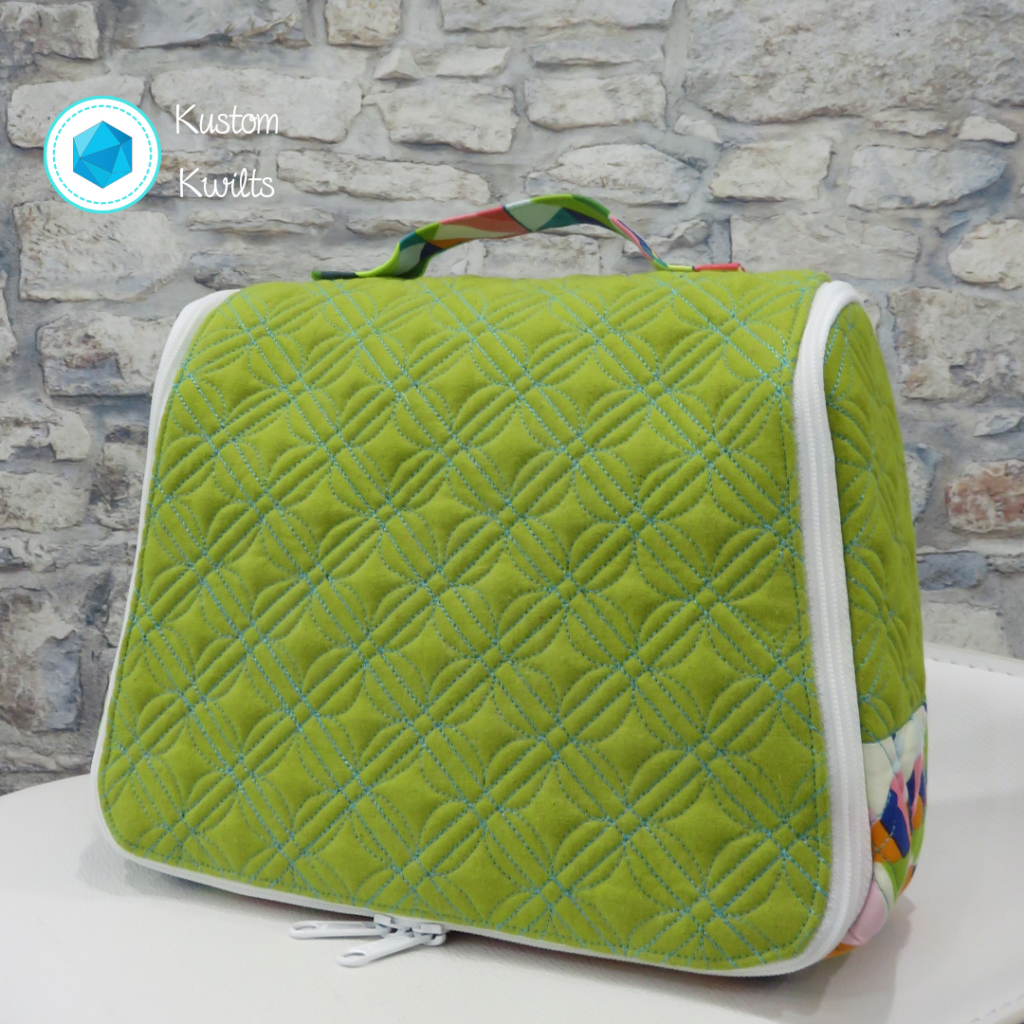
I love using Orange peel designs if I have a large background on a quilt to work with. Also, the orange peel design looks fantastic if you’re quilting up a panel to be used for a bag. I did a modified orange peel design when I made myself some new cosmetic bags for travelling. It really takes the travel bag up a notch, especially if you imagine it without the quilting and just solid green fabric. You can see the full blog post I did here.
Orange peels look great as a motif that you want to be seen. If you’ve got a lot of negative space, it can really add a lot of punch to the overall look! Even if you don’t have your machine handy, this is a great design to practice with graph paper. Grab a few sheets and take them with you for moments of free time and you’ll be good to go!
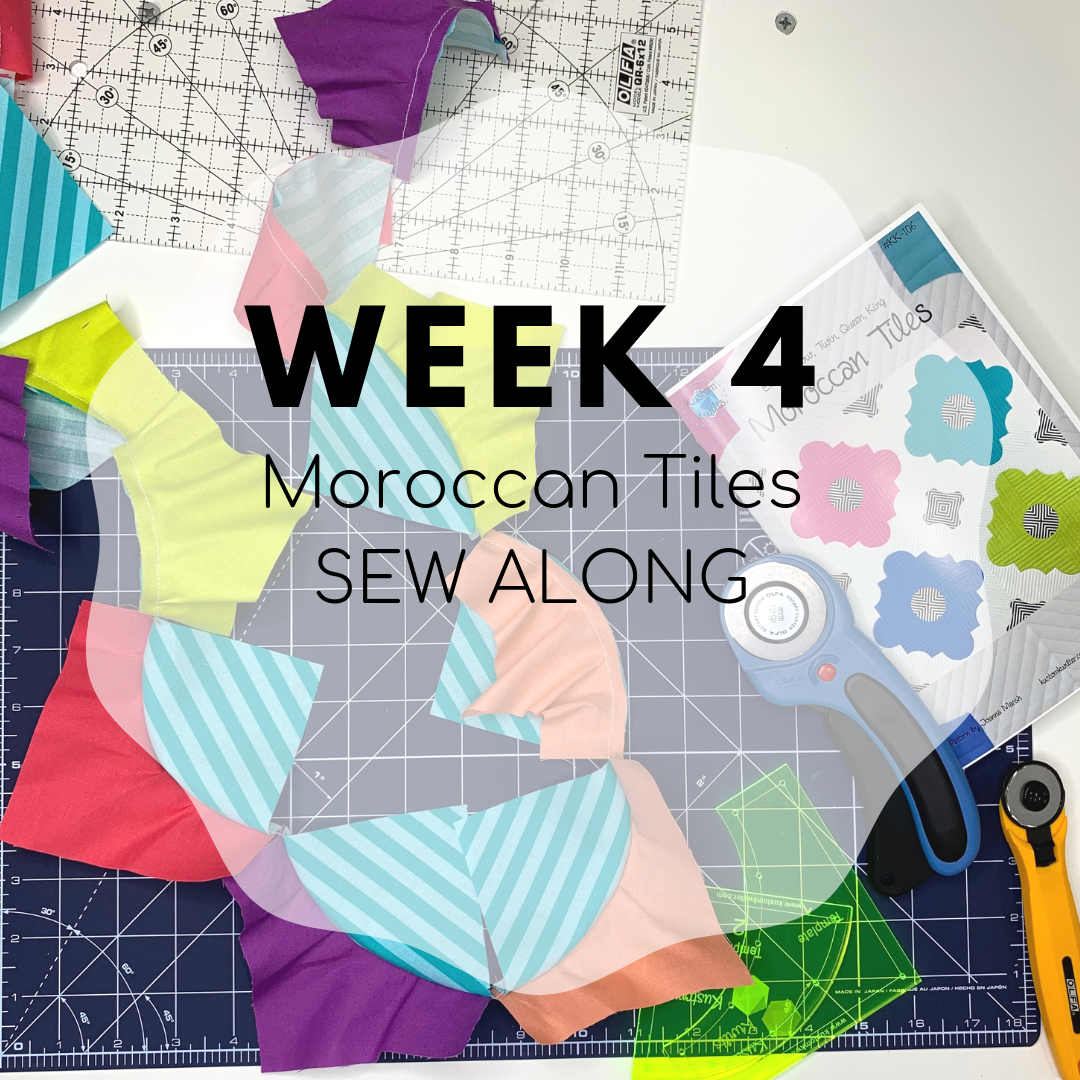
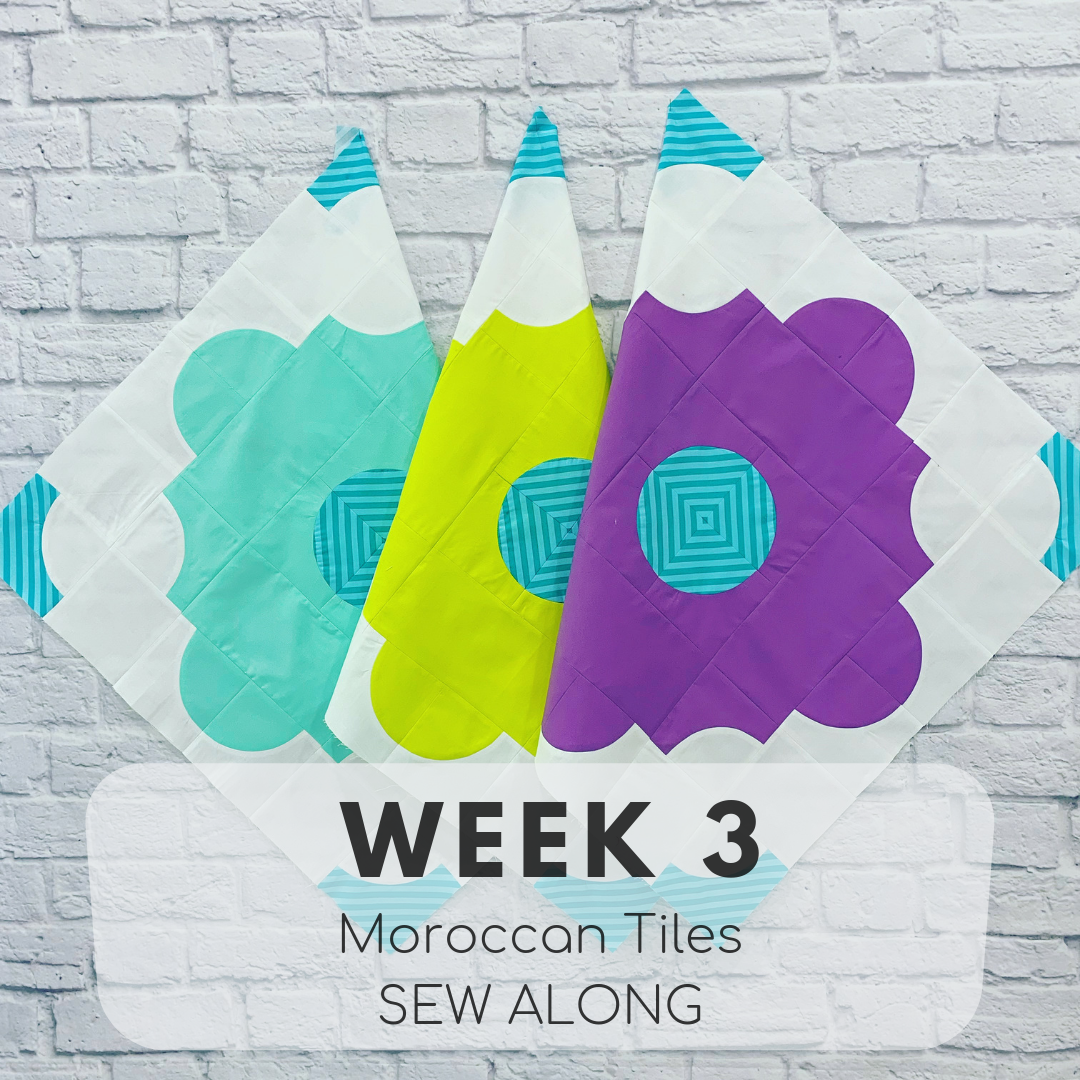
We’re really building up some steam with this sew along and week 4 is much like week 3. Once you get the hang of sewing those curves, it’s a piece of cake 🙂
This week, we’ll be focusing on sewing together blocks 1, 2, and 3. If you’re brand new to sewing curves, I’ve got some great tips for you and some video tutorials to help you out. I made quite a few videos in case you’re a newbie, and it may seem like overkill, but I wanted there to be plenty of help available if you needed it. If you’re a seasoned curves-sewist, feel free to skip them!
The first time I sewed curved pieces, I was really intimidated by it all. Honestly, the first few blocks I made looked awful, I had puckers in my fabric, and it obviously wasn’t clicking with me. If this is you too, please hang in there! Practice makes it so much easier. There are several ways to sew curves together, and two of my favorites are pinning the fabric, and not pinning the fabric. I’ve made some videos to help, and you can see them here.
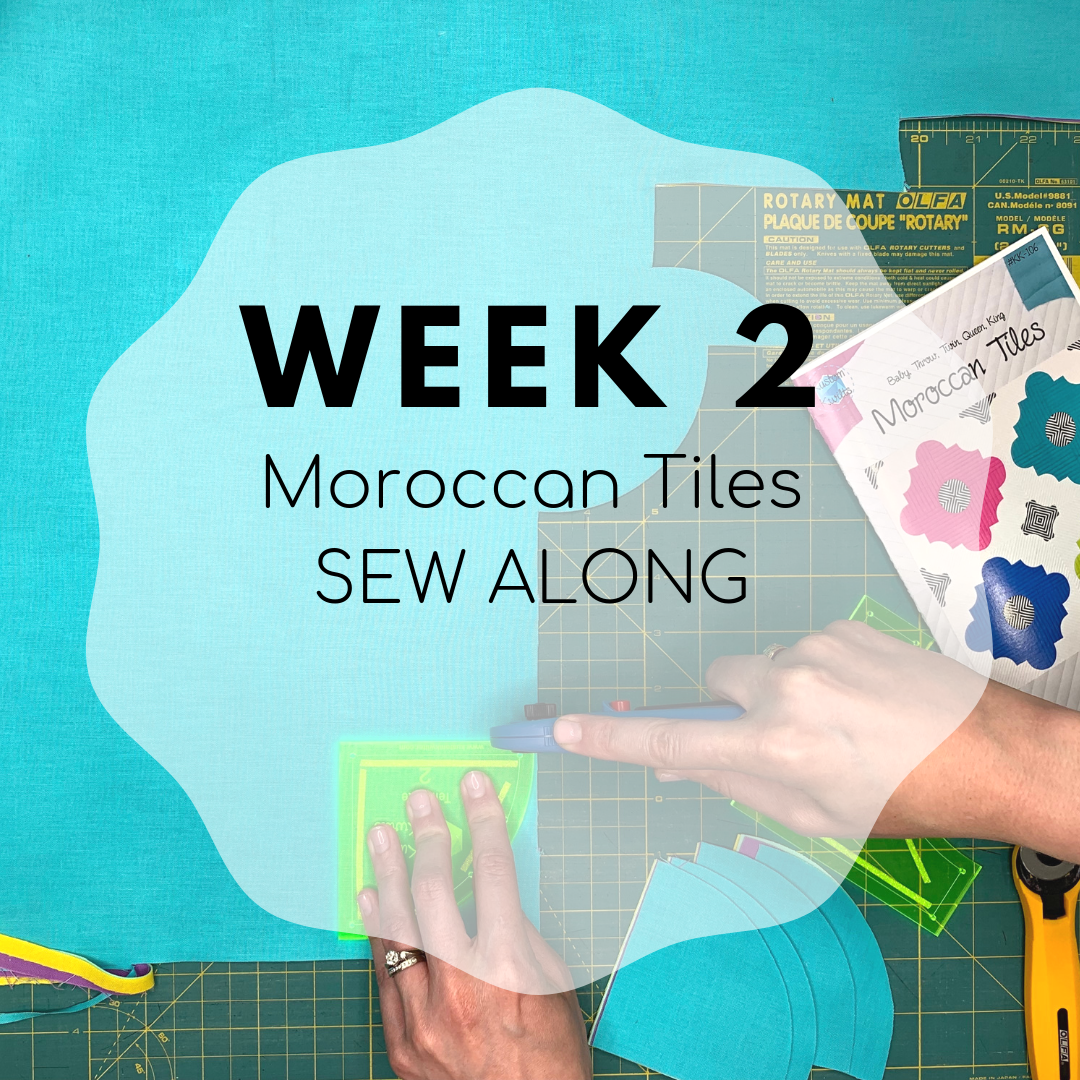
Alright, so here’s the breakdown for Week Two:
Sew together 3 complete Moroccan Tiles blocks
the SAL is paced for the throw size (9 blocks), but you can easily make more blocks per week to accommodate the larger sizes, or make less per week to make the baby size.
Don’t forget to match those stripes or fussy cuts if you went that route. I like to pin to match the patterns, or you can try glue basting for a great no-shift match!
This week, post a picture of your 3 blocks on Instagram using the #moroccantilessewalong hashtag. I’ll be randomly picking one winner from week three (you have to post the week 3 prompt on Instagram with the hashtag by 6/21/2019 at 11:59 CST) to win an awesome prize! This week’s prize is a SunPrint 2019 FQ bundle from Sew Modern Chicky (the SAL shop sponsor). Check out the Original Sew Along post for more details & the rules.
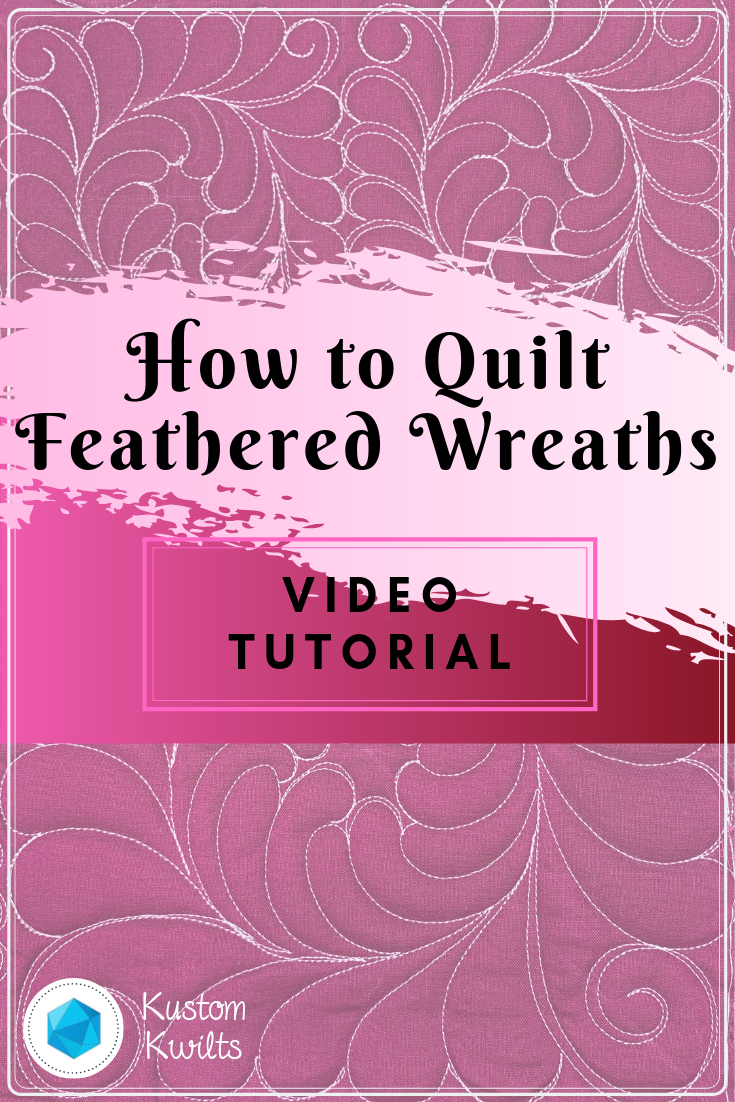
Let’s talk about quilting feathered wreaths! Feathers are so much fun to quilt, and it’s nice to know when and how to use them. If you’re new to quilting feathers, you can see a basic tutorial on feathers below, or see the blog post:
Now that you’ve got the hang of basic feathers, let’s talk about quilting them in a circle. There are a few things you’ll need to think about before you get started:
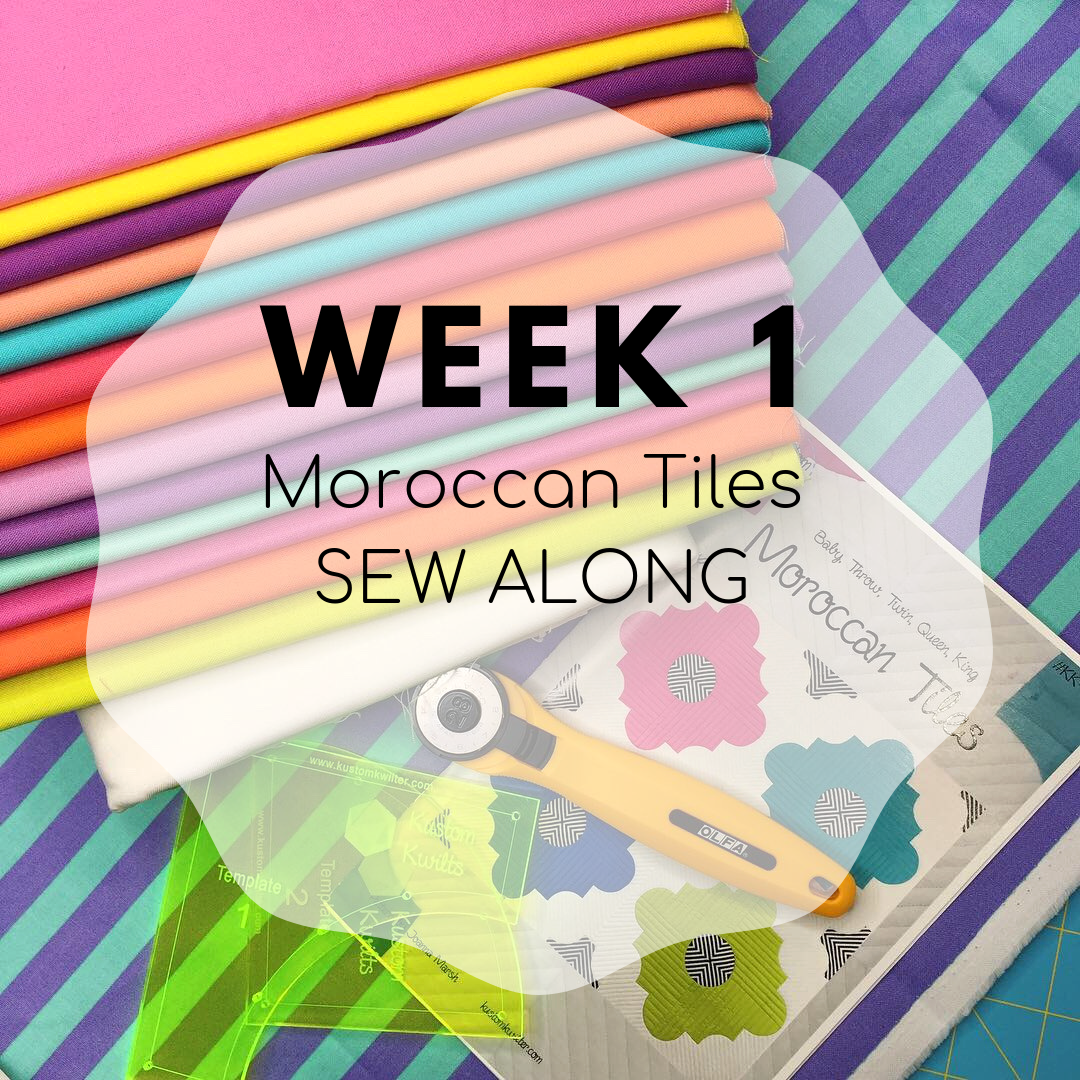
We’re moving right along into Week 2 of the Moroccan Tiles Sew Along! Head over to the Original SAL Post to review the details and schedule, if you need to.
If you haven’t seen the list of video tutorials for the Moroccan Tiles quilt (they’re listed on page 2 of the pattern), you can see the full playlist of tips and tricks I made specifically for the sew along below. It starts with some different variations of the quilt (you can skip right through that video and onto the next), and goes right into using the templates.
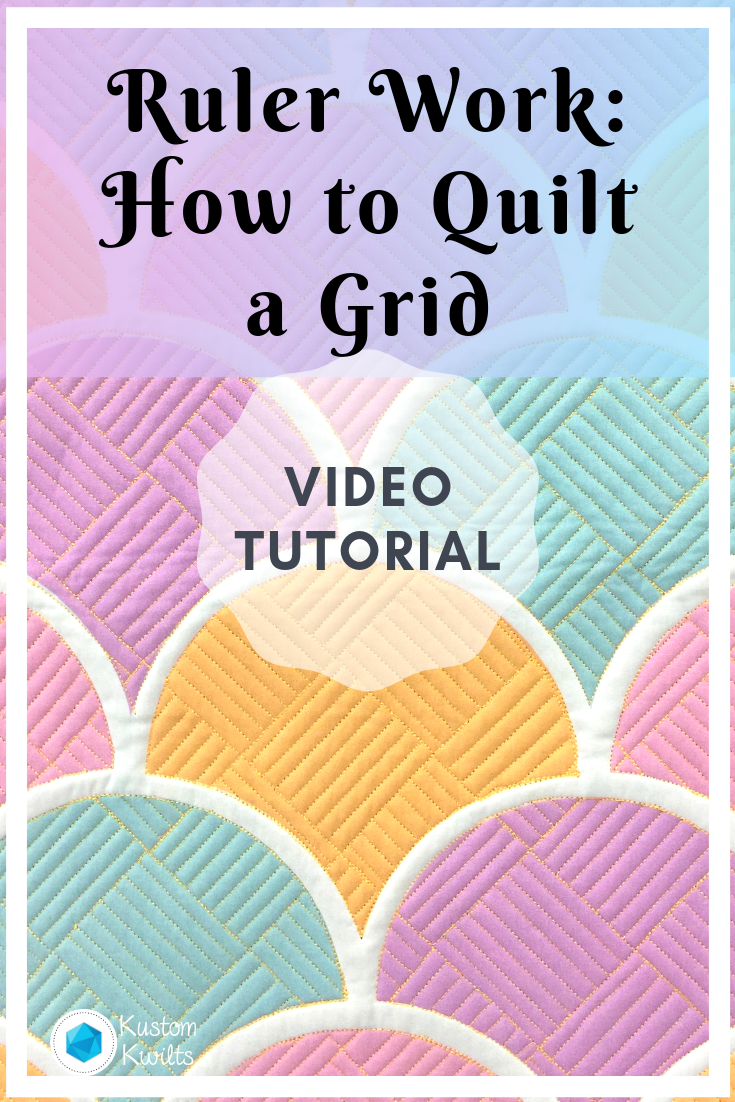
Quilting with rulers can seem like a daunting plan. We all love how grids can look in a quilt and how much visual interest they can add. But how do you go about actually doing it? Even beginners can quilt a grid with a little planning and patience. Here are some of my best tips for quilting a grid:
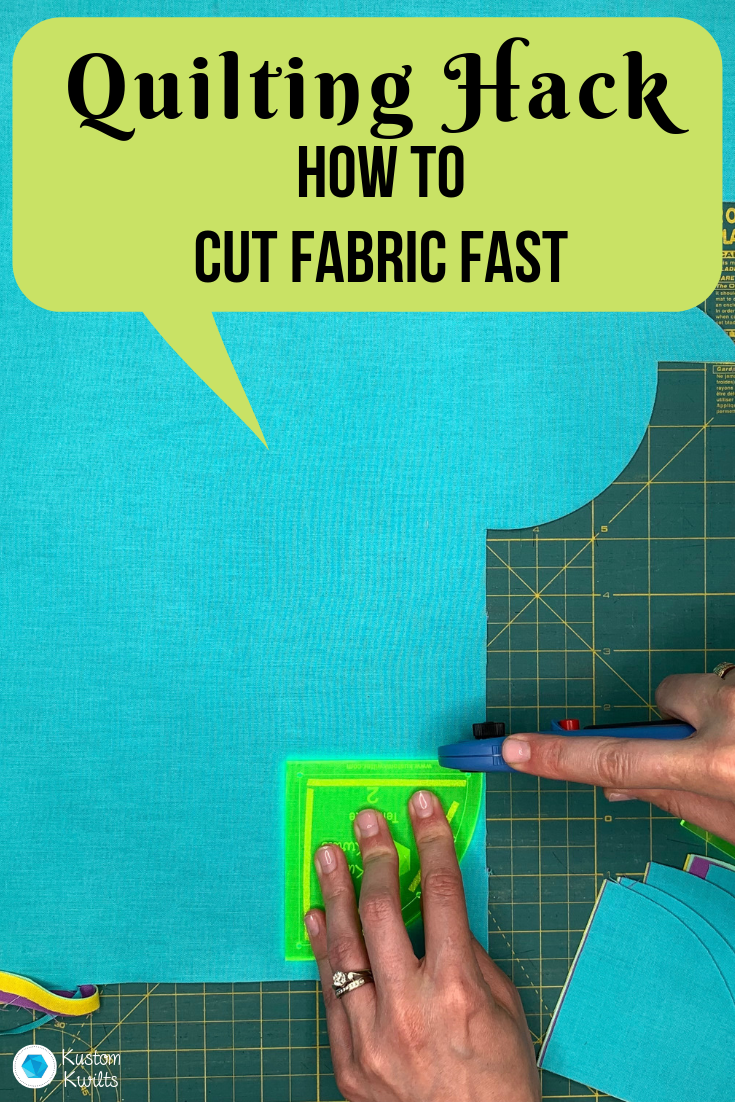
Everyone’s favorite thing to do is spend an entire day cutting out all the pieces of a quilt, right? UGGGGHHHH. I just cringed thinking about it. I want to sew, sew, sew–can’t someone else just do the cutting for me and lay everything out all nice and neat? Is that what heaven is going to be like? If this all sounds good to you, you’re going to LOVE the stack and cut method.
We all just want to spend our free time sewing and not doing the gross part that takes forever. When I’m cutting out the same shapes from different fabrics, I like to save a little time and stack and cut the fabrics together. It’s super easy and a HUGE time saver. Here’s what you need to do:
Yes!!! This is it, the start of the Moroccan Tiles Sew Along! I’m so excited to start sewing with y’all. Don’t forget to sign up for the SEW ALONG E-MAILSif you haven’t already so you don’t miss out on anything. You’ll get access to some great extras once you sign up for the sew along emails.
So if you missed the original sew along post, I’m going to run through the details once more here:
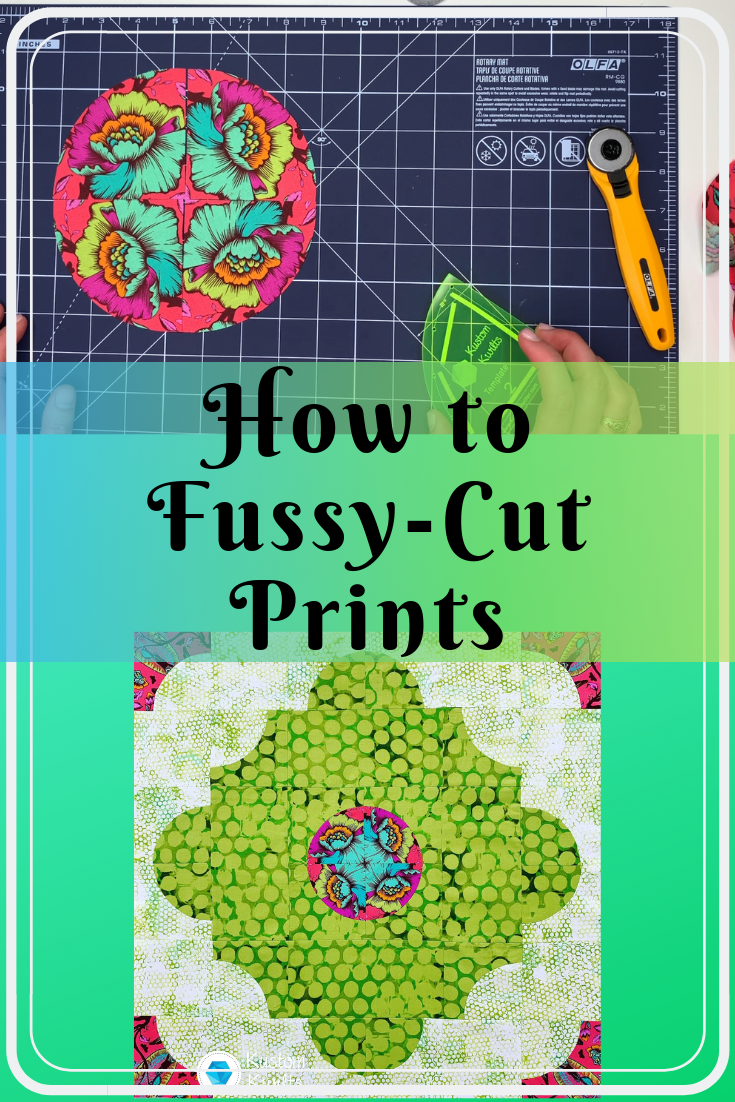
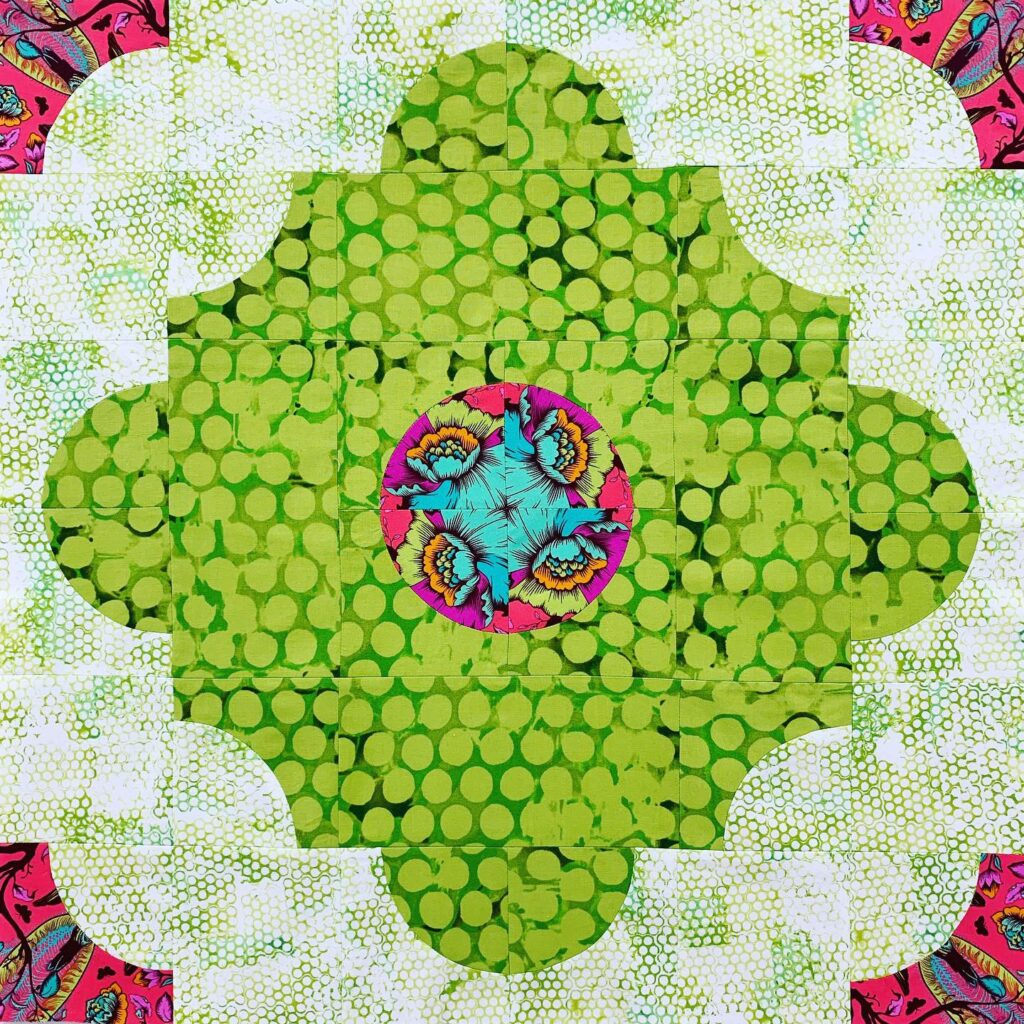
Fussy cutting. What does that even mean? My mother literally asked me that question after I posted a picture of one of my Moroccan Tiles quilt blocks on Instagram the other day. My sweet mother doesn’t sew (except for general mending). This was the picture I posted:
Fabrics are from Leslie Tucker Jenison’s Urban Garden and Tula Pink’s All Stars. Quilt pattern is Moroccan Tiles by me.
So- back to the question. What is fussy cutting? Well, “fussy” generally means pain in the rear, right? And cutting…well–that’s pretty self explanatory. So there you go mom! Fussy cutting = pain in the rear cutting!