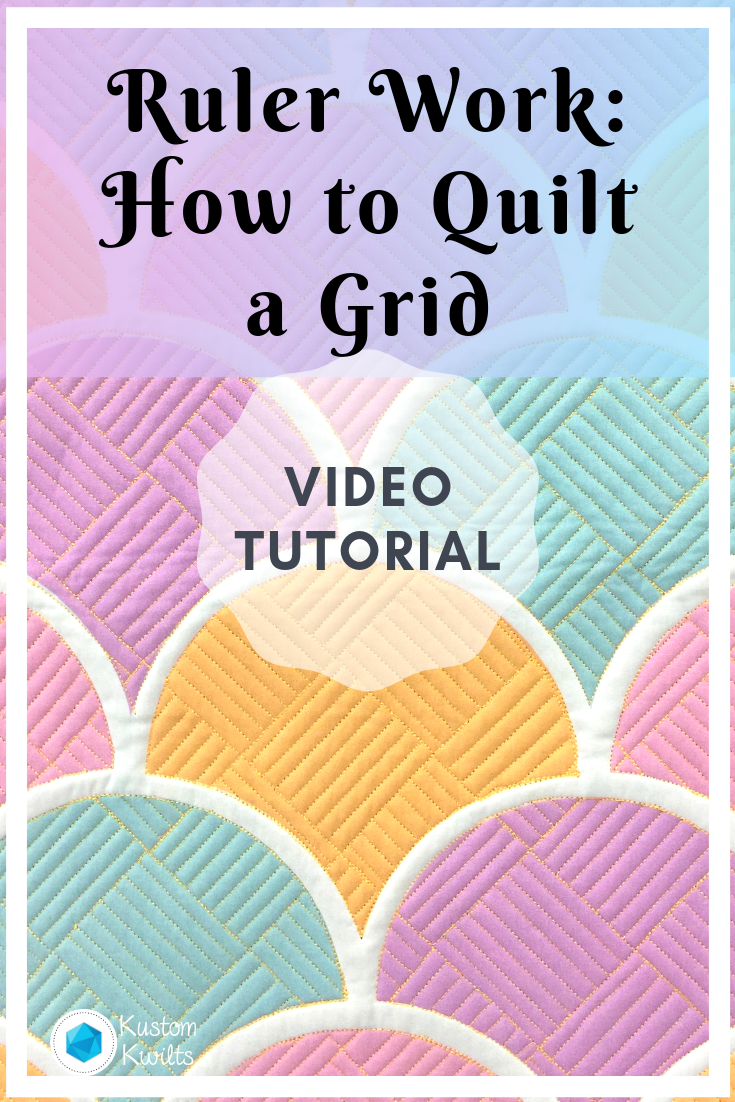
Quilting with rulers can seem like a daunting plan. We all love how grids can look in a quilt and how much visual interest they can add. But how do you go about actually doing it? Even beginners can quilt a grid with a little planning and patience. Here are some of my best tips for quilting a grid:
Quilt a grid: top tips
- Get a good marking utensil. I like to use Sewline air erasing pens or white chalk.
- Measure out your grid before you start quilting. What size will your squares be? Will the grid be on point, or a standard horizontal/vertical grid?
- Plan the direction of your quilting before you start. It’s easy to get confused if you’re alternating the quilting lines you fill the grid with, so I like to mark some little reminders before I start.
- Visualize what the finished grid will look like with the quilt. Is it worth the time you’re going to spend? Will it be a good partnership between the quilt and the quilting?
- Take your time.
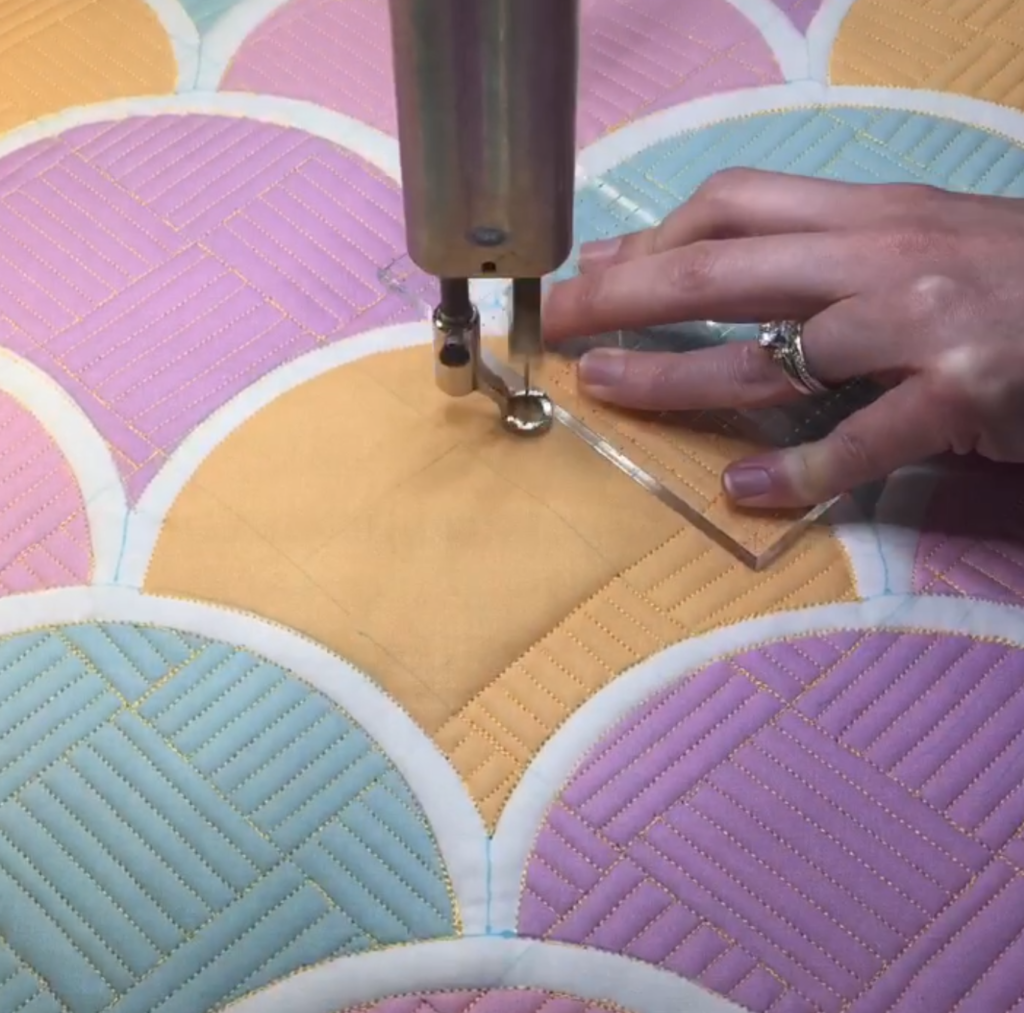
- Use a ruler base and a ruler foot, and make sure your quilting rulers are suitable for the longarm (1/4″ thick) or the domestic machine you’re using. In the video tutorial, I’m using Linda Hrcka’s rulers. You can find them here.
When to use grids in quilting
I really like using grids in smaller projects just because they are less time consuming, but they work great in large quilts too. I had the clam shell panel printed so I could do some fun quilting without having to piece something, and I really like the look of a grid inside each clam shell shape. Since the clam shells are each separated by a white “sashing”, the quilted grid really looks great within each shape. If there was no white surrounding each shape, the grid would have a different effect and would just look like an all over design–kind of defeating the purpose of the labor intensive grid.
That’s why it’s important to visualize how the grid will look before you quilt it. There’s nothing more disappointing that quilting something up and realizing you can’t really see it, or that it completely contrasts with the feeling of the quilt design. This can be hard to do sometimes, but it is a really important step. In my experience, solid fabrics show off quilt designs a lot better than busy prints do–and busy prints seem to be more conducive to straight line quilting.
Video tutorial
You can see the video tutorial I made for this panel, including some short time lapse videos at the beginning and end so you can preview how it comes together quickly. I’ll talk and walk you through quilting a grid inside a shape to create this great effect.
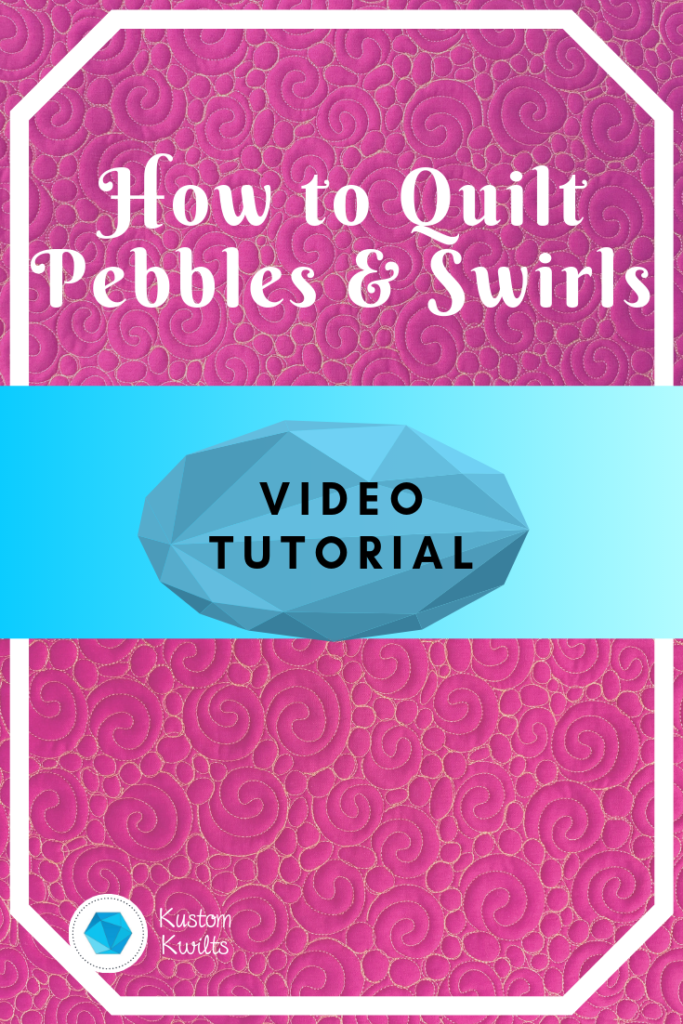
If you’re into videos, I’ve got a handful up- and you can subscribe to my channel to get notified when I upload a new one. I also posted a free motion quilting tutorial last week for pebbles and swirls that’s a breeze to quilt!
Happy Sewing! -Joanna
I really like your Instagram (that’s where I found you), and saw that you made this panel and another with stars). Are you selling those? If not, where can I find them as I would love to get one of each to practice my long arm quilting since I’m not new, but need some more practice before offering my services to others. Thank you.
Hi Missy! I have a couple of different designs in lots of colorways for wholecloth pieces that are great for practicing longarm quilting at Honest Fabric. You can find them here:
https://www.honestfabric.com/product-category/by-designer/joannamarsh/
Good luck with your practice quilting–that’s so much fun!