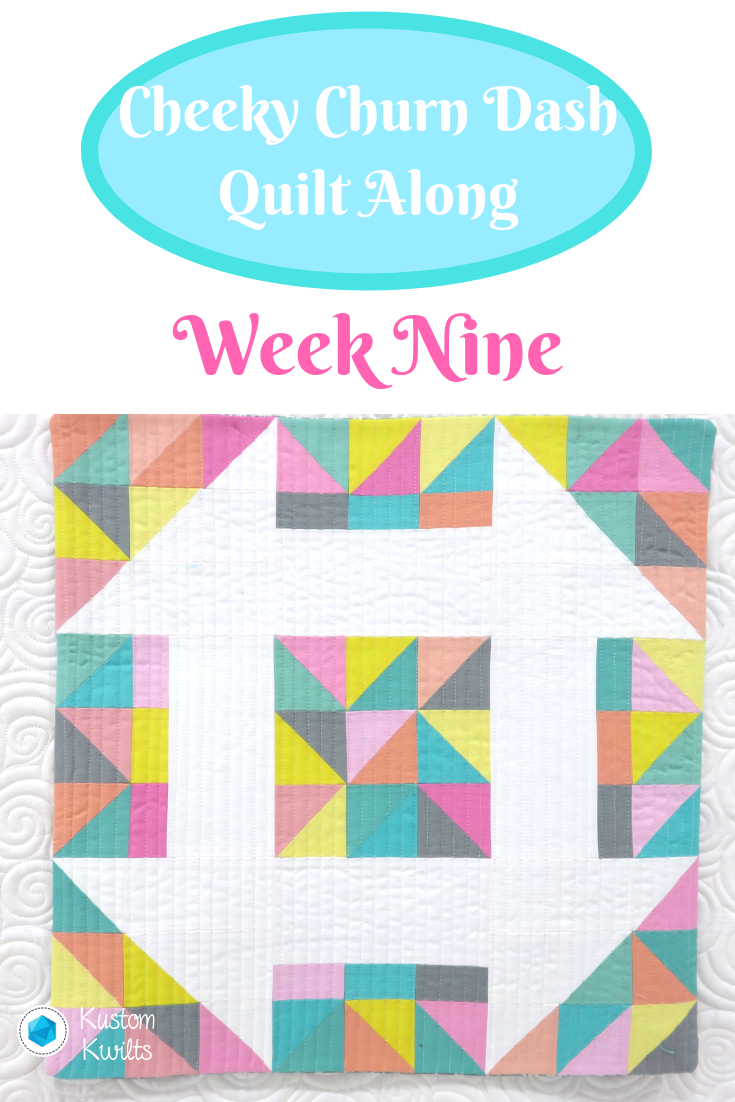
Quilt Along – Week Nine
We’re moving right along into Week Nine of the Cheeky Churn Dash Quilt Along! This is it–the final week. Head over to the Original QAL Post to review the details and schedule, if you need to.
A quick review of what we’ve done so far–scroll to the bottom of this page for links to each weekly post.
Congratulations to Christine R. for snagging the Week Severn prize-a sweet notions bundle curated by me! This was Christine’s sections 2, 4, 6, and 8 post from Week 7: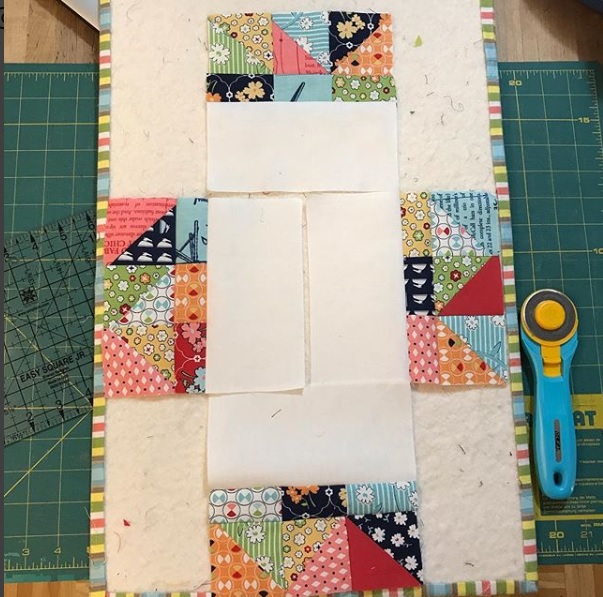
Fabric Discount!
Jennifer at Knotted Threads on Etsy has joined in the Quilt Along fun to bring all Cheeky Churn Dash QAL participants a 10% discount on fabrics purchased from her shop! She has a great selection of current and modern fabrics, so you’ll want to take advantage of this  Use the coupon code: CHEEKYCHURNDASH at checkout. Now’s the time to buy your quilt backs!
How to Participate:
Post Your progress on Instagram using the hashtag #cheekychurndashquiltalong
Be sure to include the hashtag when you post to Instagram so everyone else can see what you’re up to, and if you’re in the US, you can enter to win prizes
Stay in the loop!
If you haven’t signed up for the weekly emails that will go out for the Quilt Along, sign up here. There might be some added info and bonus content for you as a little treat!
Alright, so here’s the breakdown for Week Nine: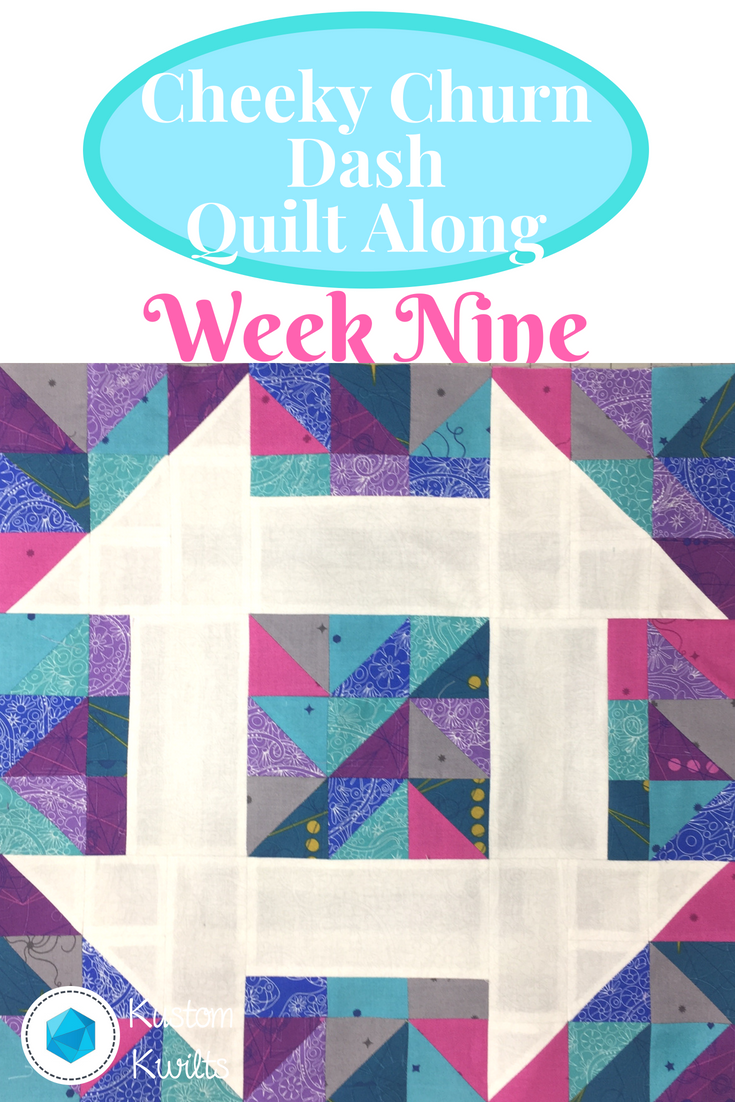
- In Week Eight, we assembled section 5. Here’s the action list to complete for Week Nine!
- Option A instructions can be found on pages 14-15 and Option B instructions can be found on page 22 in your pattern.
- You caught me again–I cheated on the photos this week and used the mini (Option B). It’s so much easier to photograph the mini/pillow Option B than it is the large quilt option.
- Take a look at your coloring sheet–and lay out your sections prior to pinning and sewing them together.
- The whole quilt is basically a large nine patch block. So you’ll sew three rows of three sections together, then sew those rows together to complete the quilt top.
- Make sure you check that you pin at your seam intersections whenever you have a seam intersection so everything lines up as it should.
- The only really tricky thing to sewing the top together is keeping your sections straight. I like to label my sections with a little post it note pinned to each one and numbered. It just keeps me from pulling my hair out later when I accidentally grab the wrong one.
- Double check your layout prior to sewing each section together, and press when you’re done!
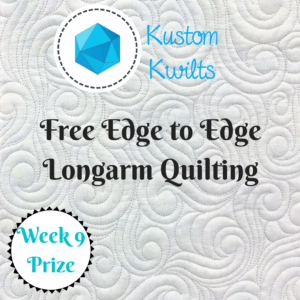
- This week, post a picture of your completed quilt top on Instagram using the #cheekychurndashquiltalong hashtag. Be sure you post your IG picture with the hashtag by midnight on November 16 to qualify for this week’s prize! This is the grand prize for the QAL-free edge to edge longarm quilting, so you’ll really want to make sure you post this week. Refer back to the prize roundup for more details. Even if you missed posting earlier in the quilt along, you can still qualify as long as you post this week with a finished top (must be the 81″ quilt size).
Next week, the grand prize winner will be announced and I’ll share some of the finished quilt tops. Thank you so much for joining me for the quilt along, and a huge thank you to all the prize sponsors:
Aurifil, Crafter’s Companion, Knotted Thread, Olfa, Quilter’s Dream Batting, and The Quilter’s Planner