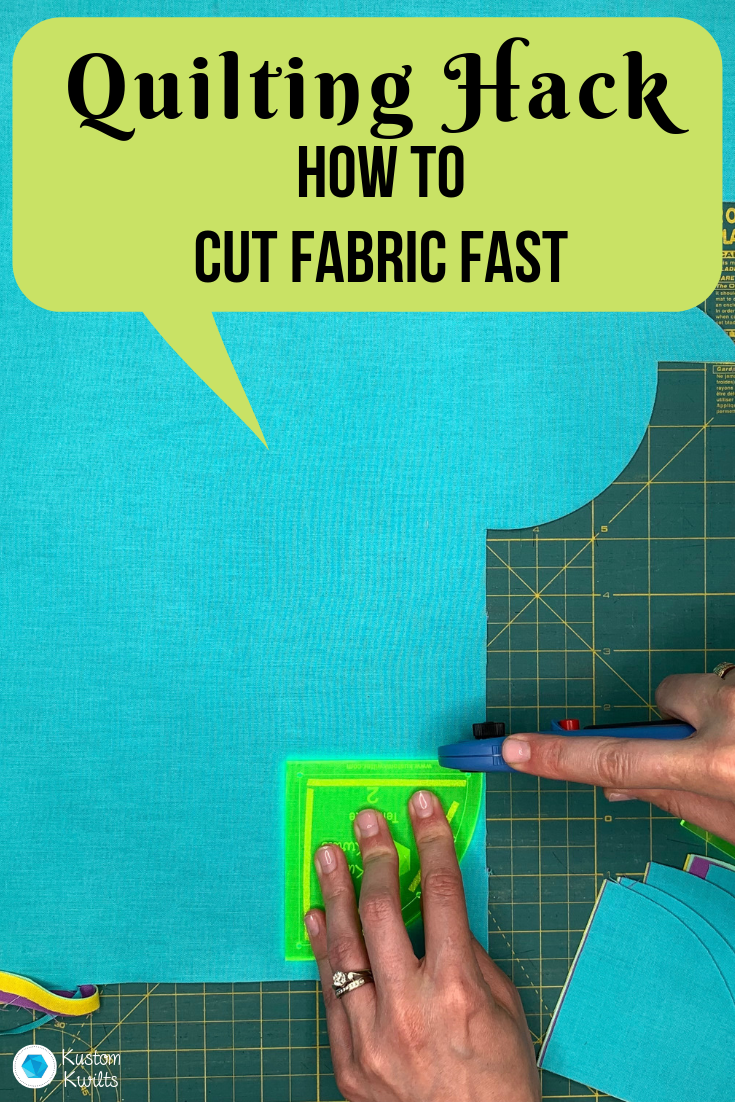
Everyone’s favorite thing to do is spend an entire day cutting out all the pieces of a quilt, right? UGGGGHHHH. I just cringed thinking about it. I want to sew, sew, sew–can’t someone else just do the cutting for me and lay everything out all nice and neat? Is that what heaven is going to be like? If this all sounds good to you, you’re going to LOVE the stack and cut method.
We all just want to spend our free time sewing and not doing the gross part that takes forever. When I’m cutting out the same shapes from different fabrics, I like to save a little time and stack and cut the fabrics together. It’s super easy and a HUGE time saver. Here’s what you need to do:
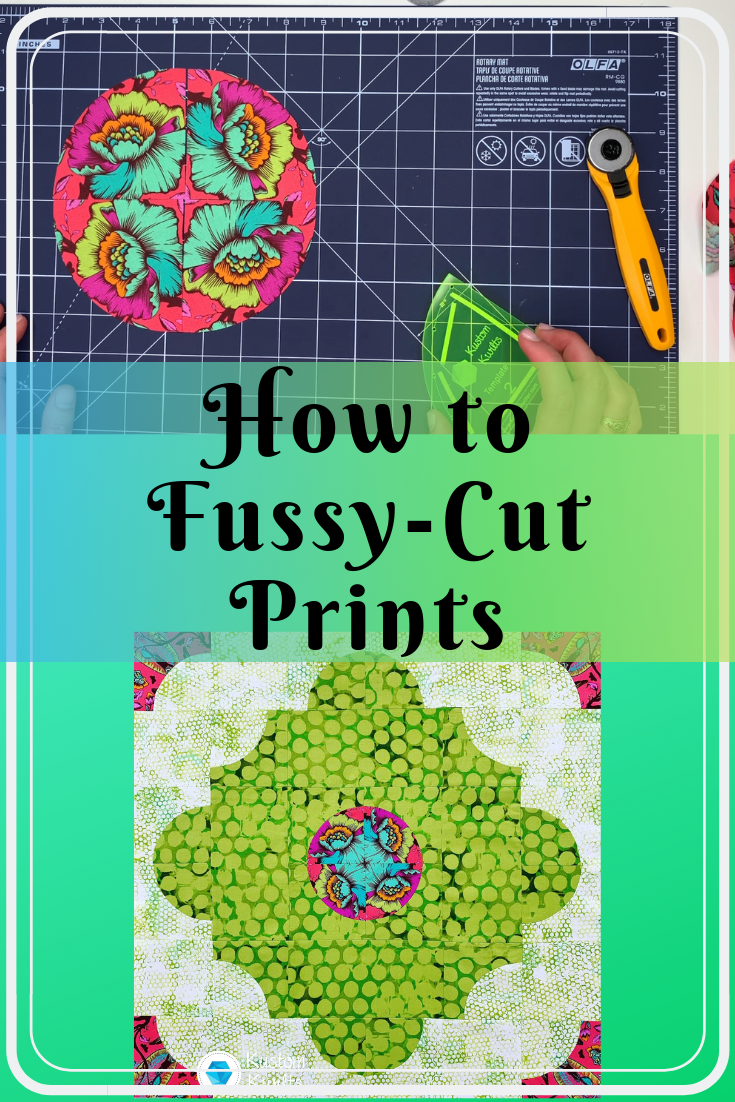
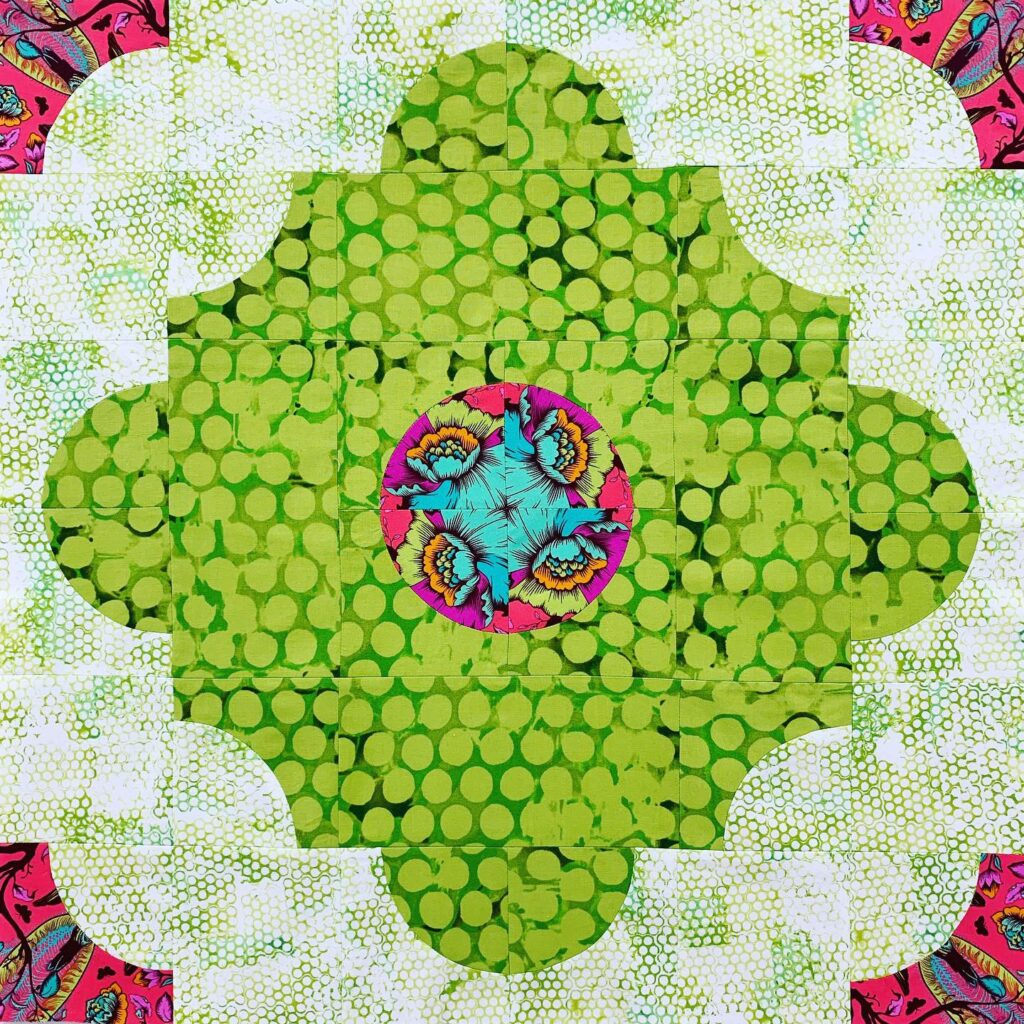
Fussy cutting. What does that even mean? My mother literally asked me that question after I posted a picture of one of my Moroccan Tiles quilt blocks on Instagram the other day. My sweet mother doesn’t sew (except for general mending). This was the picture I posted:
Fabrics are from Leslie Tucker Jenison’s Urban Garden and Tula Pink’s All Stars. Quilt pattern is Moroccan Tiles by me.
So- back to the question. What is fussy cutting? Well, “fussy” generally means pain in the rear, right? And cutting…well–that’s pretty self explanatory. So there you go mom! Fussy cutting = pain in the rear cutting!
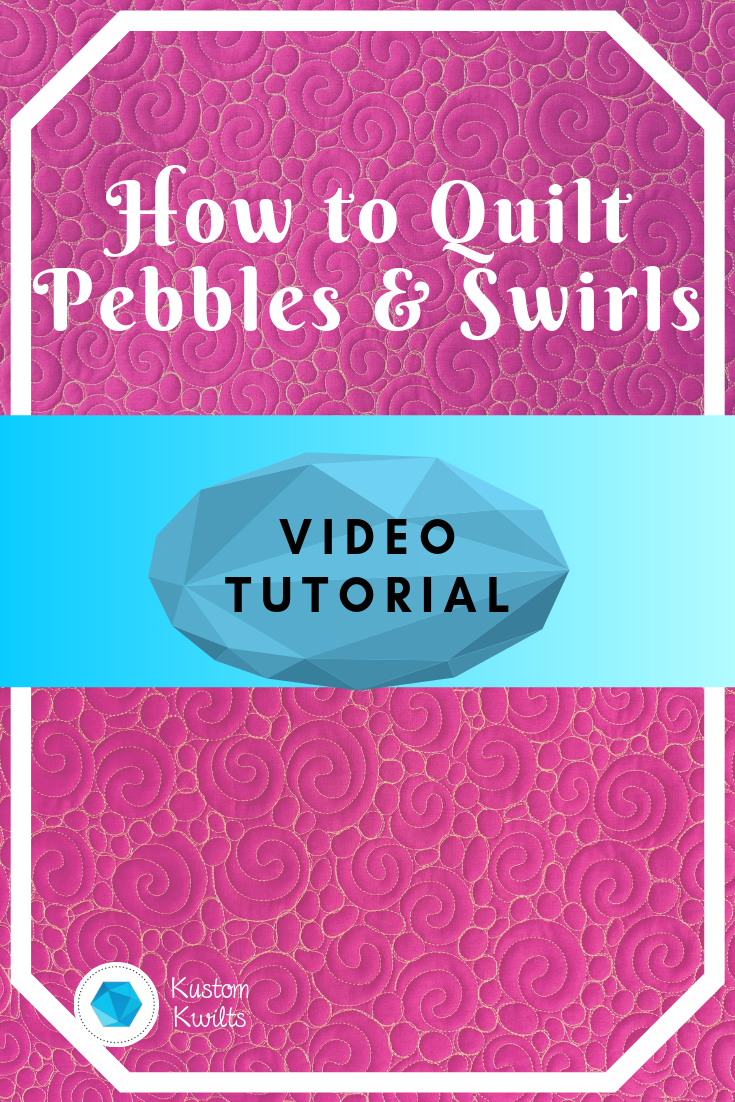
You’ve got a quilt that you’re just dying to add some texture to, right? Pebbles seem like the quilting motif of choice, but you’re a little leery of the repetitive, time consuming motif. You can add some swirls in with the pebbles to make the quilting go a little faster.
I know when I’m quilting pebbles, sometimes I get road weary. You know–that feeling you get when you’ve been driving on a highway for hours with no landmarks in sight? You can’t really remember how many hours you’ve been driving for, and everything in the road looks the same. Your eyes get tired and you start to doze off.
Okay, okay! Maybe it doesn’t happen exactly like that with quilting, but you know what I mean, right? I start to get that same feeling when I’m quilting pebbles. I’ve found that adding some easy swirls in with the pebbles really mixes it up and keeps me on my toes. Pebbles are pretty time consuming too, so the larger swirls take up a little of that space and help to solve that problem.
Learning new free motion quilting techniques is an ongoing process when you’re a quilter. In this video tutorial, you’ll learn a quick and easy fill that doesn’t take much practice to master. Unlike quilting circles or swirls, you don’t need as steady of a hand to be able to make beautiful tear drop shapes.
Have you ever wanted to combine a couple of different quilting motifs, but didn’t know where to start? In this video tutorial, you’ll learn how to use feathers and swirls together to quilt feathered swirls! Learning how to quilt feathered swirls will give you another great tool for your quilting tool box and you’ll be able to tackle that negative space in your quilt in no time at all!
Good Monday morning! I’m so excited to share a new video tutorial with you this morning. I just LOVE to quilt stacked swirls in the background of quilt blocks and in negative space. They create amazing texture and fill up a space without a lot of thought and concentration. This video will show you how to quilt stacked swirls and how to navigate to the spaces you want to quilt.
Want to learn how to quilt swirls? Sometimes it’s difficult to determine what should go in the negative space of a quilt. I really like using swirls to quilt empty space because it gives texture and movement. It can also double as smoky swirls or wind looking swirls to create a darker look, or mimic the weather.
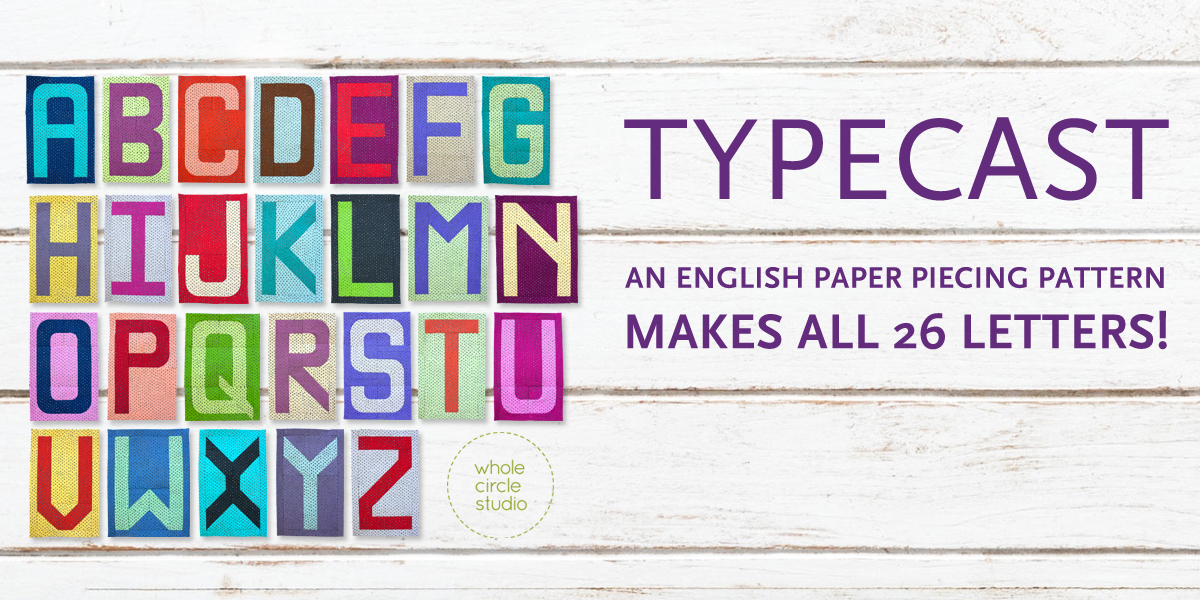
Have you guys seen Sheri of Whole Circle Studio’s newest pattern? It’s called the Typecast of Characters, and it’s an amazingly fun English Paper Piecing pattern that lets you create the entire alphabet and customize it to your heart’s desire. You can snag your copy of the pattern guide and paper packs here.
Have you ever been at a loss for how to fill negative space in a quilt? I know I’ve sometimes struggled with what quilting motif is the right one, and I wanted to share some of the fills I use the most. I made a quick video tutorial on how to quilt feathers and I think you’ll really love some of the tips I give in it 🙂
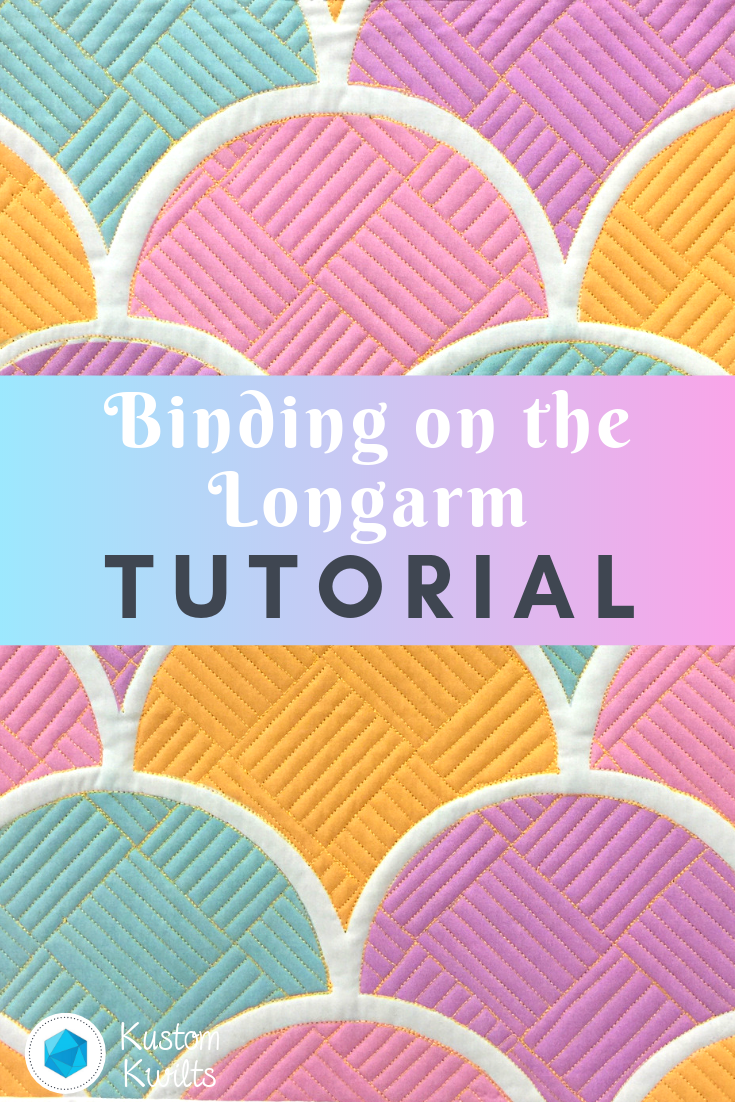
Do you follow me on instagram? If you do, you might have seen I’ve been having a LOT of fun with videos lately. I’ve been doing some time lapse videos of some basic straight line quilting AAAAAND decided I’d do a real time video of how I bind mini quilts on my longarm. It’s seriously so easy that if you haven’t tried this yet, you’ll really kick yourself!
If you’ve ever quilted a mini quilt on the longarm, there’s a fun shortcut you can use to quickly attach binding to the front of the quilt after you quilt it. I did a short video tutorial showing how to attach binding on the longarm, and I hope you’ll go check it out! Now just a quick note…I am obviously not a professional videographer…or whatever that’s called, and I even treat you to a view of my gorgeous locks of hair that were quickly and haphazardly thrown up into a very unglamorous mom bun. That’s right. ENJOOOOOY 😉
When I bind my quilting samples on the longarm, I usually stick to pretty small sizes. You could definitely do this with a large quilt, just keep in mind that you’ll be doing some scrolling and advancing of the quilt to finish the job. It’s also a good idea to mark the large quilt so you have a good idea of where the squared portion of the quilt will be so you attach the binding straight. I only do this for quilts that are for myself–because for me this is something to do quickly as a shortcut and not great for accuracy, as I don’t spend a lot of time making sure I’m putting the binding on squarely.
To make the binding, I cut strips 2.5″ wide x the width of the fabric and then sew them together, end to end to create the length I need (I usually do the perimeter of the quilt + 12″ to make sure I have enough). The tutorial shows how to attach the binding to the front of the quilt. After quilting, you’ll need to trim away and square up, then flip the folded edge of the binding to the back and finish. I finish all mine by hand because I’m a weirdo and love hand binding!
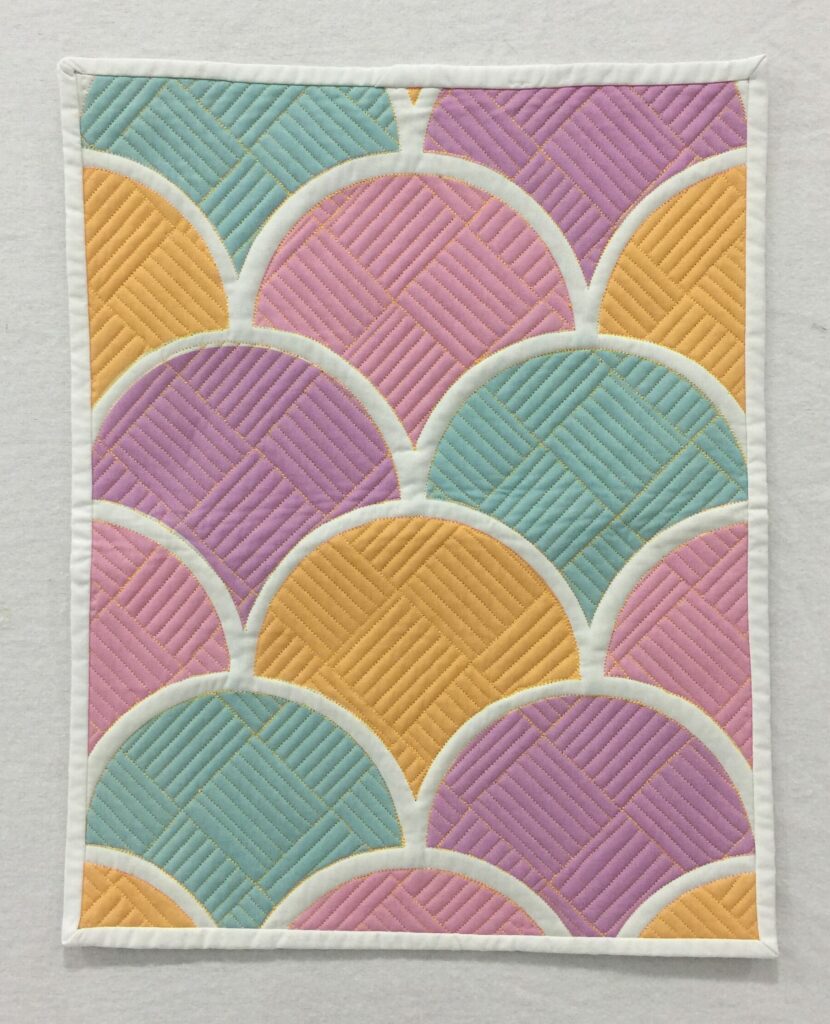
Freshly bound mini quilt!
Binding on the longarm details
I’m using an Innova 22″ longarm (hand guided) with a lightning stitch stitch regulator. The fabric panel I quilted was a custom panel I ordered from My Fabric Design, and the thread I used for the quilting was Glide by Hab+Dash (previously Fil-Tec). If you’d like to see a time lapse video of the quilting of this panel, you can check it out on instagram HERE.
I hope you find this tutorial helpful–and I’d love to hear your feedback! Are you up for trying this out soon? Let me know if you do and how it goes! Happy sewing 🙂