Shipping will be paused from March 7-March 14, 2026. Any orders placed during that time will ship March 15. Orders placed prior to March 7 will still have a 1 day processing time. Thank you! Dismiss
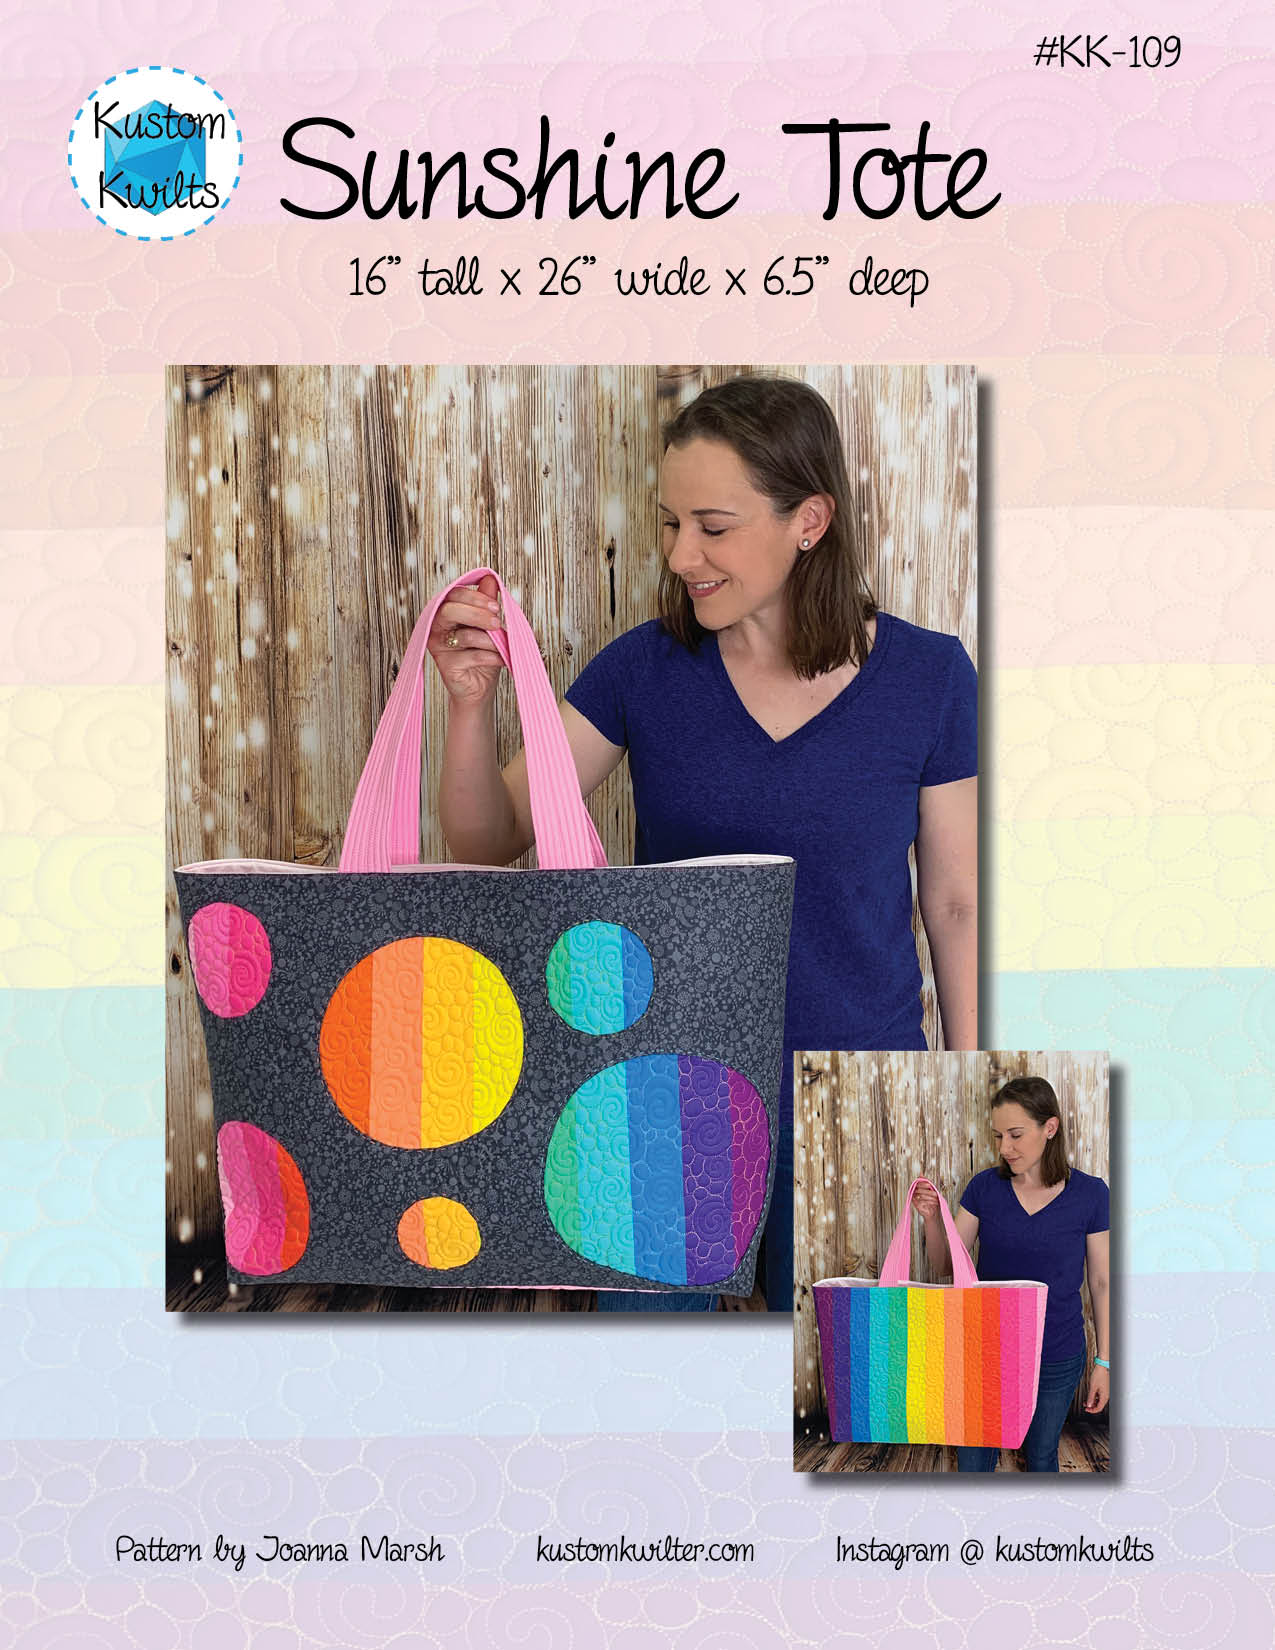
I’m so thrilled to share my OLFA Creator project with you today! The Sunshine Tote PDF Pattern is here! I’m a sucker for oversized tote bags and I love creating details that will really make a tote POP. So I’ve gathered together some of my favorite OLFA tools to put together the Sunshine Tote. I used the OLFA Circle Rotary Cutter to cut out the circles on by tote. It makes for some really cool reverse applique. This was such a great project that lifted my spirits during sewcial distancing.
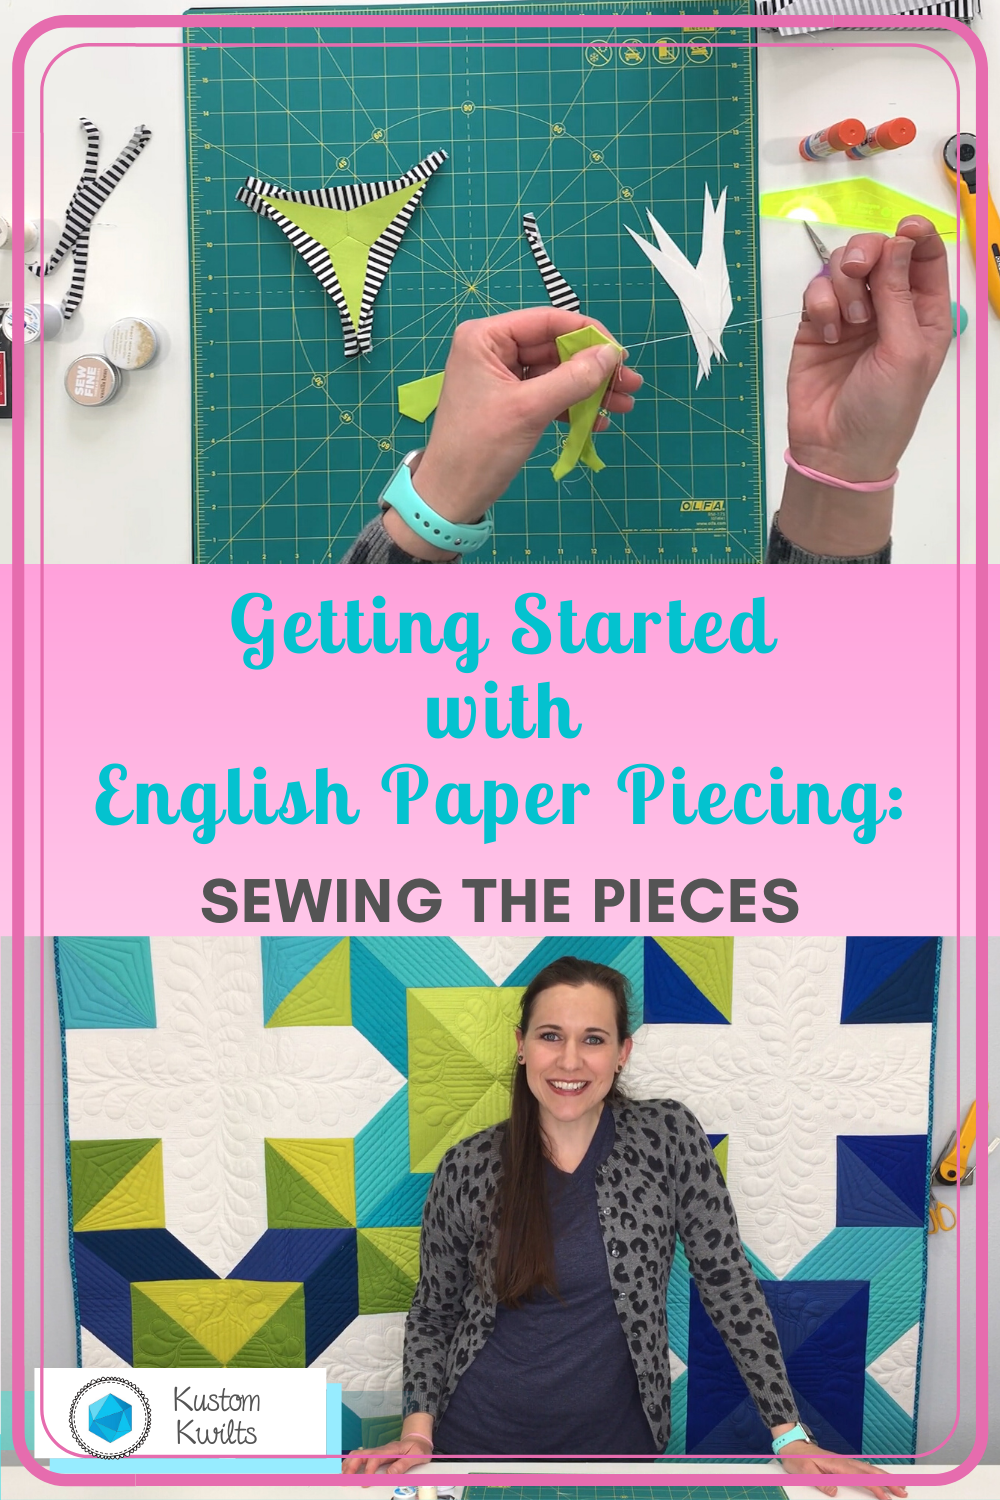
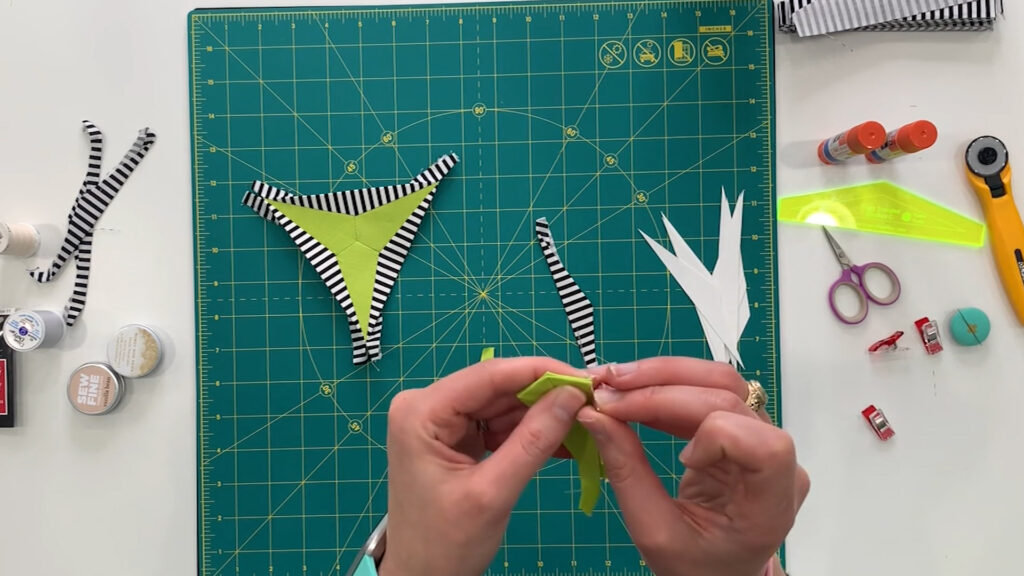
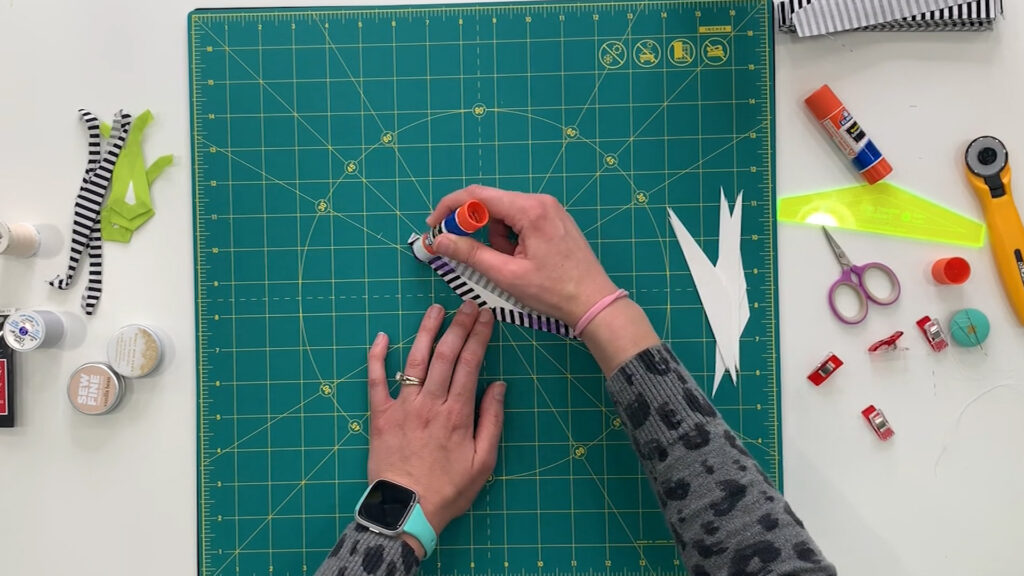
In this series of blog posts, I’ve talked about start up supplies (what my favorites are) and discussed glue basting (also my favorite). Now that you know how to prepare for sewing, lets get going! In this video, I’ll show you how I sew my paper pieces together once they’re basted. There are many, many ways to accomplish this. I’m showing my favorite methods, in case you haven’t seen them before, in the hopes of inspiring you to try new things!
There are different kinds of stitches you can use to sew the pieces together. My go to is a simple whip stitch, but I’ve heard people rave about the flat back stitch. I tried the flat back stitch, and it wasn’t for me–but you might love it (so def. check it out!).
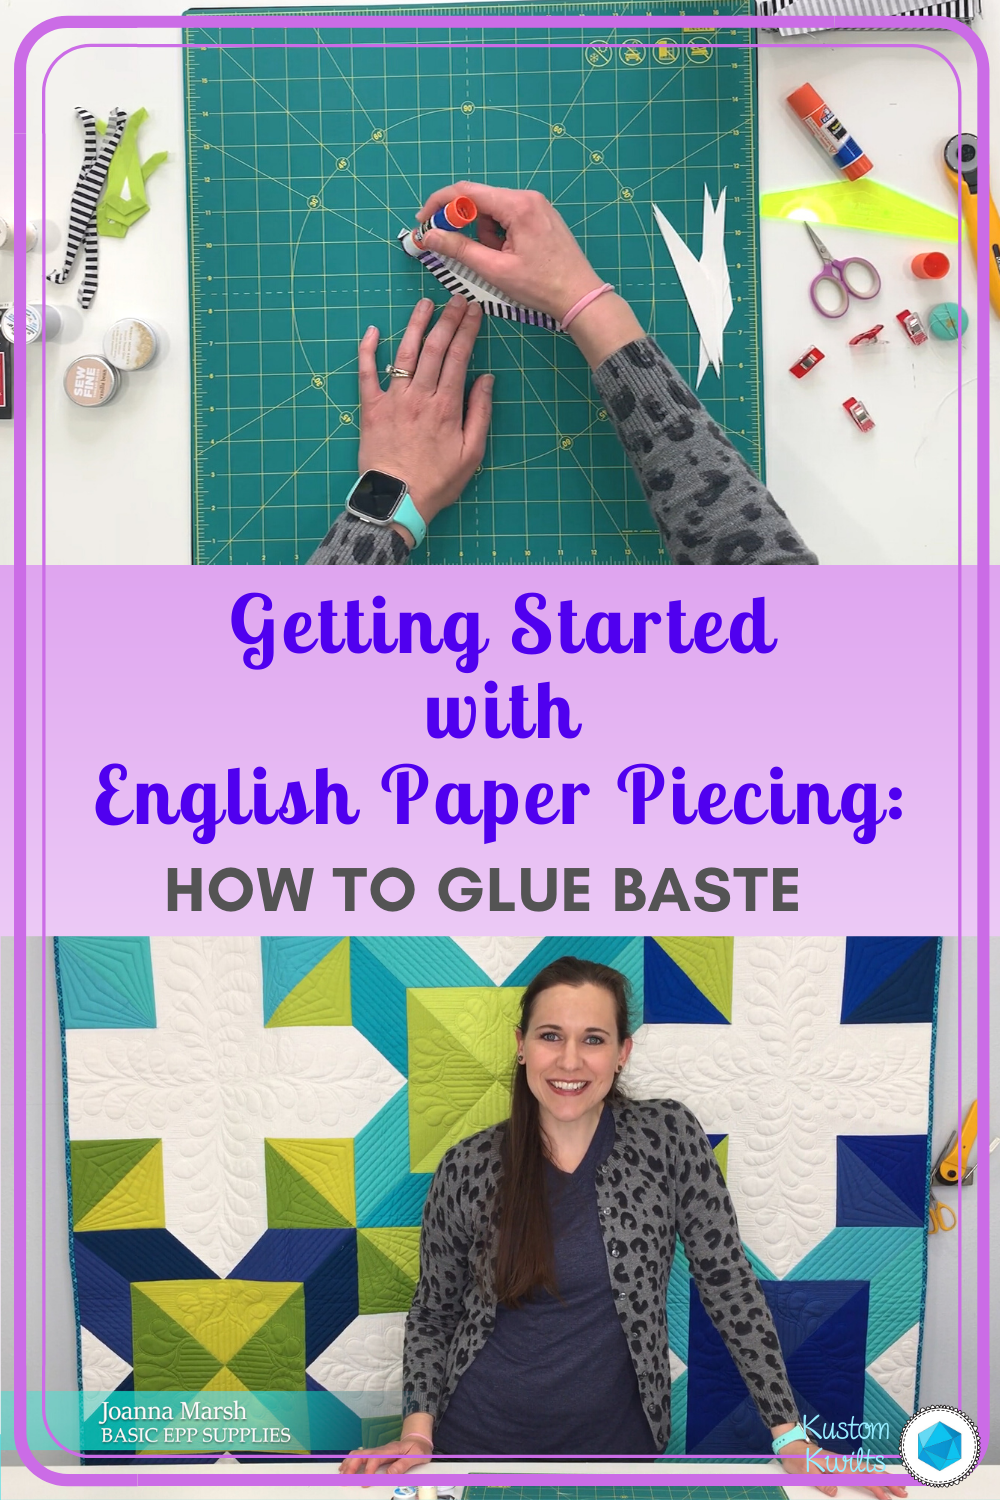
I know, I know. I know what you’re thinking. Why do I need to know how to glue baste?? So before we get into it…let me just say that I am not the authority on english paper piecing. There are so many ways to get a finished project, and I certainly don’t claim to be the one holding all the answers. But I want to let you in on what has worked so well for me after lots of trial and error. And before I go on, I just want to say: ALWAYS TEST NEW PRODUCTS LIKE GLUE STICKS ON YOUR FABRIC PRIOR TO USING THEM IN AN ENTIRE PROJECT. The glue I use has never done me wrong, but that’s not to say you might not have a different experience.
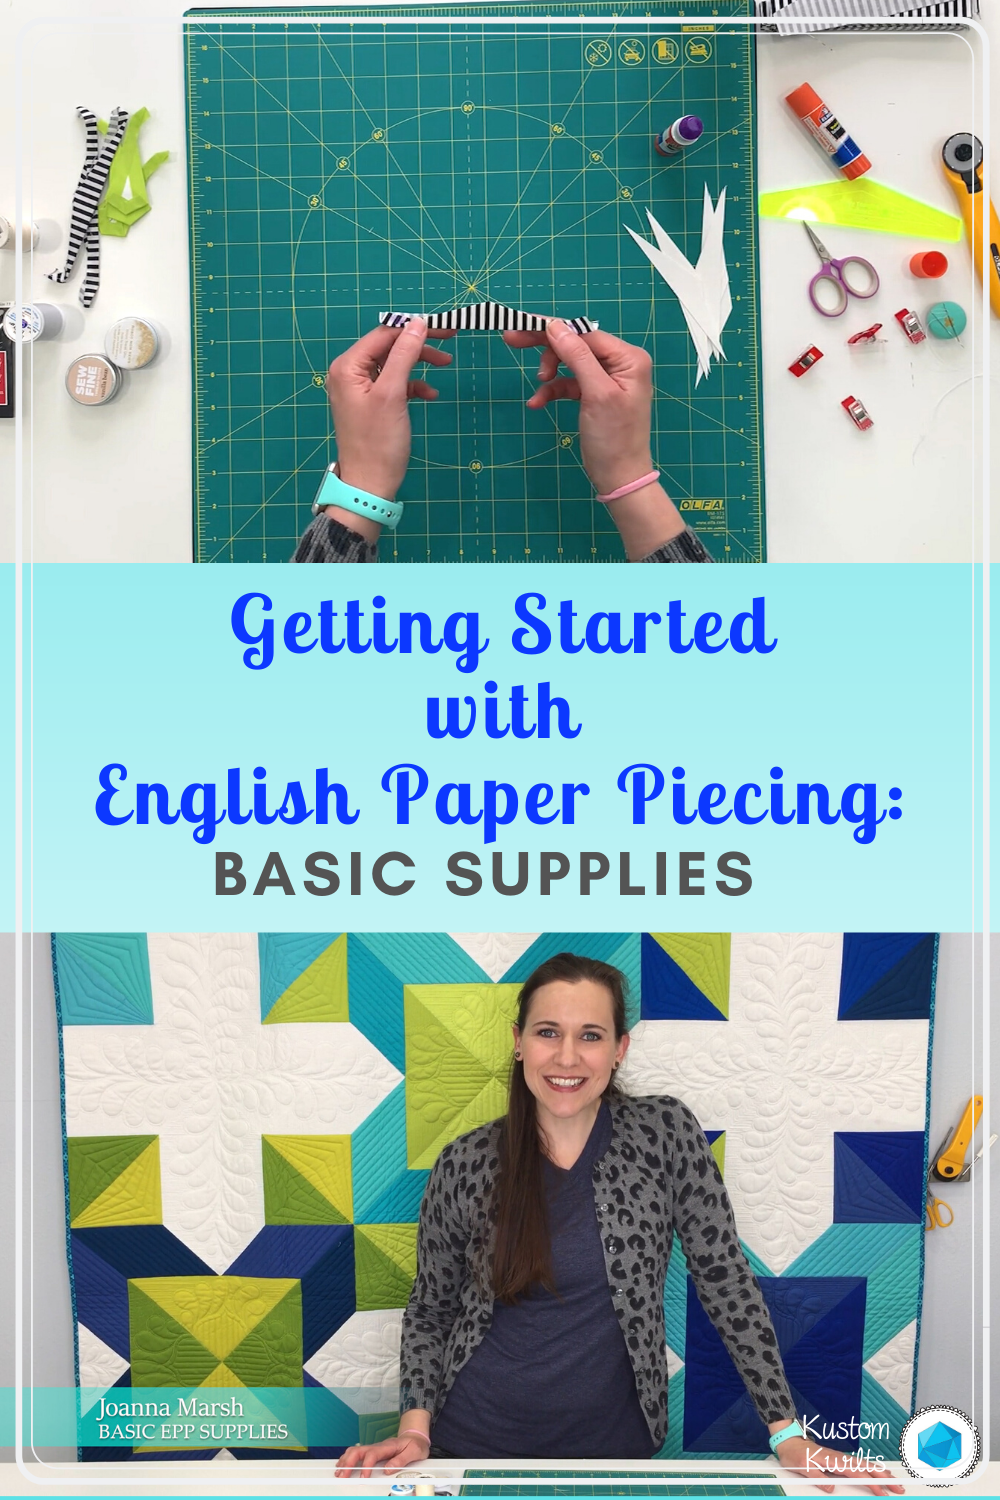
If you’ve spent any amount of time on my blog or Instagram, you know by now that I LOVE sewing and quilting. SO much so that I like to have a travel-friendly project I can take with me, whether it’s in the car, waiting at the doctor’s office, taking my daughter to the dentist, etc., to help pass the time. While English paper piecing is fun, it is much slower than powering up your sewing machine and zipping through a few seams. There’s something meditative about it that helps the craziness of the world to fade away for just a moment and let you appreciate the thoughtfulness of a stitch. English paper piecing appealed to me first when I was still an ag teacher. A lot of times, I’d be on a school bus with kids and nothing to do for hours while we traveled to judging contest OR I’d be stuck in a hotel room at night, not able to go to sleep and wishing for something productive to do. So I started dabbling in EPP. My husband bought me the La Passacaglia kit (Pattern by Willyne Hammerstein) for my birthday and I was totally hooked. I want to take the time to share my favorite English Paper Piecing supplies and tips in the video below.
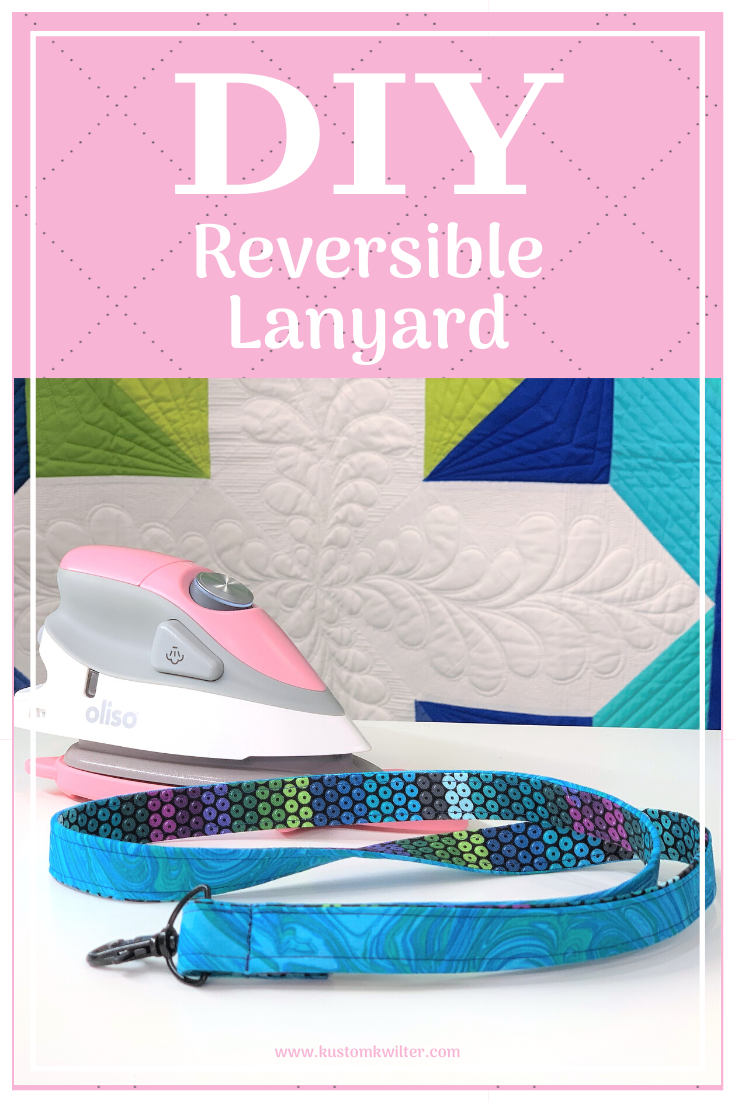
It’s the MOST wonderful time of the year! (Sorry you’ve now got that stuck in your head all day 🙂 Tis the season for gift giving and making, and one of my favorite things to do is make stocking stuffers. It’s easy to drop a ton of money of useless little items that might never get used, so I try to make utilitarian stocking stuffers that will see the light of day over and over again. One of my go-to gifts is a reversible lanyard that can be used as a quick release keychain or an ID badge holder. It’s a quick gift that I know will get lots of love throughout the year. The Reversible Lanyard Tutorial goes by even quicker with the helpful Oliso Mini Project Iron. It doesn’t take up as much work space as the standard sized iron, and it’s really convenient for smaller sized projects like this.
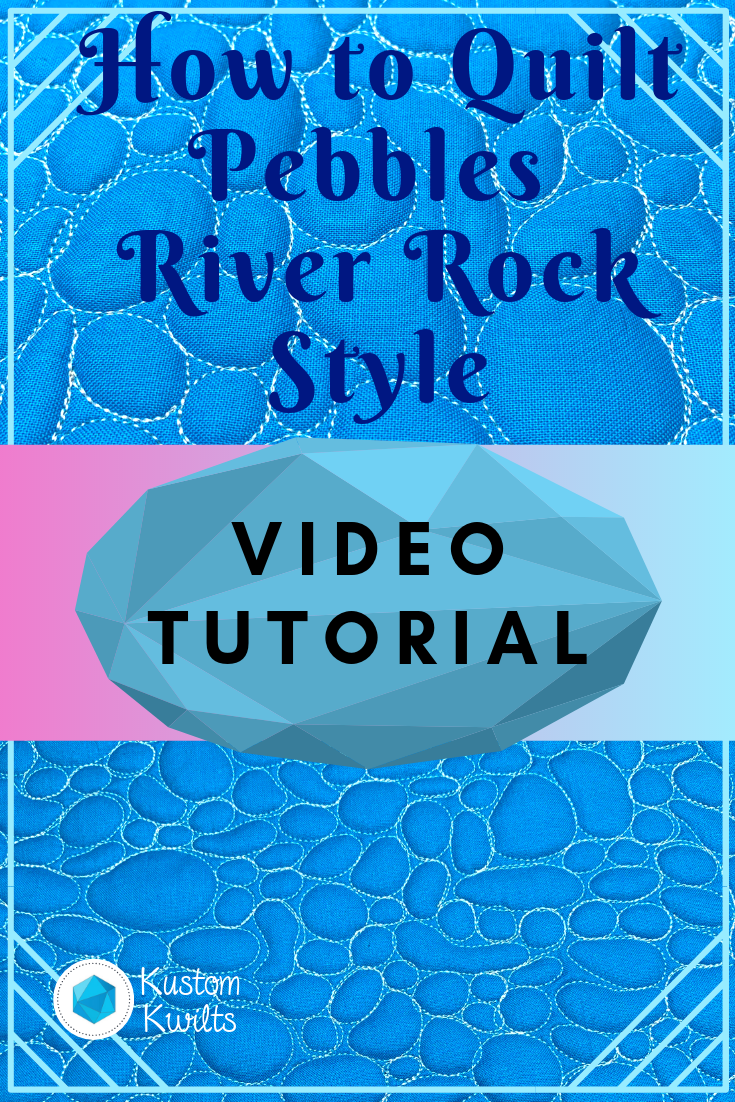
Pebbles are a favorite of mine when there are lots of small spaces that need extra texture. The thing is, it can get kind of boring to quilt the same size pebble over and over AND OVER again until the cows come home. Right?
I like to change up the size of the pebbles to add a little more interest and create a river rock effect. It helps to take some of the monotony out of it, but lets you keep all that ooey-gooey texture that you’re going for. Sometimes, quilting the same shape so much will make you get a little road weary, and I’ve found this is a great way to avoid that.
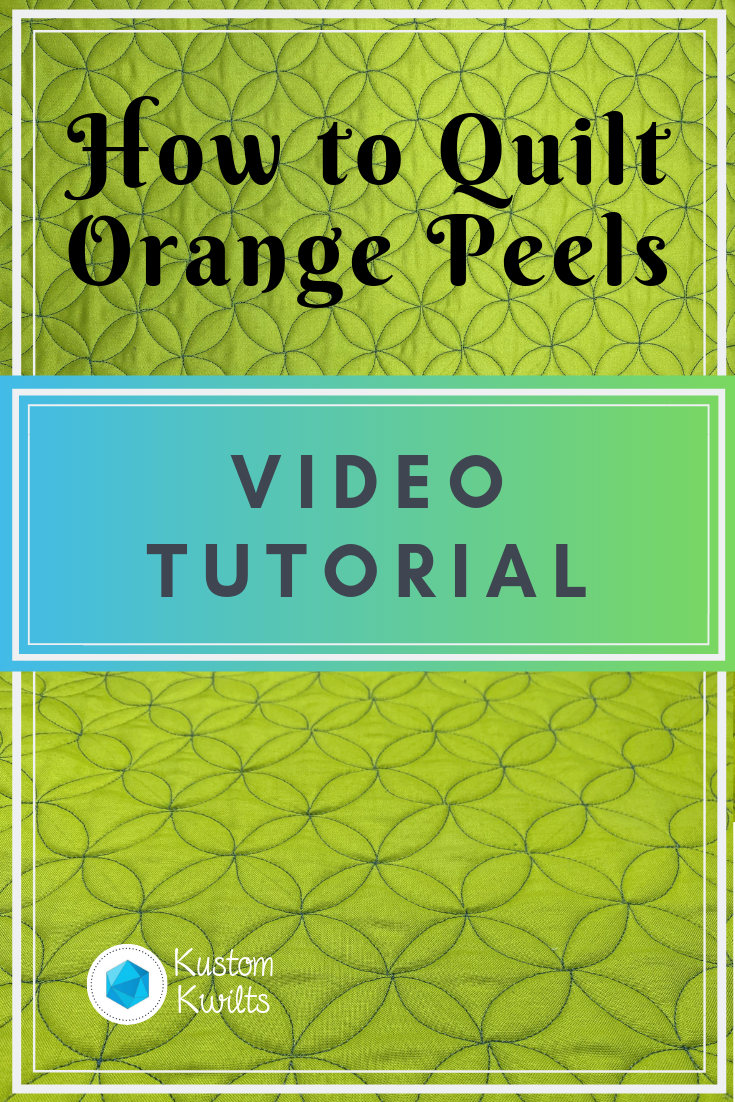
Have you ever seen a really cool geometric quilting design? Then you look at it and immediately think it’s too complicated to quilt yourself? With orange peels, that’s just not true! If you’d like to learn how to quilt orange peels, I’ve got a tutorial that breaks the design down into smaller pieces. All you need to start is a ruler (not a longarm quilting ruler–any ruler will do), marking tool, and your sewing machine and fabric.
Begin by marking out a grid of your choice. For this video tutorial, I marked out a 1.5″ square grid. You should also decide if you want a vertical x horizontal grid, or if you’d like to mark it on point (as I did in the video). After you mark your grid, mark a few of the curved pieces that are going to go in and around the grid you drew as a visual guide before you start quilting.
Now that you’ve marked a few visual guides, you’re ready to get started. Quilt a few half circles as the video shows on the outer edge of the quilt. It’s easier for me to quilt half of the circle, and then go back down the line to quilt the remainder. But do what works for you, and find what you like best! Learning how to quilt orange peels is really just quilting several circles that interlock. Don’t make it more complicated than it is. And know this: The more you quilt that circular motion, the easier it will get. The orange peel shape might not come naturally at first, but the more you do it, the better it will look.
Video tutorial
How can I use orange peels?
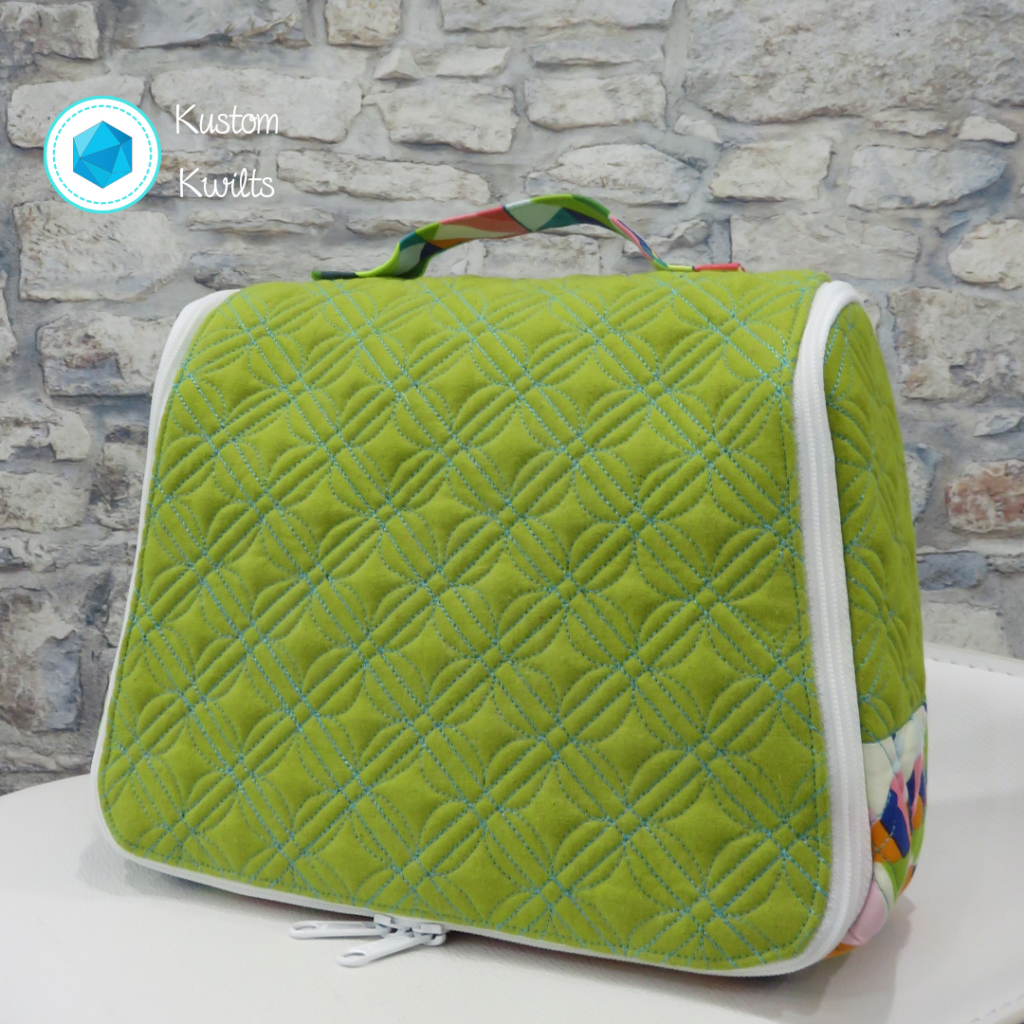
I love using Orange peel designs if I have a large background on a quilt to work with. Also, the orange peel design looks fantastic if you’re quilting up a panel to be used for a bag. I did a modified orange peel design when I made myself some new cosmetic bags for travelling. It really takes the travel bag up a notch, especially if you imagine it without the quilting and just solid green fabric. You can see the full blog post I did here.
Orange peels look great as a motif that you want to be seen. If you’ve got a lot of negative space, it can really add a lot of punch to the overall look! Even if you don’t have your machine handy, this is a great design to practice with graph paper. Grab a few sheets and take them with you for moments of free time and you’ll be good to go!
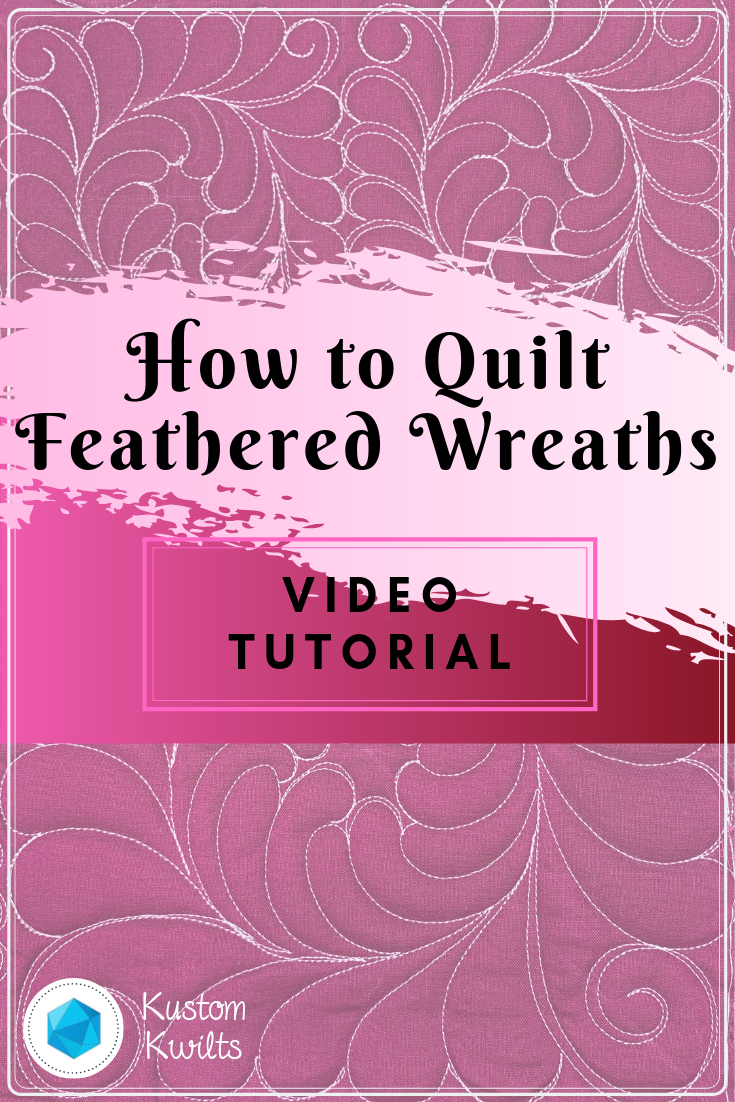
Let’s talk about quilting feathered wreaths! Feathers are so much fun to quilt, and it’s nice to know when and how to use them. If you’re new to quilting feathers, you can see a basic tutorial on feathers below, or see the blog post:
Now that you’ve got the hang of basic feathers, let’s talk about quilting them in a circle. There are a few things you’ll need to think about before you get started:
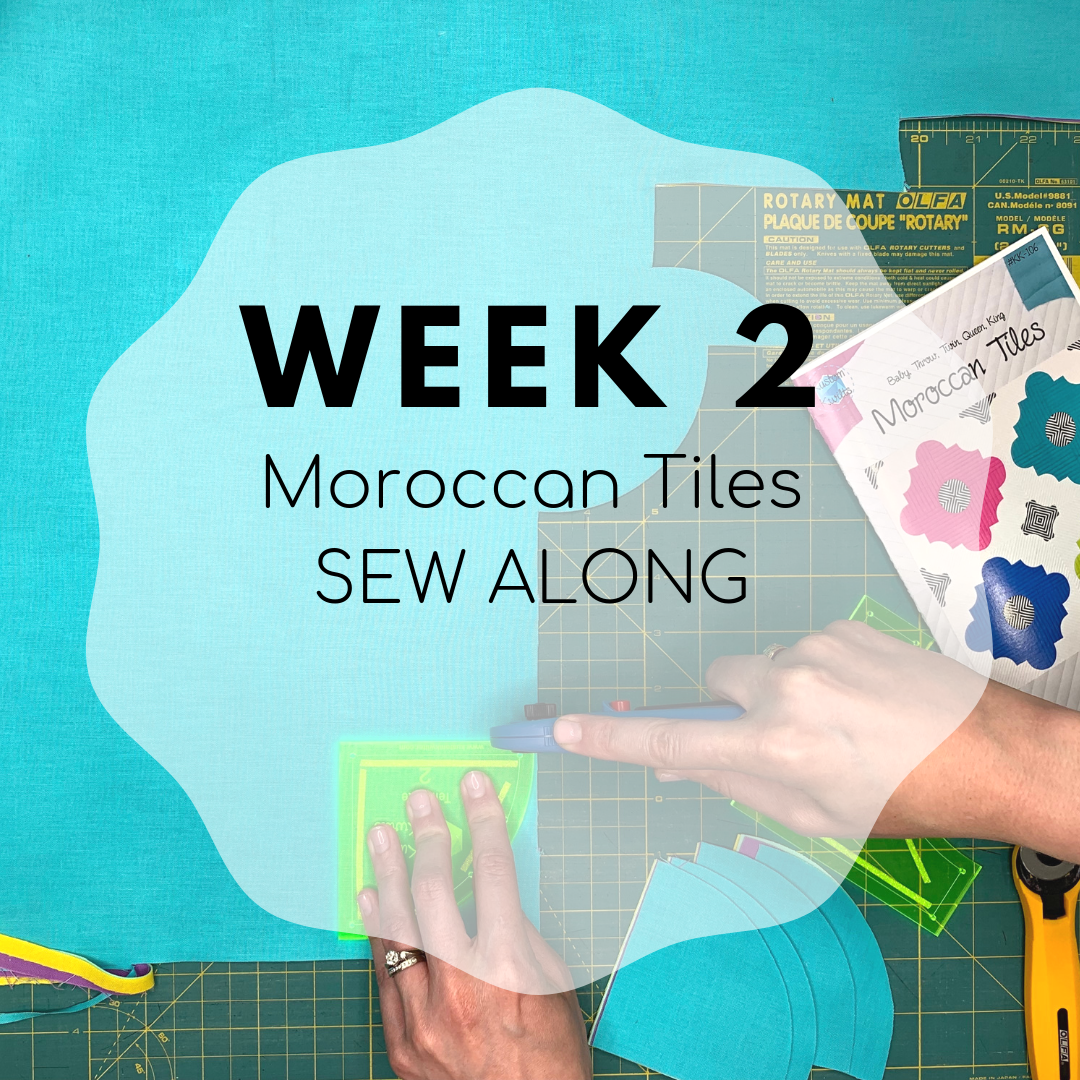
We’re moving right along into Week 2 of the Moroccan Tiles Sew Along! Head over to the Original SAL Post to review the details and schedule, if you need to.
If you haven’t seen the list of video tutorials for the Moroccan Tiles quilt (they’re listed on page 2 of the pattern), you can see the full playlist of tips and tricks I made specifically for the sew along below. It starts with some different variations of the quilt (you can skip right through that video and onto the next), and goes right into using the templates.
Quilting with rulers can seem like a daunting plan. We all love how grids can look in a quilt and how much visual interest they can add. But how do you go about actually doing it? Even beginners can quilt a grid with a little planning and patience. Here are some of my best tips for quilting a grid: