Posted on

Sewing for BABY part 2 with Anna Maria Horner fabrics

So there are really only 2 more items I wanted to talk about on this topic, then I promise, I will move on from the baby talk!  

Find the fabric for this projects HERE and the pattern for the Belle Baby Bag HERE
Diaper bags.  Are. Outrageously. Expensive.  If you can sew, there is no excuse for buying a diaper bag (in my opinion).  I spent weeks looking for the perfect diaper bag pattern, and low and behold…Alicia from Swoon Patterns is miraculously pregnant at the same time that I am!!!  Which means she released a diaper bag pattern in the nick of time for me!!!  I mean, not really for me.  More for her, I’m sure.  But I’ll take it!  

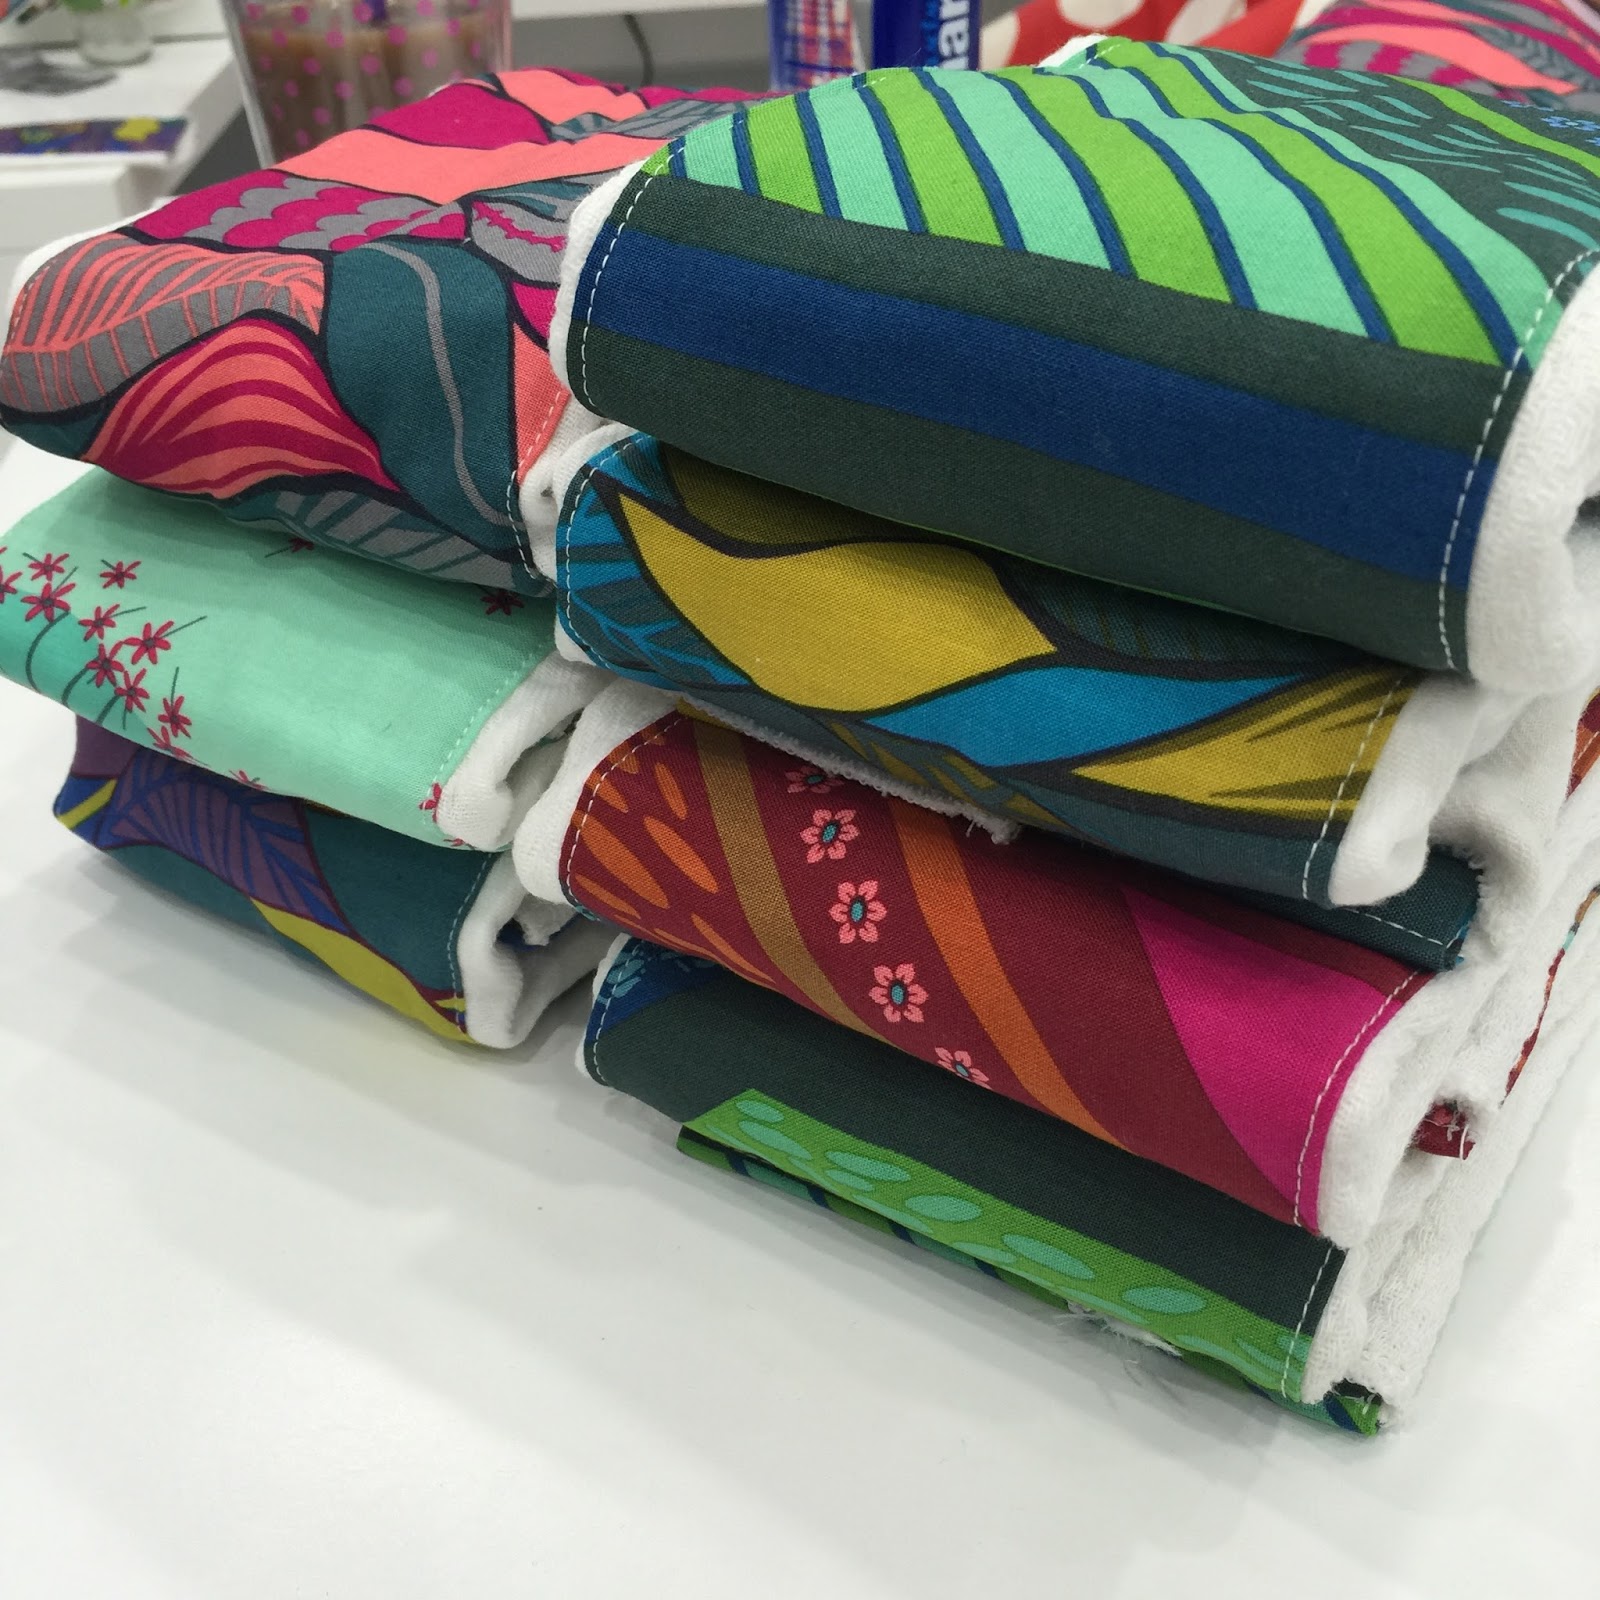
My pile of Belle Baby Bag pieces cut and ready to go!

So I adore the “Passage” in Pomegranate from AMH’s Mod Corsage collection.  Such vibrant colors.  Seriously, pictures really don’t do the print justice.  I didn’t want to pair the fabrics with a solid, so I went with some Michael Miller’s Painter’s Canvas in a blue-grey color.  I feel like it really gave a little added texture and made the bag really POP.  

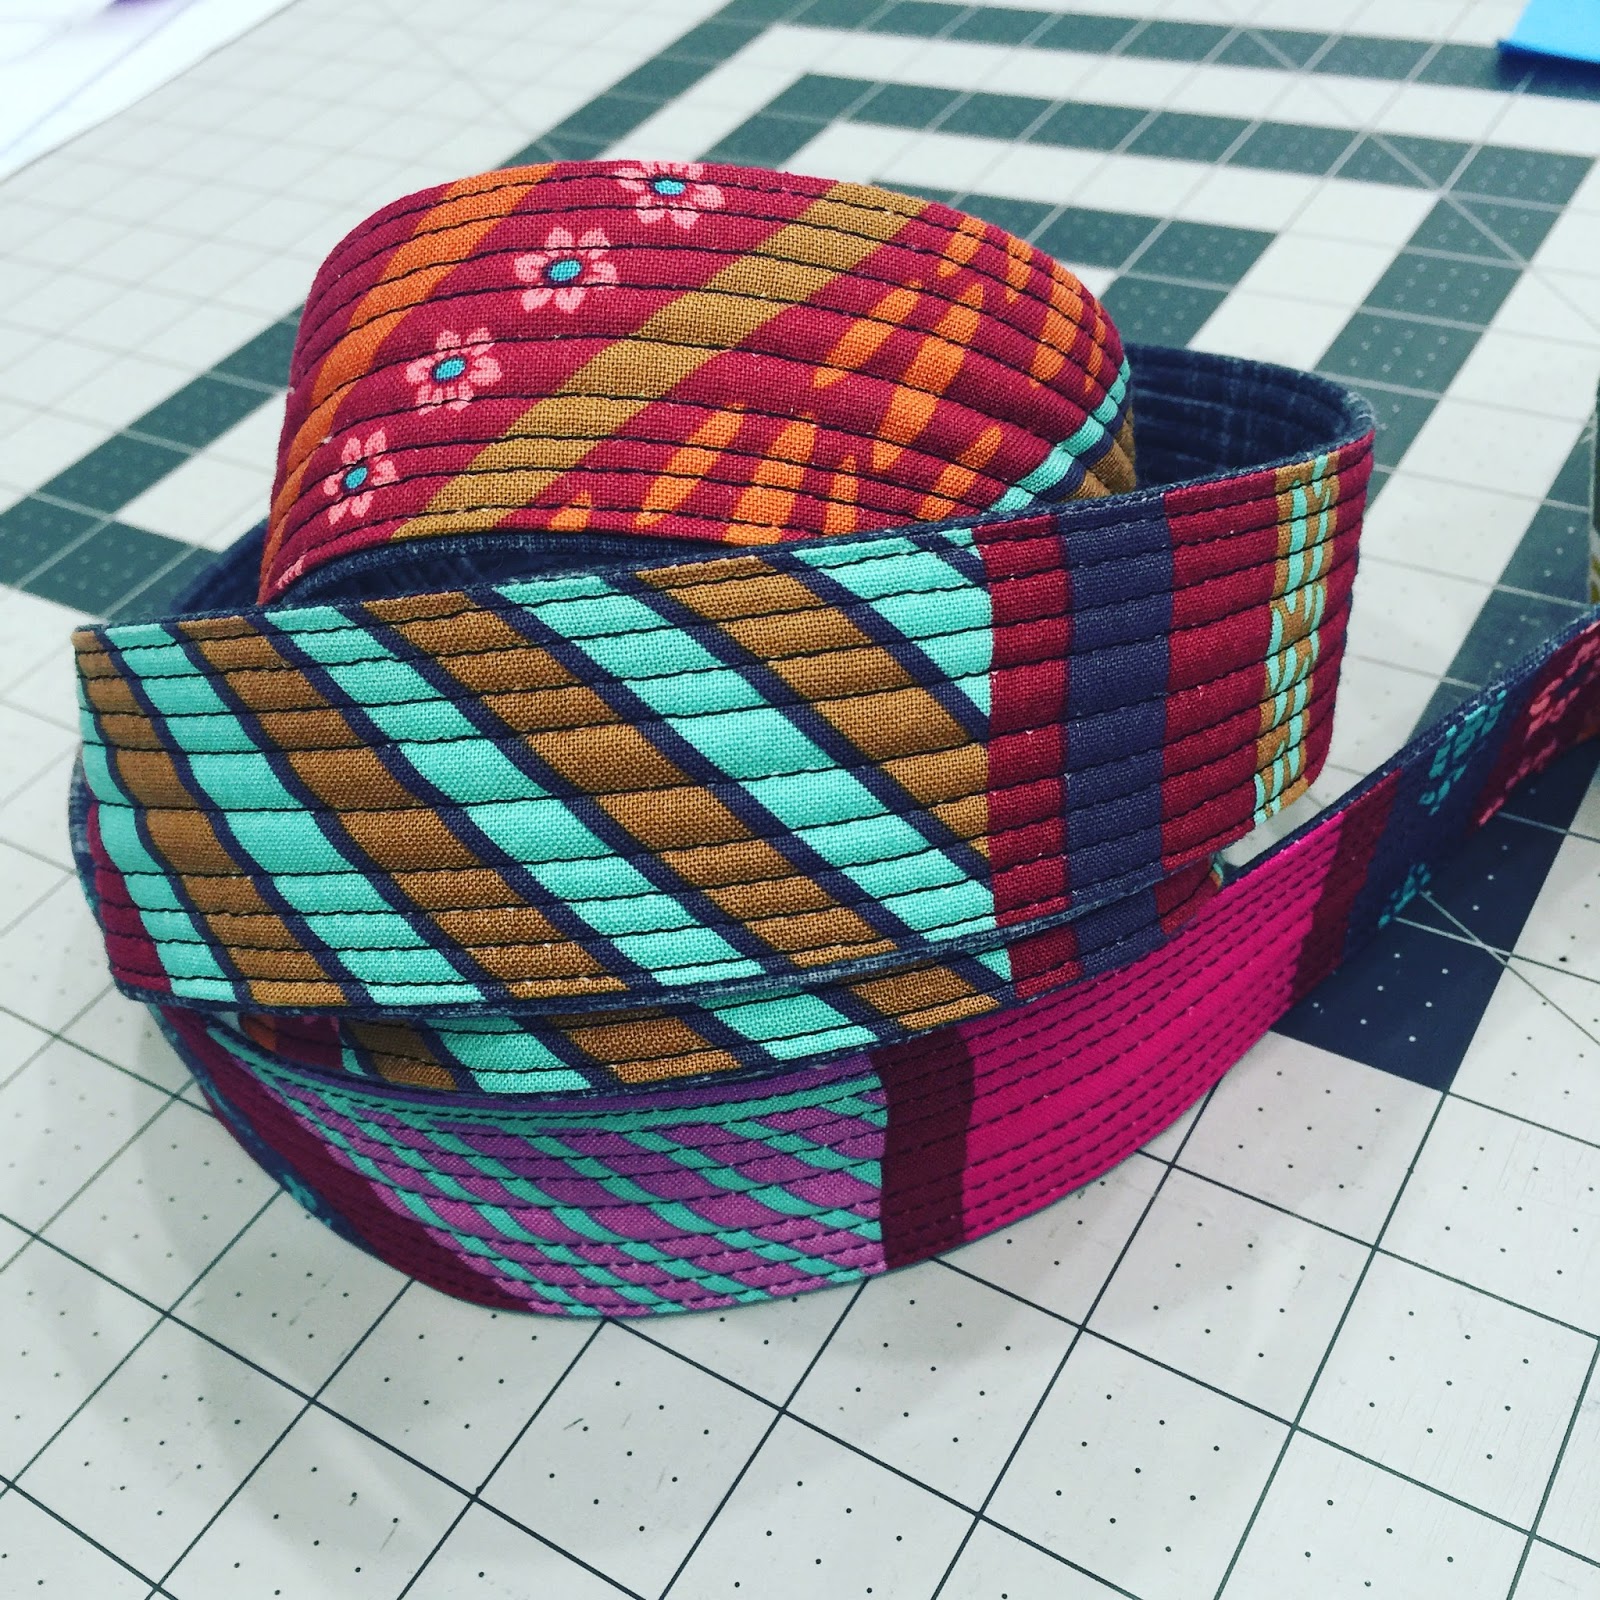
This is the shoulder strap for the bag–using Passage in pomegranate.  You can’t find a store bought diaper bag in fabrics this gorgeous.  Won’t happen.  

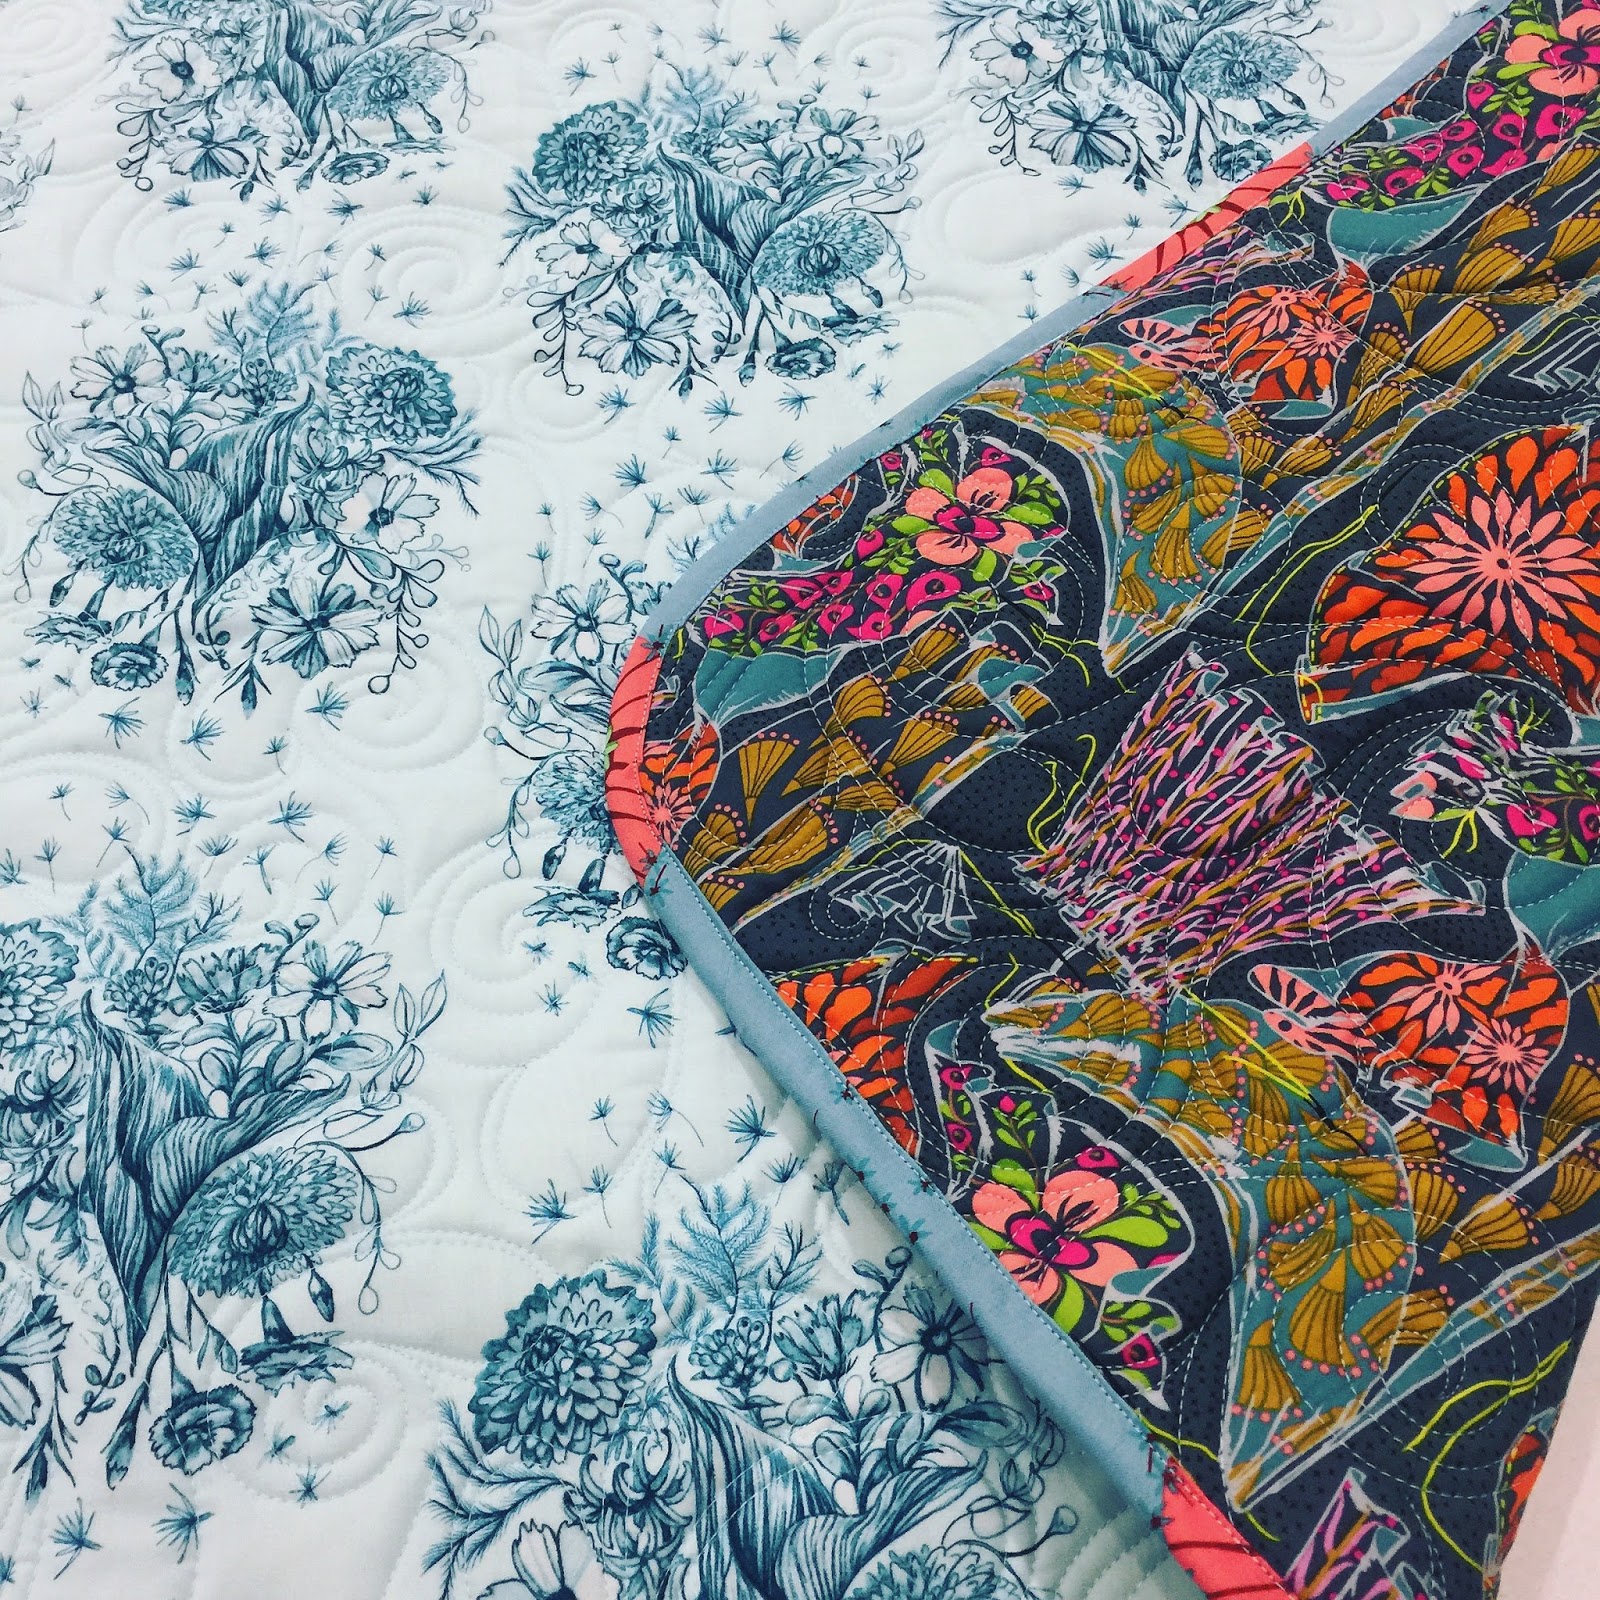
And then this is the nearly finished bag (I was waiting for the strap hardware to come in).  The pattern is very well written (thank you Alicia!), and I couldn’t be more happy with the fabric (thank you Anna Maria!!!).  I’m not going to lie…I started carrying it as my purse as soon as I got the rest of the hardware in.  It’s going to be a great diaper bag–there are pockets everywhere, and there are even stroller clips (not shown in picture) that attach to the handle of the stroller.  So there’s the diaper bag.  

The last thing I’m going to gush about for the time being is the wall hanging I made for Gemma’s room.  If you haven’t heard of Vanessa at Fabric Confetti, run–don’t walk–to her website.  Her embroidery-applique designs are awesome!  I purchased the Elemenopea embroidery design package (it also comes with SVG files to load into your cutter).  I was originally going to hand embroider “Gemma” onto a big wall hanging, but…ain’t nobody got time for that!  Find the embroidery files to purchase HERE on the Fabric Confetti website.

Elemenopea Embroidery package-picture from the Fabric Confetti website


So this comes in two different sizes (I swear–I didn’t get paid anything to promote either of these products.  I just love them.  I purchased them both myself and didn’t ask for any kind of payment from any designer mentioned in this post.)  I bought the larger size.  And yes, it is a bit pricey.  But…so worth it.  


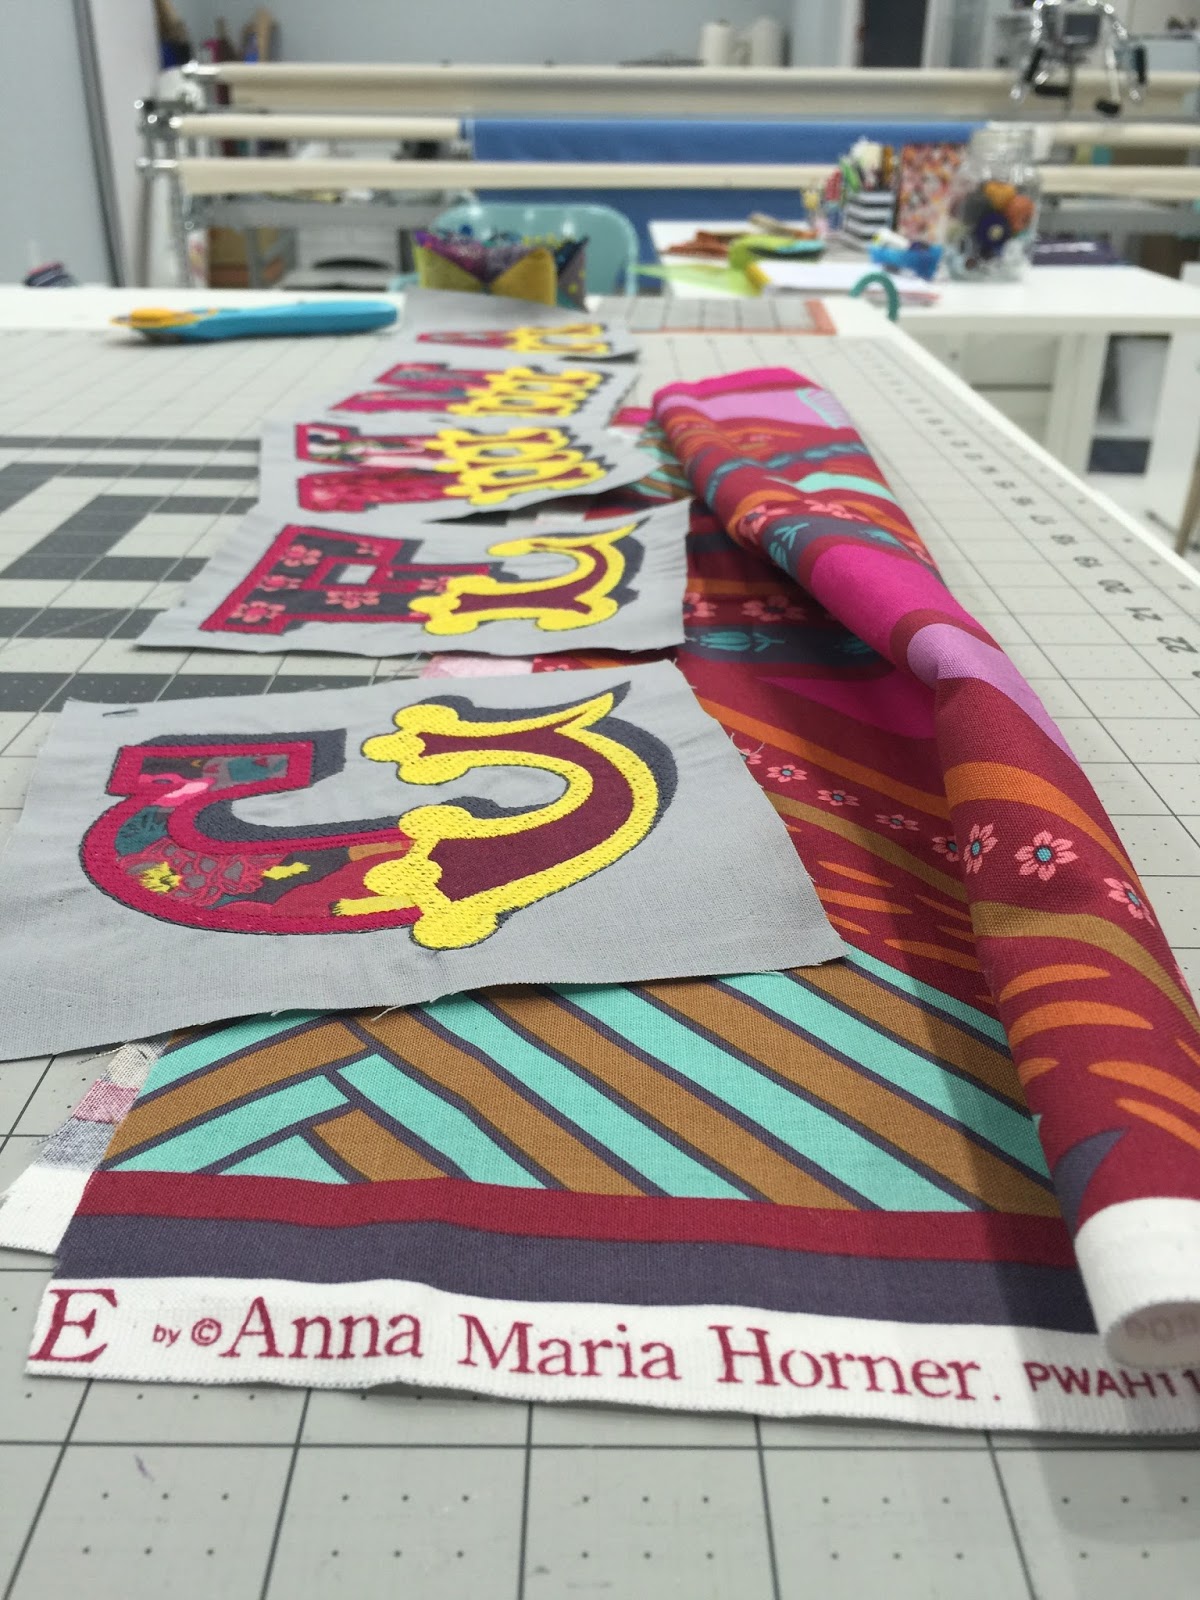
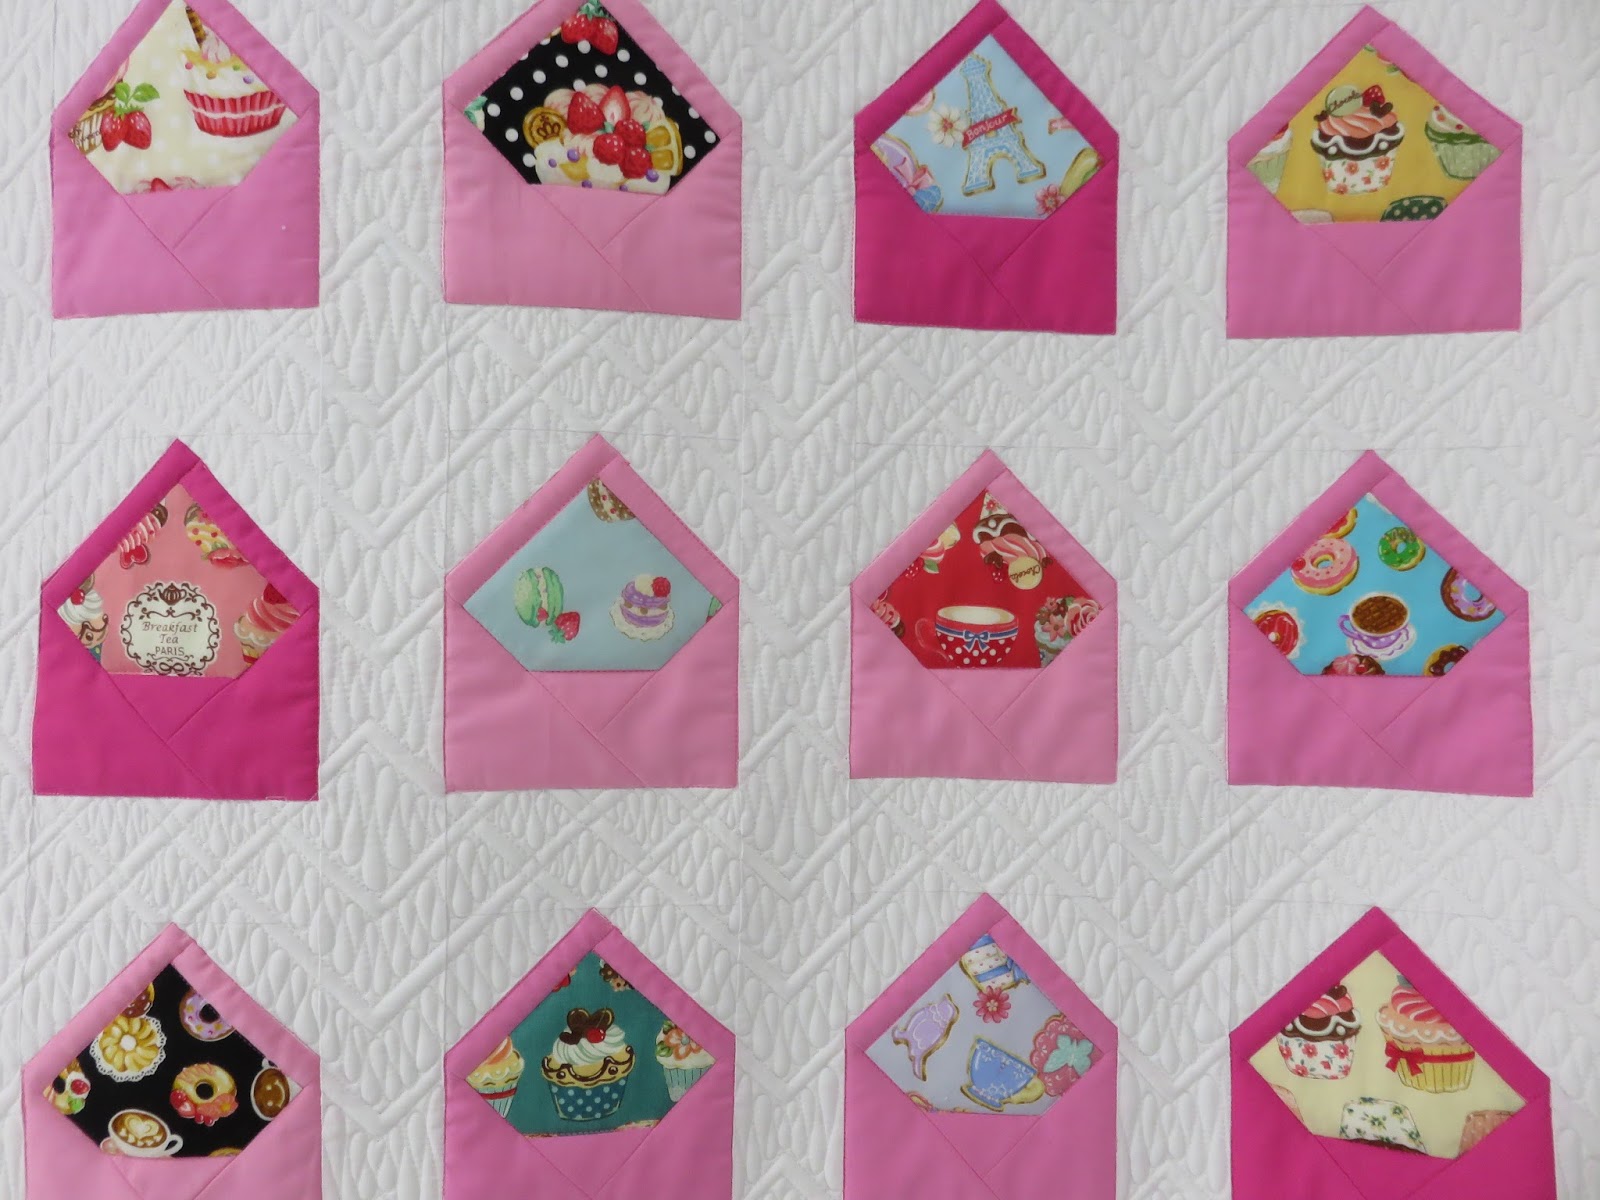
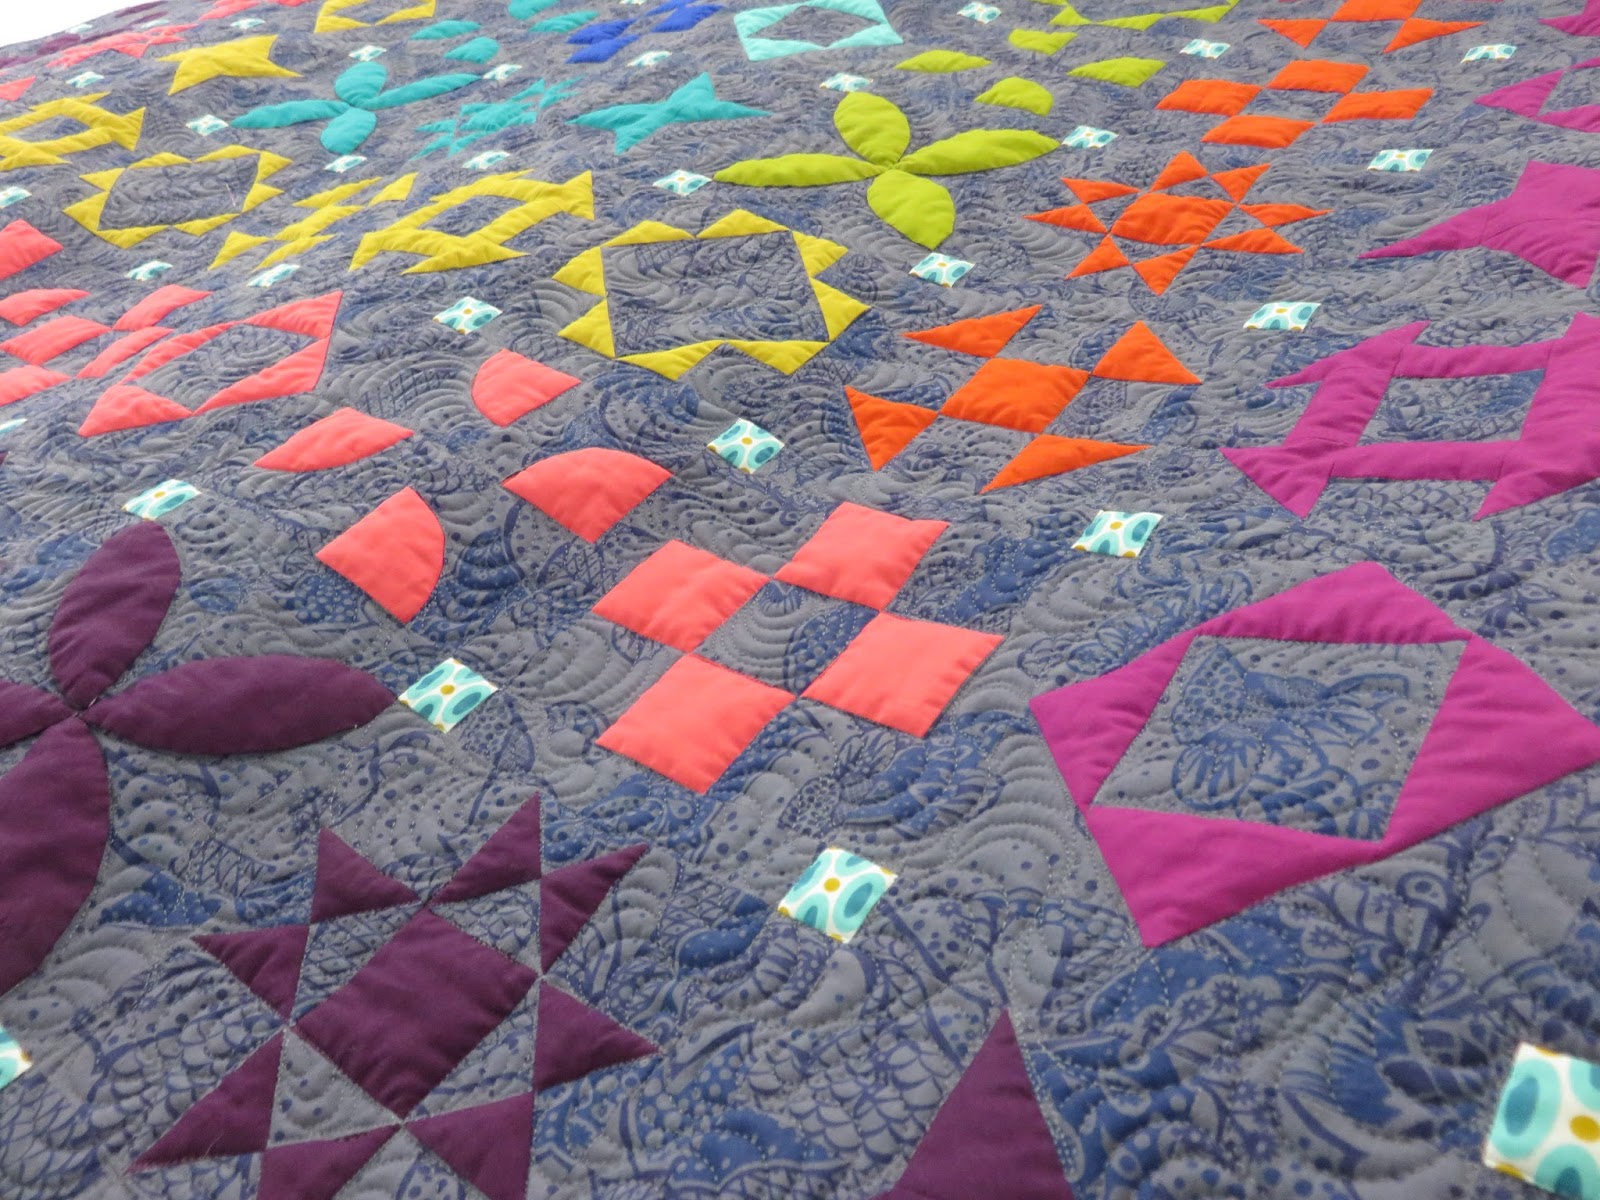
I embroidered/appliqued each letter in “Gemma” separately and cut them out so I could set them at wonky angles on the wall hanging.  Note the reappearance of “Passage” in pomegranate!  The solid fabric on the bottom portion of the letters and also seen in the border of the wall hanging is a shot cotton by Studio E.  The prints in the top portion of the letters are all various prints from Mod Corsage.  


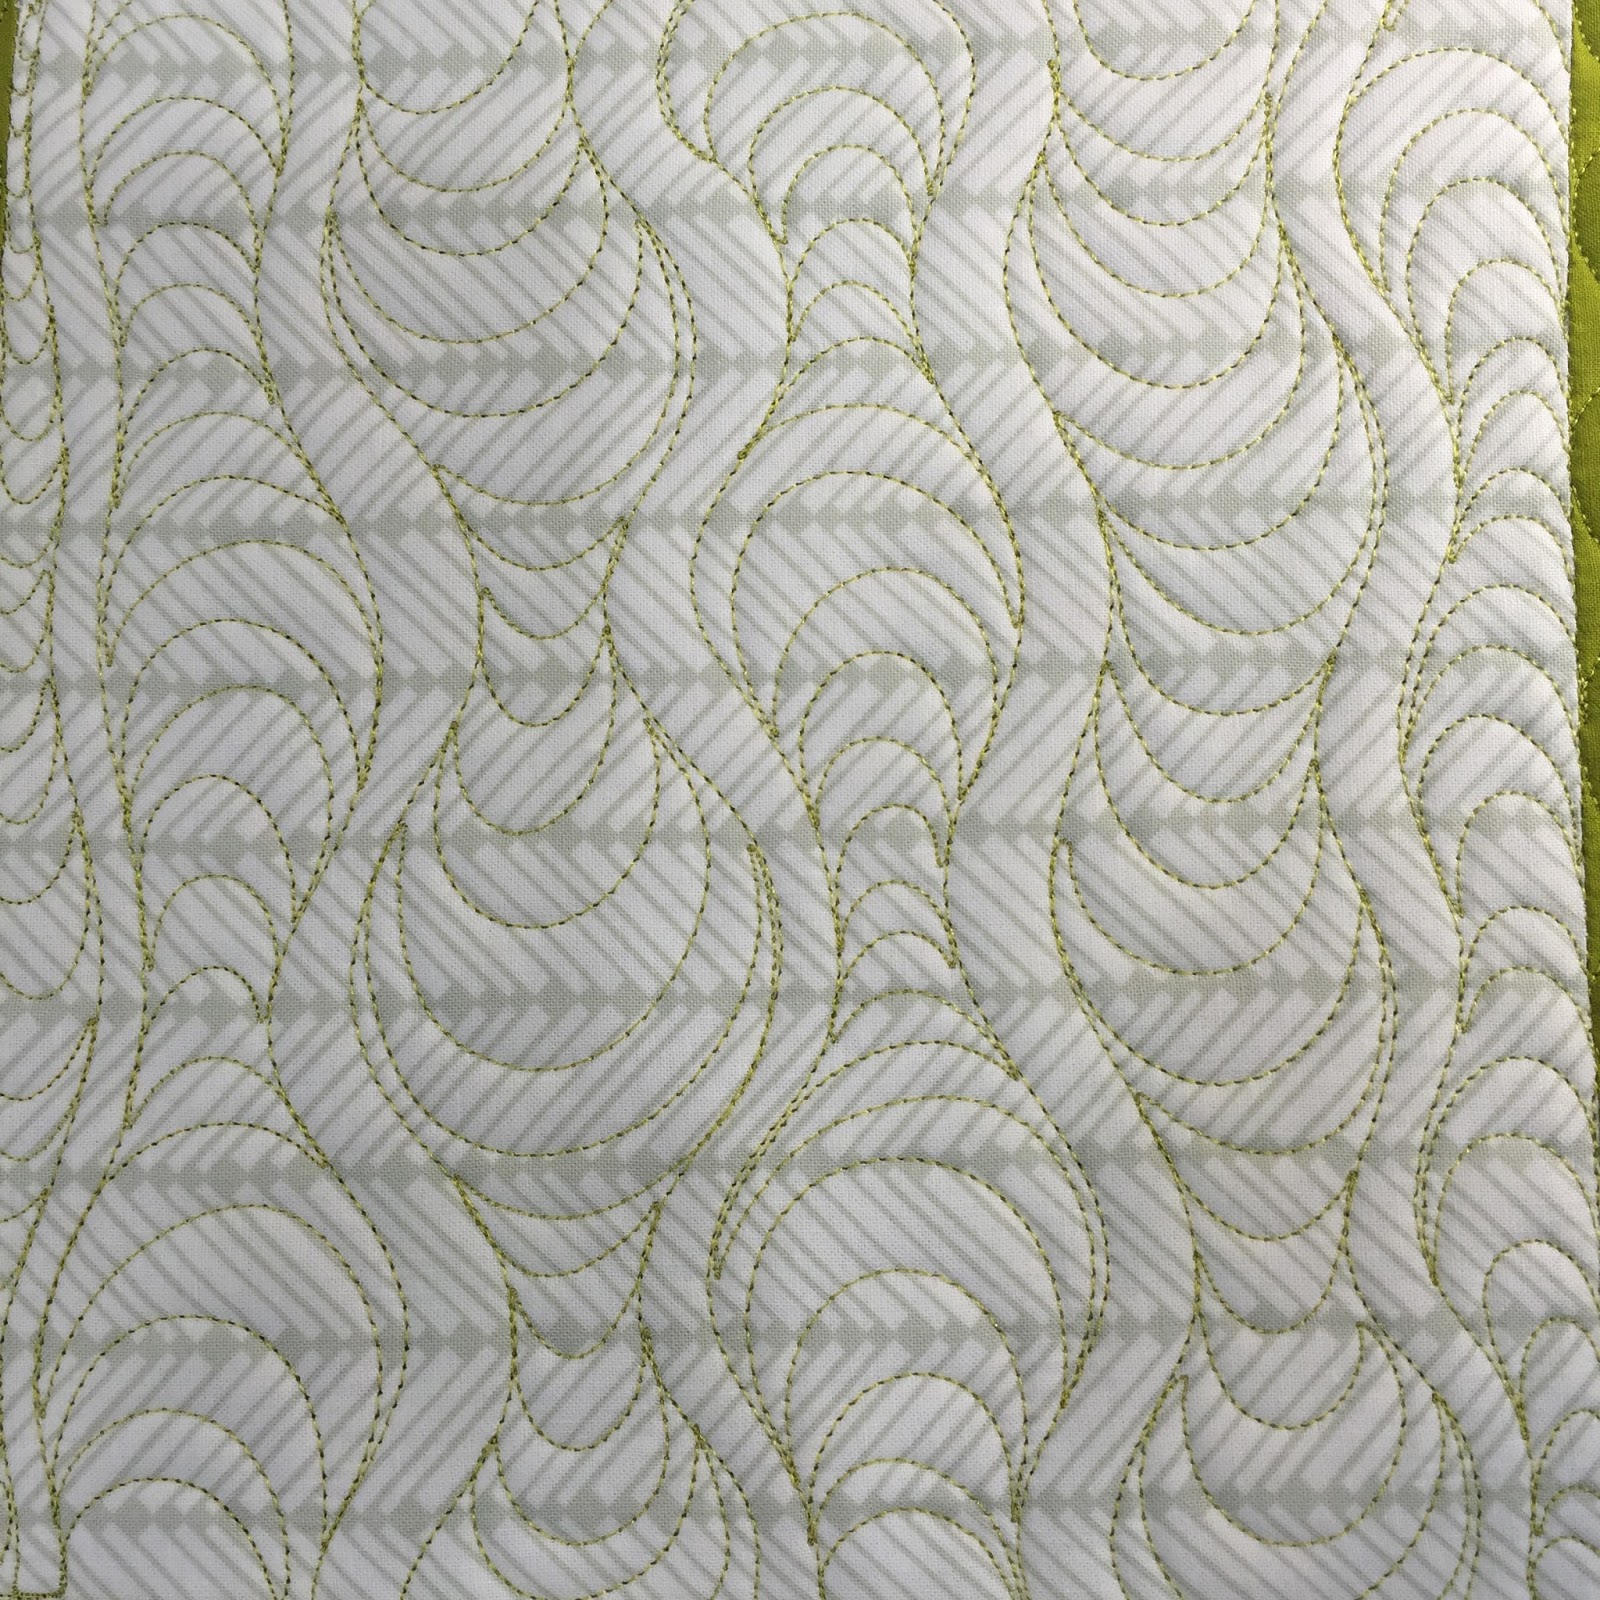
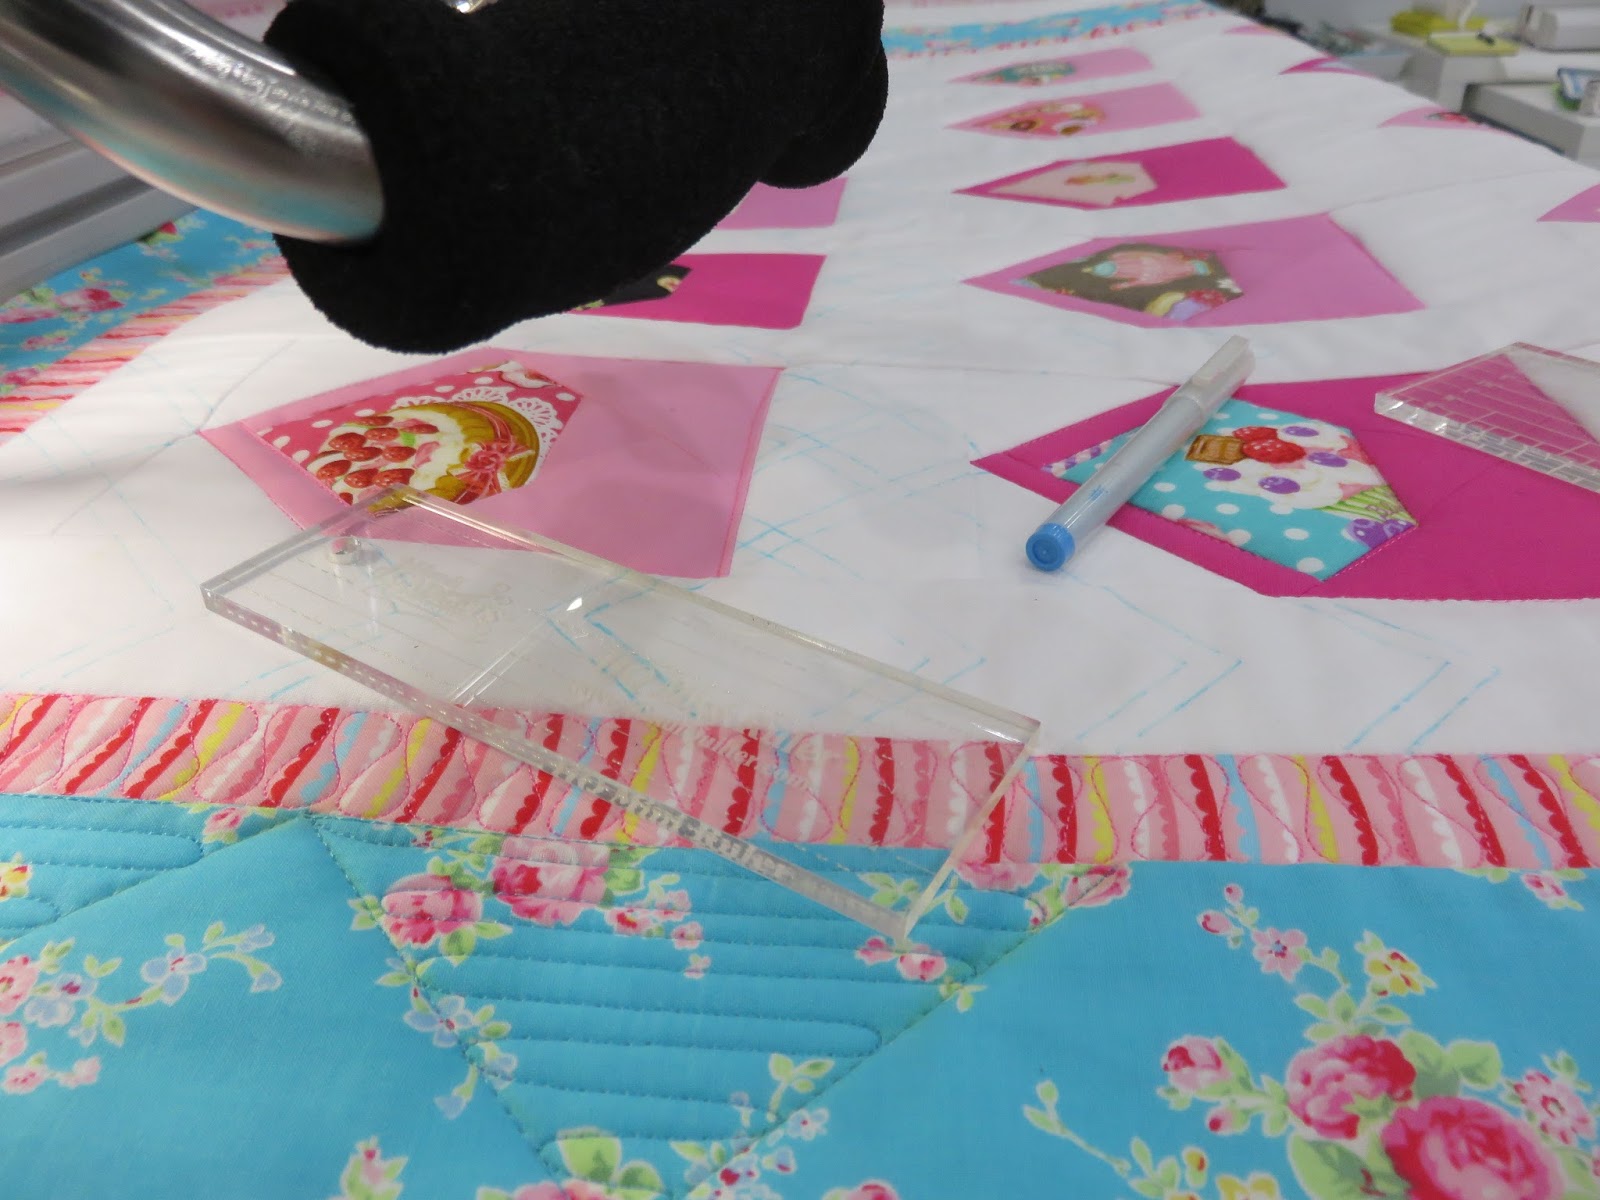
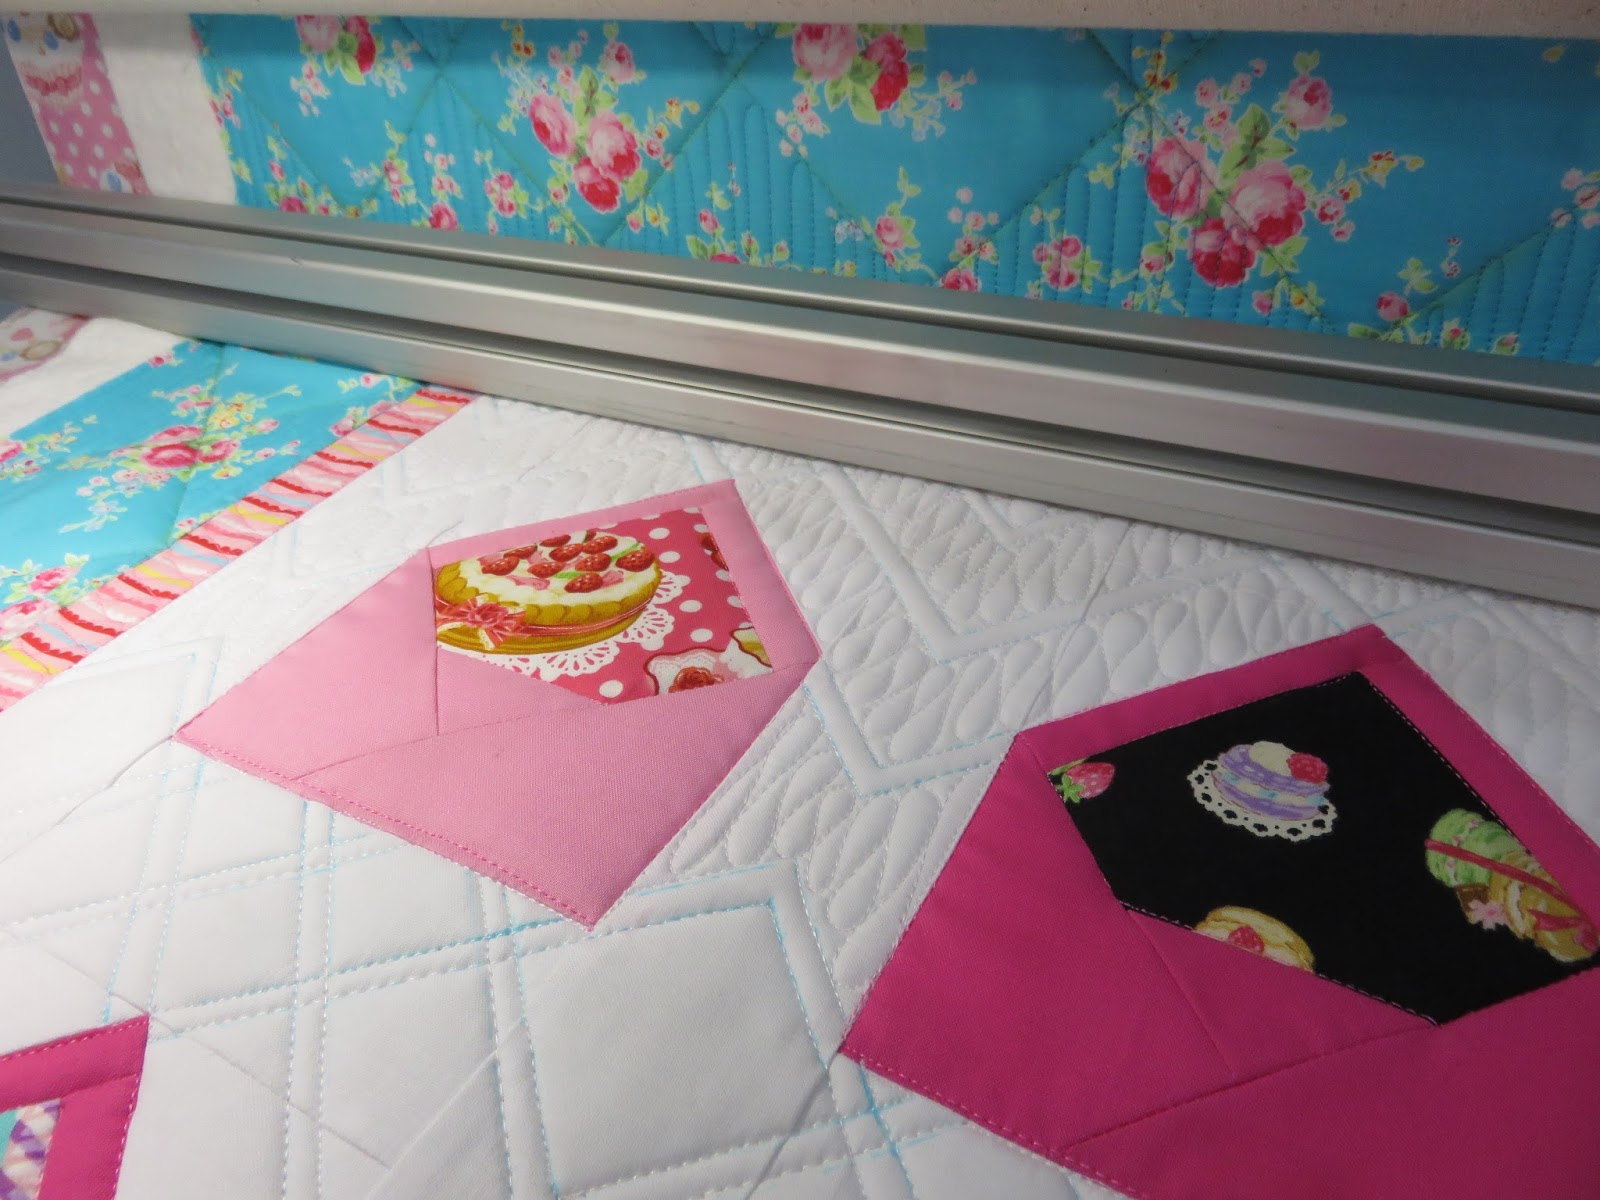
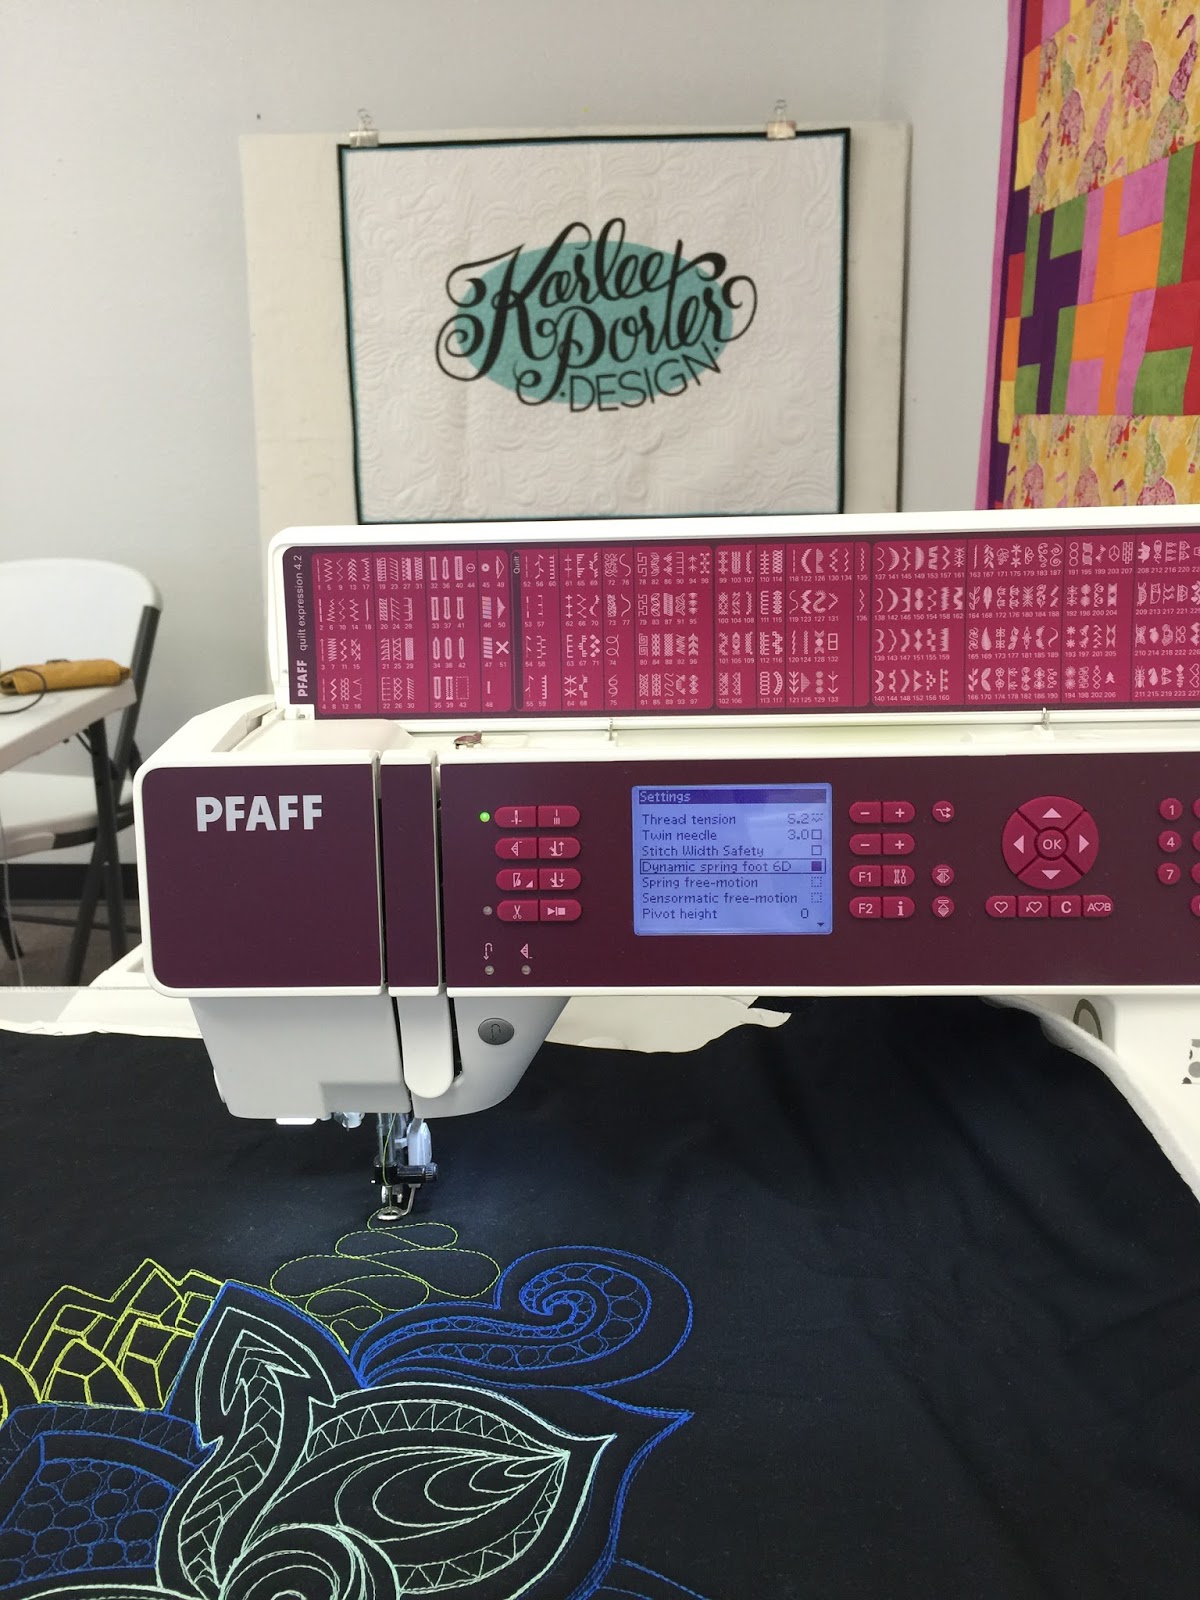
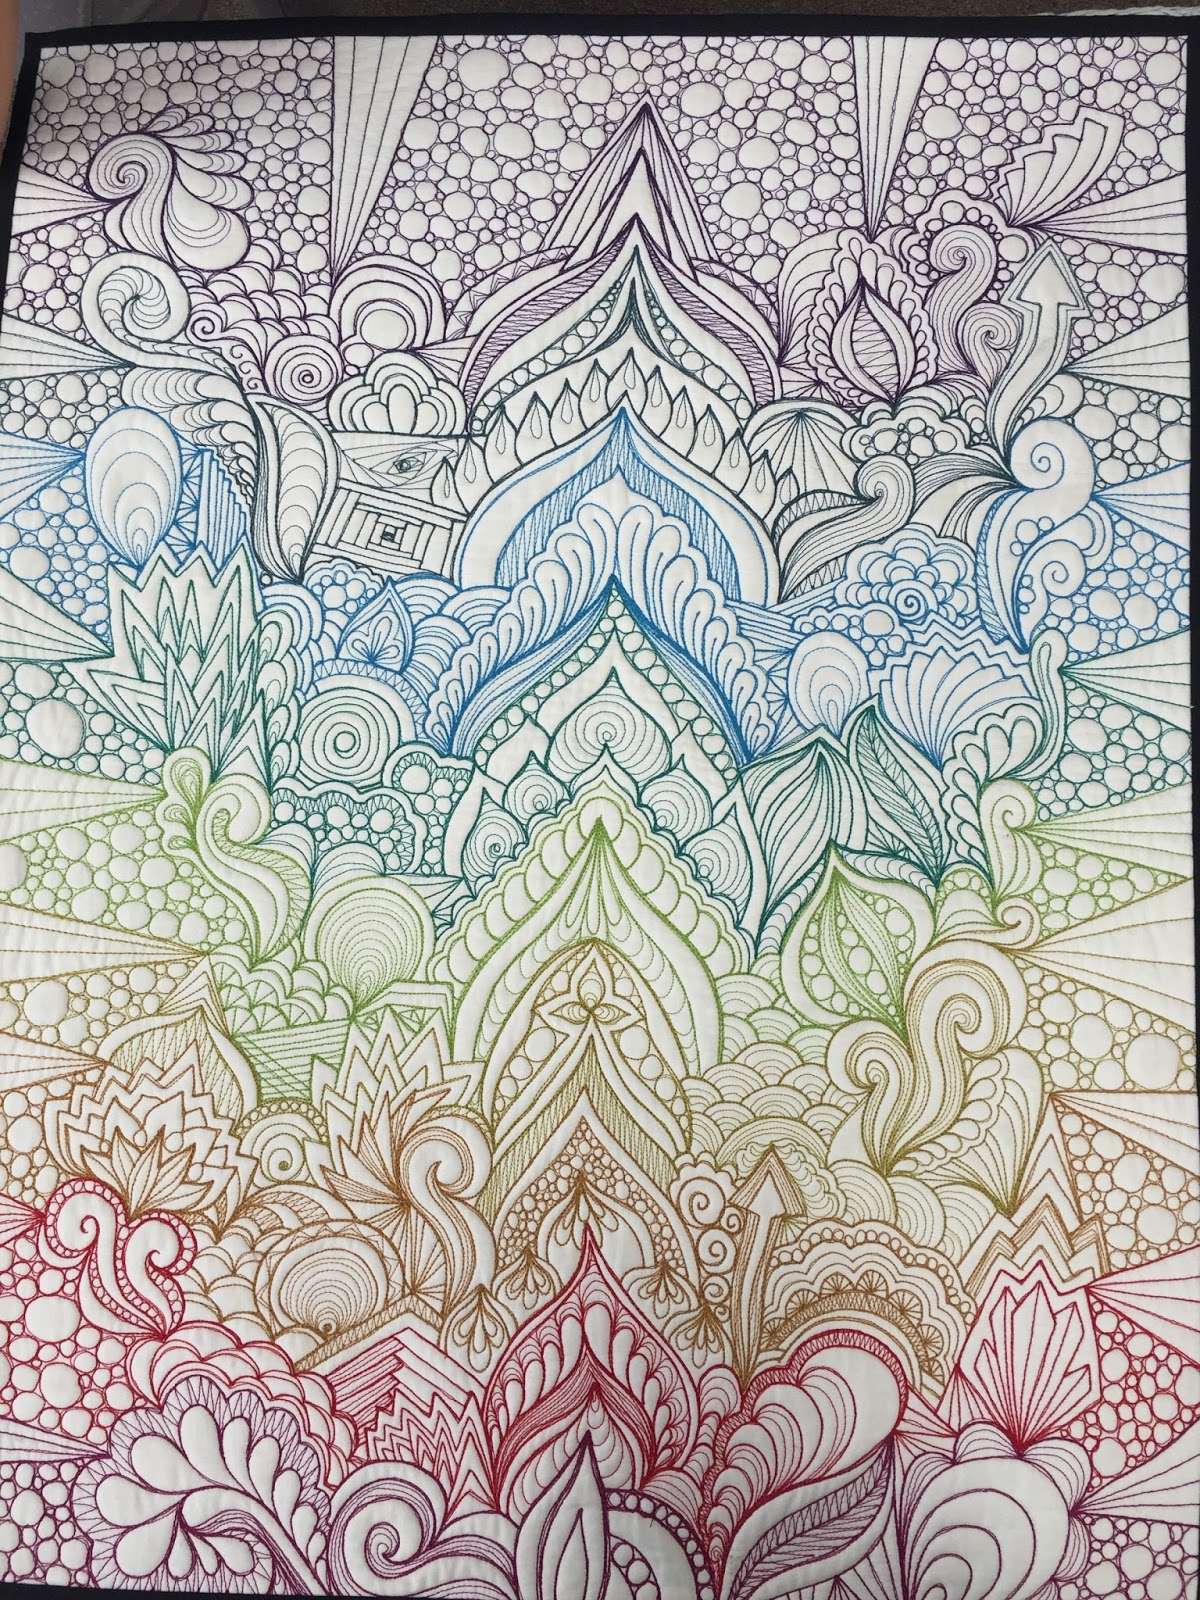
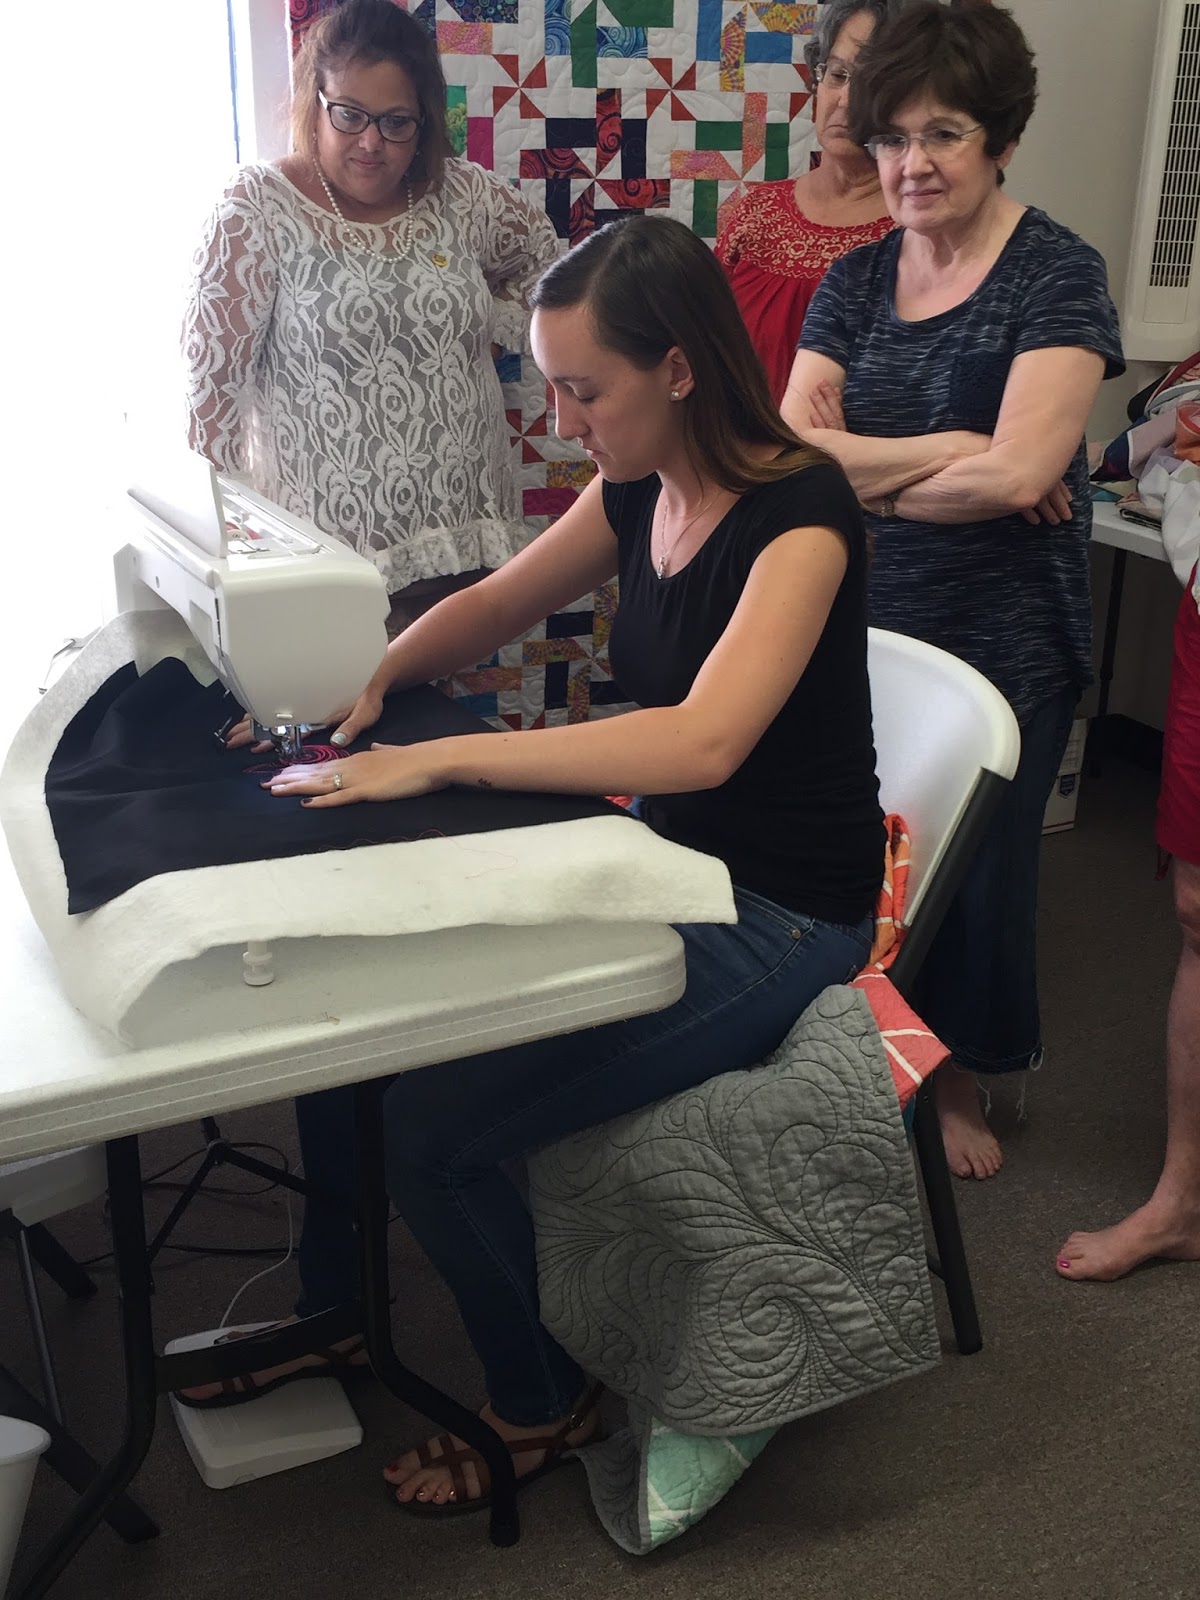
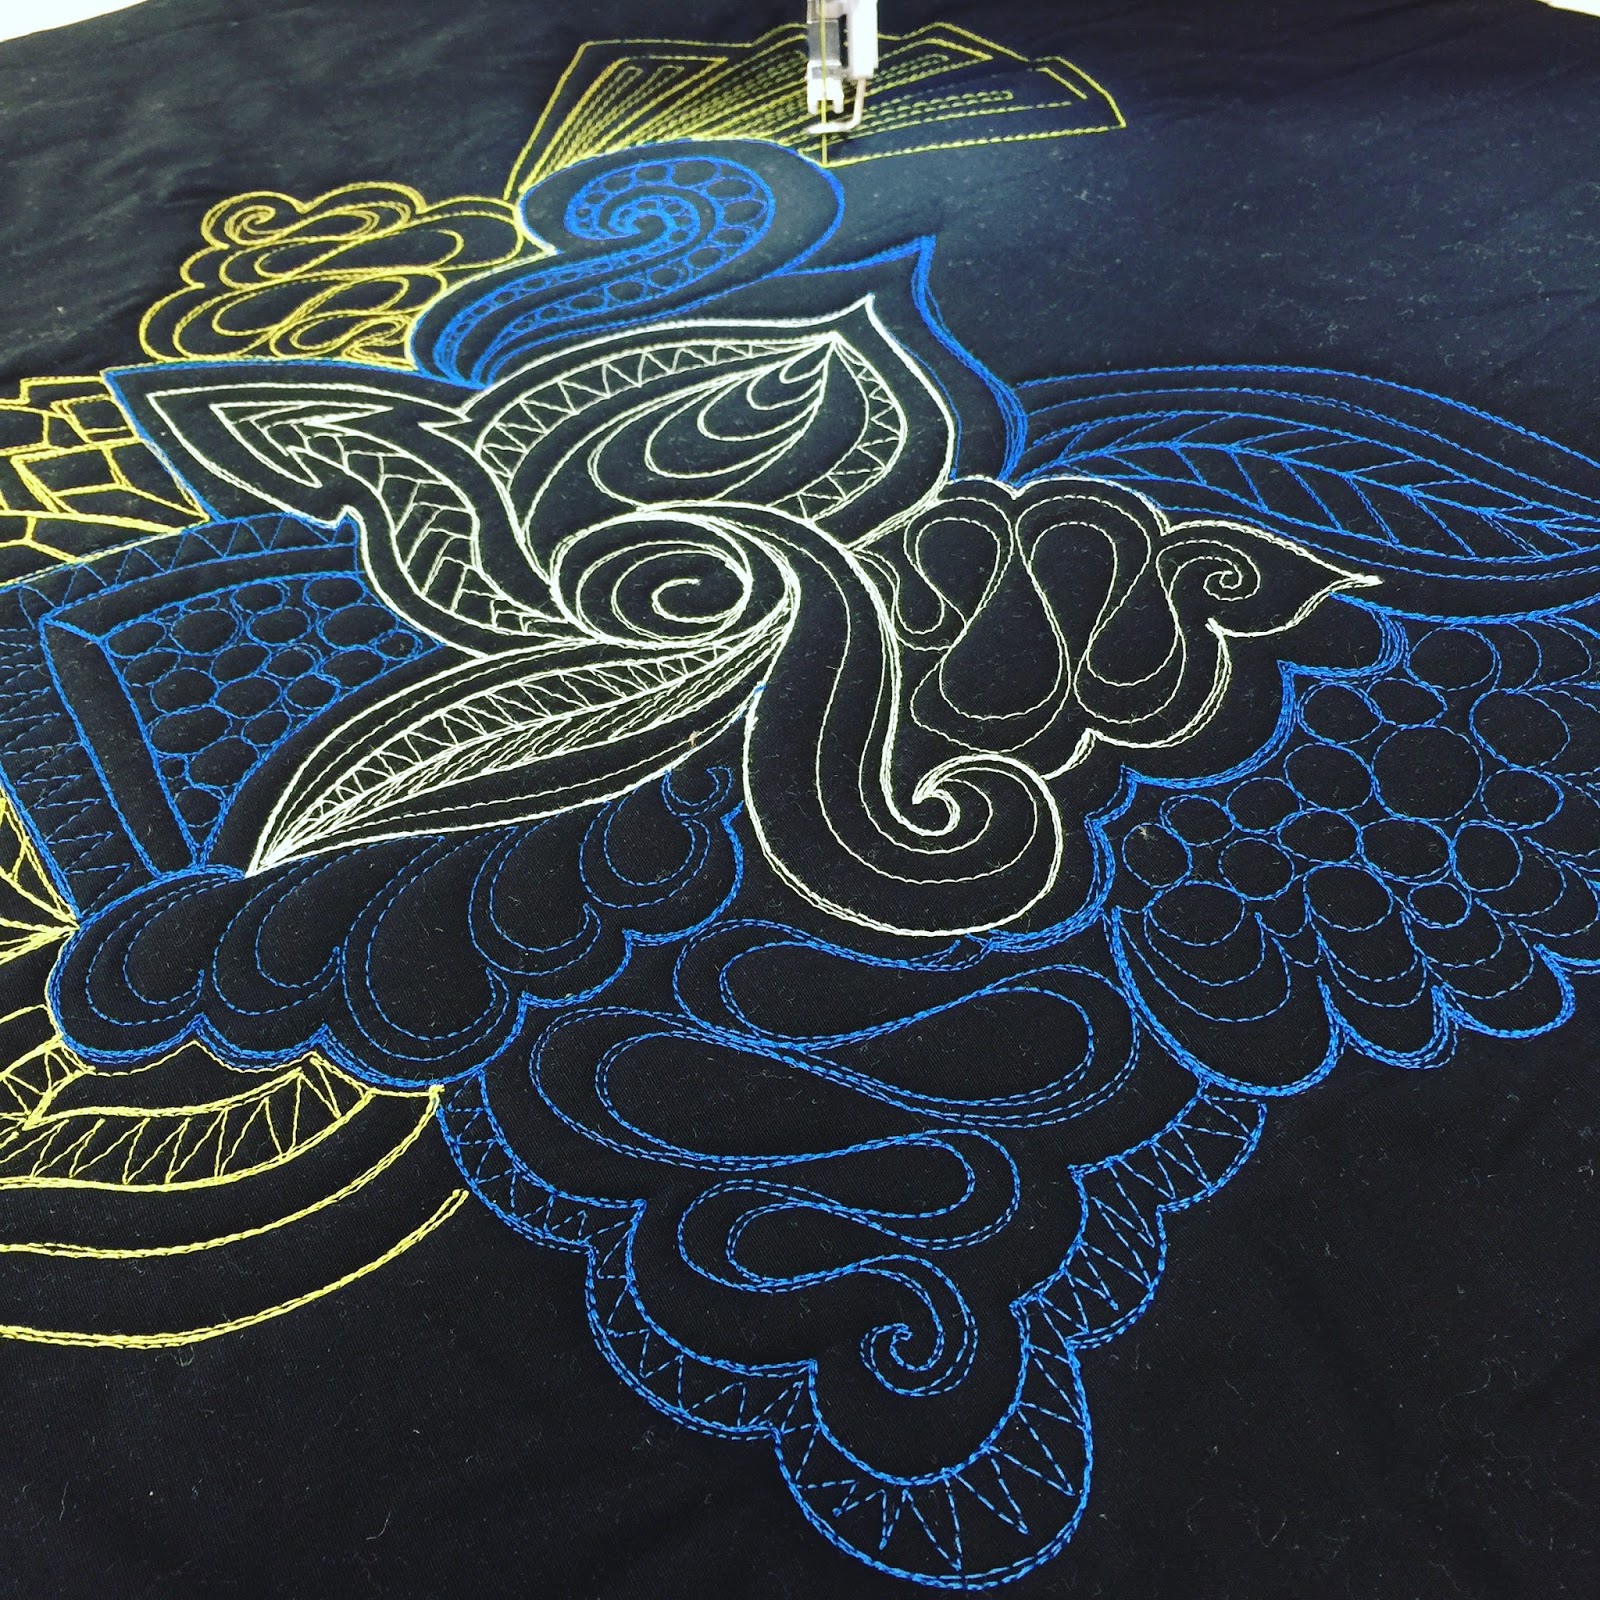
So this is the nearly finished project–loaded onto the longarm and being quilted.  So these are just a few of the things I’ve made for the nursery, and I’m happy with the few items I did make…even though my original plan was to basically stress myself out to the point of no return by making crib sheets, changing pad covers, lots of baby clothes, etc.  Nope.  Didn’t happen.  ðŸ™‚  

Posted on

Sewing for BABY with Anna Maria Horner fabrics

As I said in my post a few weeks ago…we have a little girl on the way (I’m typing this in October, so I’m half way hoping she’s already been born by the time this goes live!).  My husband and I come from a long line of handmade people…my father in law made Gemma’s crib and dresser, my mother in law hand painted baby blocks for her and even wove some handles on a wooden basket to keep the blocks in.  So I wanted some other handmade items in the nursery too!

When I first found out I was pregnant, I had all these grand illusions of what I wanted the nursery to look like.  I was dreaming of a little girl.  We found out that was the case, and I knew immediately I didn’t want a sickening pepto pink bedroom for her.  

Pinterest was my BFF and I was pinning tons of color schemes and baby patterns.  I decided to make a short list of things I knew I would have time to make prior to her arrival and planned them out.  I started out with Alison Glass fabrics because I LOVE the saturated colors.  But I couldn’t pick a color scheme.  So I moved on to AMH and fell in love with the Mod Corsage line and Fibs and Fables.   I love how complex the colors are in Anna Maria’s lines.  The color schemes are very sophisticated, but they all manage to work with her other lines.  So I’m just going to do a quick run through of the items I’ve made so far for sweet baby girl’s room.  

Handmade burp cloths from cloth diapers and AMH Mod Corsage

 So this style isn’t typical of the burp cloths I used to make and sell in my Etsy shop, but I think these will be much more absorbent.  We shall see!!!  At the very least, they’ll be beautiful until they are snotted on and spit up on 🙂  Get the tutorial HERE (and better yet, this tutorial is labeled for beginner sewing!

Hour Baskets in Mod Corsage for baby organization

And have you seen how expensive simple little organizing baskets are???  Enter the hour baskets by kelbysews.  These literally took me 30 minutes from start to finish, and they hold the burp cloths like a champ.  I think I made 6 of these, and I love them all!  Get the pattern HERE

Tummy time mat made with Mod Corsage and Fibs and Fables AND batting scraps

And this ethereal print from Mod corsage with the bouquets…to die for.  I wasn’t sure what I was going to use this fabric for, but I knew I wanted it showcased.  And I loved this dressmaker print from the AMH Fibs and Fables line.  So I made a simple tummy time mat.  Another great thing about making this was that I used up a TON of batting scraps that I didn’t have any plan for.  I quilted this mat pretty heavily, so I stacked the batting scraps 3 layers deep.  This is the cushiest thing you could ever lay a baby on.  And I love that I put those smaller batting scraps to good use.  I squared it up after quilting, rounded the corners to give it a little more style, and bound it.  It’s small enough that I can roll it up and take to grandma’s house or wherever but big enough that I don’t have to worry about other people’s dirty floors 🙂  
There’s no pattern for this to link to, but it’s basically just a whole cloth quilt with tons of batting scraps layered in between the two pieces of fabric–enough to make 3 layers thick with batting.  Quilt as desired.  Trim/square up into whatever shape you desire.  I rounded the corners because I didn’t want them square, and then I slapped some binding on that sucker.  I did machine bind–in the event that this got pooped on or spit up on a ton and needed to be laundered a lot–so if you love hand binding as much as I do, you may want to rethink that!

I’m going to make this a two part post to talk a little more in depth about the other items (so I can credit other people’s designs).  Continued to next week–when I will hopefully have this baby out of my body if I don’t already!!!


Posted on

Is more sometimes less?

Let’s talk a little bit about quilt designs.  Of the quilting variety.  Not the piecing variety.  How many of us struggle with keeping our quilting plans fresh and unique?  If you’re anything like me, you might be constantly on Instagram or Pinterest searching through “free motion quilting” posts or “custom quilting” or “longarm quilting”, or any other search request you can think of.  And while I don’t ever want to copy someone else’s work, I’m always trying to find my own voice through things I like in other quilters’ work.  
I’m often blown away by tedious, tiny, overthought, quilted to death quilts.  I know I don’t charge nearly enough to compensate me for my time if I were to quilt every quilt that way.  To be honest, I wouldn’t even be able to pay the electric bill!  Don’t get me wrong, this is not a post to get on my soap box about charging what you’re worth.  I just want to discuss simplicity in quilt design.  I chose one of the quilts I quilted this year, that honestly, isn’t a show quilt–it isn’t a mind blowing quilt design, but it is thoughtful enough to look good (in my opinion).  
Isn’t the purpose of a good quilter to make the designer/piecer’s work shine?  To make the block or the quilt look it’s absolute best? 

I chose two motifs do be used on this quilt.  One was a continuous loop that was stitched throughout the green pieces on the quilt to give uniformity to the design.

The other motif was simple double wavy lines with curved lines connecting them on the larger pieced blocks.  While these two designs won’t be winning any ribbons at quilting shows, I’m sure, it does enough to simply enhance the quilt without drawing so much attention to the quilting that you can’t even see the actual quilt or blocks anymore.  I know this is nothing special, but I just want to point out that not every quilt has to be QTD.  (Quilted to death)

I recently saw a quilt on Instagram from a quilter I follow on a log cabin quilt.  The quilter is extremely talented and really takes quilting to a new level.  The log cabin quilt was QTD.  Quilted. To. Death.  It looks good.  But the actual quilt is lost in the quilting.  What purpose does this serve?  I almost feel like it is just to inflate the ego of the quilter, and maybe the piecer requested this…but I wouldn’t think so.  Shouldn’t the piecing and quilting work together to make the quilt balanced overall?  I would really like to post a picture of what I’m talking about, but I don’t want to demean anyone’s work.

Also, keep in mind that I’ve only been sewing and quilting since about 2011.  So really, in the grand scheme of things, what do I know? 🙂  Just something to chew on and think about when it comes to quilt design…does more sometimes equal less?

Posted on

Lemon Slice Picnic Blanket

This may seem a little redundant, seeing as how I already participated in Erin’s blog hop for SewHome, BUT I had to talk about the really unique Picnic Blanket (Quilt) that I also had the opportunity to work on for the book.

SewHome by Erin Schlosser, photo by C&T Publishing

I can’t stop thinking about how unique and practical the projects are in Erin Schlosser’s new book.  For real, y’all.  I’ve bought fabric and supplies to make my top 6 favorite projects in the book (who knows when I’ll have time to do it!!!).

Lemon Slice Picnic Blanket, photo by C&T Publishing

So, this is the Lemon Slice Picnic Blanket, and it is too cool for school!  The ingenious part is that the backing is with laminated cotton–so you don’t have to worry about getting grass stains on the back of it.  Erin asked me to quilt this for the book, and it was so much fun to do.  I just had to share this and, if I’m being honest, don’t be surprised if there are more posts from Erin’s book in the future.

Posted on 2 Comments

Quilting a “Letters from home” quilt

A couple of months ago, I had the awesome opportunity to quilt one of my customer’s “Letters from Home” quilt (pattern by Heather Givens/Crimson Tate).  Now, I have to preface this post by saying that I’m barely wetting my toes in the waters of custom quilting.  But I am super-duper proud of the quilting on this quilt.  I’m going to take you through the process.

I like Glide’s thread for a little pop of sheen on a quilt.  Plus, it quilts like a DREAM.  I selected a few different thread colors for the quilting on this quilt.  Mainly, I changed thread colors to help them blend with the fabrics they were quilting on for a more subtle pop.  I used Quilter’s Dream batting for this quilt, as I do with most of my client quilts.

Glide Threads selected

 Some people might have you believe that once the quilt was loaded and the threads picked out that the quilting just magically happened with a wave of their wand.  Here’s my dirty little secret:  This quilt sat on my frame for a week.  An entire WEEK.  I had sketched out at least a dozen ideas for quilting, and each morning I would go out to my studio, ready to attack.  But then I would end up standing there, staring at the quilt top.  I changed my mind so many times, and then decided on the most difficult (or most time consuming) design I had drawn up.

Beginning to mark and quilt the borders

So I broke out my water soluble marking pen and trusty ruler and started marking some guidelines for the quilting.  I did some straight line quilting on the borders after marking them, and then marked the rest of the quilt as I went.  Each pass on the longarm took me about an hour to mark with the ruler and pen.

More markings, filled in with some quilting
The thing about the design being quilted, is that it isn’t complicated.  It’s just a bunch of straight lines and loops, but the way they are put together really leaves you with a huge impact.  
I have a black light on my longarm and seriously think it is SO cool.  This shows the texture a little better.

I really wanted to focus on the texture on this quilt, and so I chose to stitch in the ditch around the envelopes and the focal fabrics so they would pop out more.  My client selected Japanese import fabrics from Bunny Designs (out of Austin, TX), with a backing out of an adorable cupcake pattern (see the first photo in the post).  The attention to detail and her impeccable piecing made this quilt one of my all time favorites to quilt.  The quilt pattern by Crimson Tate is SO cute, and an ingenious way to showcase focal fabrics.

So, aside from me just talking about how much I loved this quilt, my other point is that sometimes it isn’t second nature to just come up with quilting designs out of thin air.  And it’s okay if the quilt has to sit on your frame for a week while you change your mind a hundred times about the quilting design (as long as your client has allowed you to do so!).  And while it is my favorite thing ever for a client to say–I want custom quilting, and the design is up to you–it can also be the most challenging (and rewarding) part of my job.  I think this is a great way to grow your skill set and think about how many different ways there are to quilt a quilt.  (Quilt construction and fabric selection by Debra Barnes)

Posted on

Free Jelly Roll Quilt Tutorial!

 If you’ve been looking for a way to use up those super cute jelly rolls you’ve acquired…I have a great jelly roll tutorial for you!  It’s free, and you can find it at the American Quilter’s Society Blog, sponsored by Janome.  

Free Jelly Roll Quilt tutorial by Joanna Marsh

I whipped up this quick tutorial using L’s Modern Basics (in the warm colors) Sushi Roll.  I absolutely love this fabric collection and plan on making one of these in the cool colorway too!  

Easy piecing with Janome’s 1/4″ piecing foot

If your quarter inch seams aren’t perfect, you can take your piecing skills to the next level with a 1/4″ piecing foot that will give you perfect seams every time.  This foot is everything when it comes to piecing!!!

Up close and personal of the quilting

And then finish your top off with some fun free motion quilting!  Have fun with this free tutorial, and use up that fabric you’ve been hoarding for so long 🙂  

Posted on

Graffiti Quilting workshop with Karlee Porter

This picture!!!  I had the awesome opportunity to take a 2 day workshop from THE Karlee Porter.  The workshop was in Castroville at the Quilt Shop, and I swear, it was one of the best classes I’ve ever taken.  Most of the time, when I take a workshop and the person putting it on says there will be about half a day of lecture, then we get to play… I’m usually a little dismayed.  But Karlee had an awesome program that I left with PAGES of notes and drawings for inspiration.  And it wasn’t like I was just writing stuff down to busy my hands.  I’ve referred to those notes and drawings at least a dozen times in the short weeks since I took that class.  

Karlee was so gracious in letting us ask unlimited questions, take pictures of all the samples she had, and she even did a trunk show at our SAMQG guild meeting.  This is one of her masterpieces–I  believe it’s called “Russian Mosque”, that literally takes your breath away.  

The principles Karlee taught can be applied to a domestic machine, sit down quilter, or longarm.  Since I started out quilting my quilts on a domestic, I liked that.  However, since I’ve been doing most of my quilting on a longarm in the last year, it took a minute for my brain to catch up that my hands were moving the fabric and not the machine 🙂

After Karlee taught us her important principles of successful graffiti quilting, she turned us loose and we were able to apply those principles to some small class samples.  This was the sample that I worked on, and although I’m not nuts about the thread colors I selected, I did like the high visibility of it.  

And of course, I had to include a picture of me and Karlee!  Not sure what I’m doing with my hand…is that a hook?  Anyway, I was seriously beyond excited that I had the opportunity to hear Karlee in Texas–and can’t wait to keep working on my graffiti quilting skills.  

Posted on

Finding time to give back #quiltsforpulse

 In the midst of tragedy, I am relieved that I belong to a group of people that goes out of their way to show love for others.  The group I’m talking about is the Modern Quilt Guild.  And even  more specifically, the San Antonio chapter of the Modern Quilt Guild.  The Orlando MQG organized collections to accept in progress quilts and completed quilts to show support and love for some of the people affected by the Pulse night club shooting.  I hate that I’m even writing a post about this, because it’s so disturbing the amount of violence we hear about on a daily basis on the news…but I want to focus on giving back and showing support for our fellow human beings.  


The SAMQG members are SO giving and generous with their fabric and time, that we’ve had a plethora of blocks constructed (most using the Heart pattern tutorial by Cluck Cluck Sew).  A few charity sew-ins, and we’ve finished (I think) 5 quilts!  


I had the great opportunity to quilt a few of these, and wanted to discuss charity work in this industry.  I’ve done a little bit of charity sewing in the past, but not really donated much of my time or resources prior to getting my longarm.  And once I started donating my quilting, I kind of just rushed through the process, doing a stipple or some quick meandering design to get that top off my frame as quickly as I could.  But one night, I started thinking about the recipients of these rushed through pieces I had worked on.  Was I proud of the work I was doing on them?  No.  Absolutely not.  I was just FINISHING THEM.  There was nothing special or generous about what I was doing to add to the quilt.  And maybe those recipients don’t even look at the quilting.  But it really got to me that I was doing about 2% of my best work on something that was supposed to be making someone happier.  I decided to start doing my best work on every quilt top.  Whether it was a paying customer or not.  If I’m going to commit to working on something, why would I give anything less than my best?  And besides, if you want to look at it from a really selfish angle, it’s great practice and helps develop your skills even further.  


I really love the graffiti quilting style, and chose to do that on this quilt.  These blocks were pieced together by so many different people, with such love and compassion in their hearts.  It really does give me a little bit of hope for humanity.

Anyway, my two cents for the day is to think about where your heart is when you decide to do charity work.  If it’s in your heart, put your best foot forward and really give all you have.  Otherwise, what are you wasting your time for?  

Posted on 1 Comment

Gems in the Night Sky Quilt (Dear Jane-ISH Quilt)

I played with the quilt design for the Gems in the Night Sky Quilt in EQ7 for probably a week straight before I had my final layout the way I wanted it.  I changed the background fabric, moved blocks around, completely deleted blocks, changed color arrangement, the list goes on and on.  It’s funny how after you’re done with something, all the time you spent on it just kind of vanishes, and you don’t think about the labor of love you put into it.  


This quilt.  All the hearts.  I had the awesome chance to design and make this quilt for Janome’s brand new machine launch–the 9400.  I’m not going to lie, this quilt took FOREVER.  But packing it in a shipping box and saying goodbye forever was nearly as difficult as giving away your first born. 


And then I saw the picture of it on the Janome website once the machine was released, and it was like seeing photos of a long lost friend.  And I might have squealed out loud at the top of my lungs 🙂


So there were 81 blocks- with 9 different block constructions.  At first glance it kind of looks like someone took a Dear Jane quilt and dumped a bucket of modern over it (which is fine with me!), but if you look a little closer, you will see the blocks are just made with alternating colors and arranged in a way that it deceives you into thinking there are a lot of different blocks in this quilt.  


This was pieced with the Michael Miller Cotton Couture bundle that’s available at Janome dealers, and the background fabric is Anna Maria Horner’s True colors- filigree in dusk.  I think the combination is just dreamy.  


Sometimes I love the backs of quilts more than the front.  I like to press my seams open to eliminate a lot of bulk when I quilt.  


And then it was quilted with Stitch in the ditch around the bright colors and heavily quilted on all of the AMH fabric.  I had to keep this a secret for so long, that I nearly forgot about it once the machine was finally released.  So I’m finally able to share and show my little labor of love.  
Posted on

Free Quilt Pattern Alert! Super easy I Spy Quilt pattern to ease your pain on long road trips with the kids

How many times have you been in the car, loaded up the kids to go to grandma’s house, and heard that horrible, awful question…(queue the Jaws music)…”Are we there yet?”  or better yet…”I’m Boooooooored.”  

I Spy Quilt loaded up and ready to go!

I know we’re all super busy in the summer, and it makes finding time to sew pretty difficult.  But now you have a great reason to bust out the sewing machine–you’re going to cure the kids of their road trip boredom by making them an I Spy Quilt!  All you really need are some random novelty prints or scraps–even seasonal fabrics are great for this.  The great thing about this quilt is that NONE of the fabrics need to be cohesive for this to work.  You have a print with elephants?  Elves?  Pirates?  Cactus?  Ballerinas?  They’re all perfect!  The more random the assortment of your fabrics, the longer the kids will be staring at this quilt, absolutely stumped.  

Your layout can be totally random, too!  I tried to lay my squares out from dark to light,
but you can try grouping them by color, theme, etc.  


I had the privilege of teaming up with Janome to write this tutorial for American Quilter’s Society.  So follow this pretty little LINK and head over to get the skinny on how to put this awesome little lifesaver together!  

I quilted mine with some sweet little swirls that were fast and easy!  

Okay, so in all honesty, making this quilt won’t be the end of you ever hearing those two comments from the back seat again, but what the heck!  It’s worth a shot isn’t it?  ðŸ˜‰